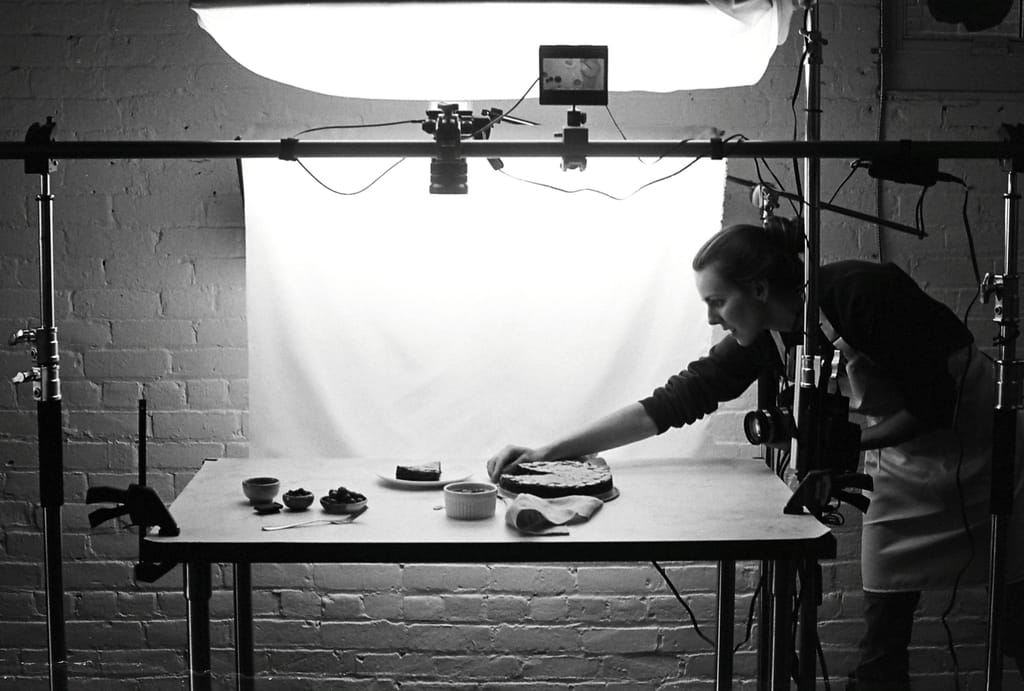
Photography is much more than just cameras, lenses, sensors and film. To create images, you need light. Even the disposable film cameras of the 90’s had flashes built-in.
Sure, film can be pushed to achieve higher sensitivity. Yes, camera sensors can see in dimly-lit situations better than ever. Heck, some modern cameras can work up to over 400,000 ISO, practically allowing them to see in the dark. So why should anyone care about adding more lights?
 Why You Should Care
Well, the term ‘Photography’ stems from the Greek terms ‘photo-‘ for ‘light’ and ‘graphe’ for ‘writing (or recording)’. Photography—at its most basic core definition—is capturing the way light falls on a given subject. Without light, there is no photo.
Whoa.
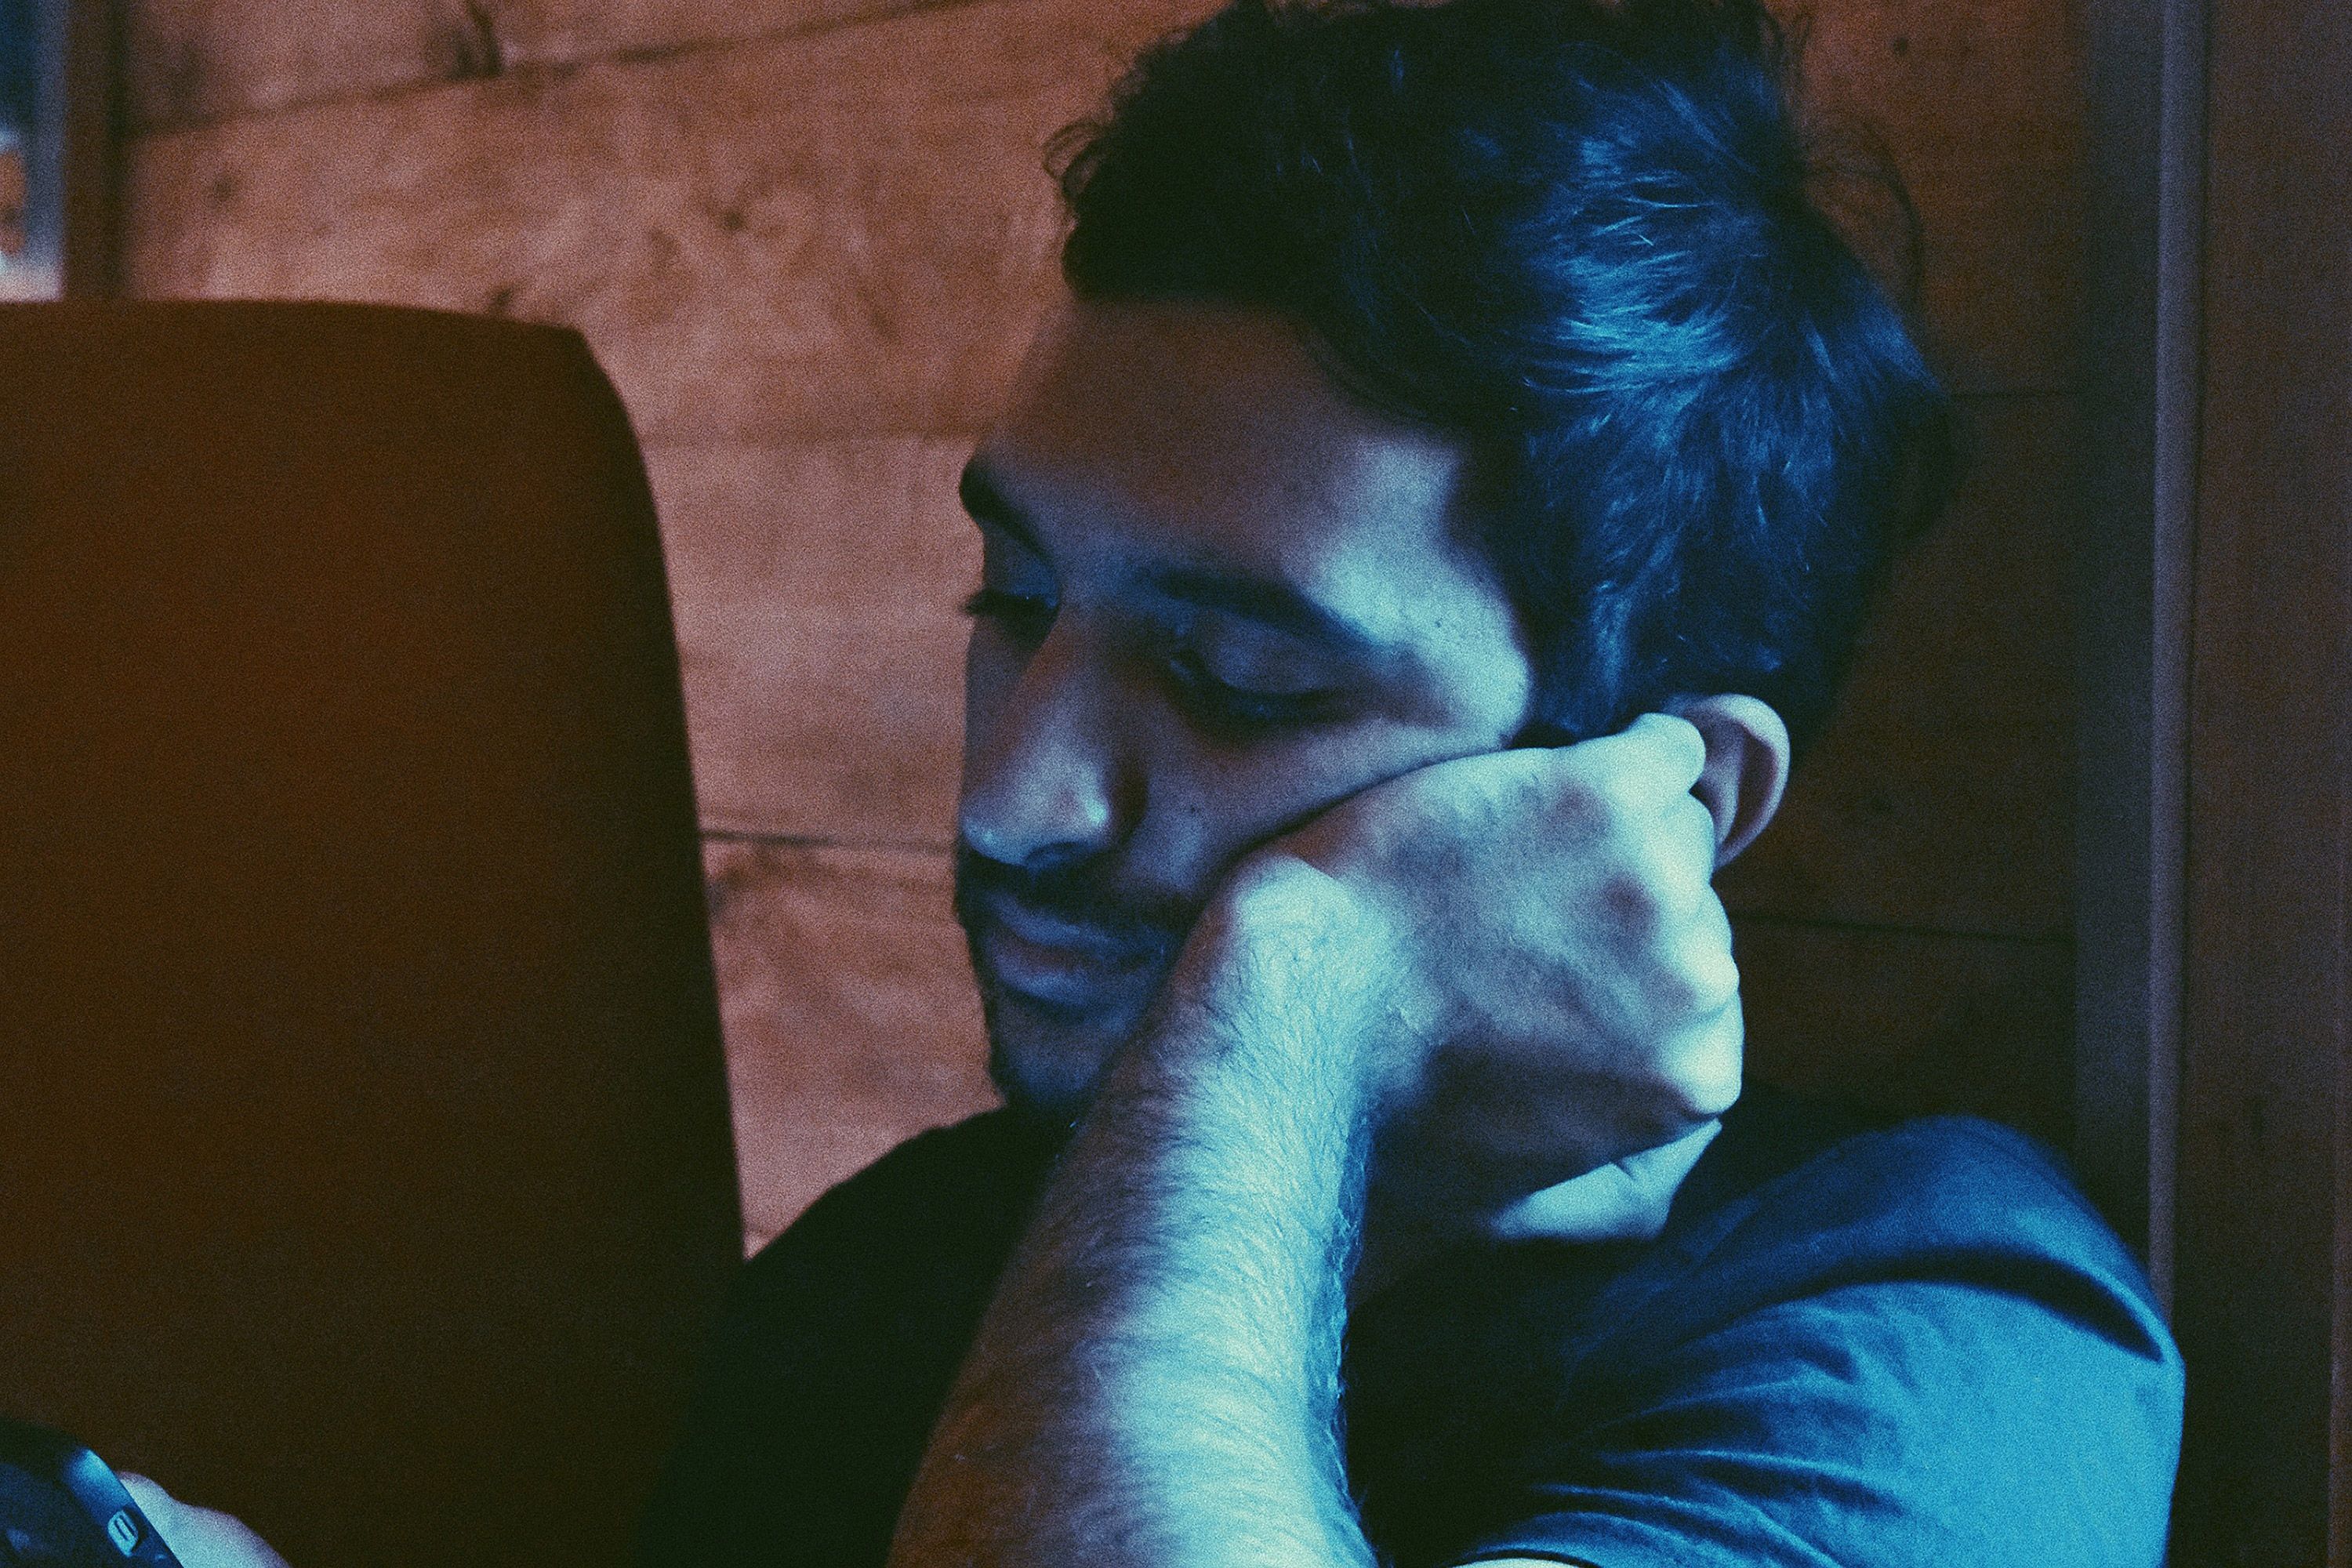
If that’s a little too heavy, let me also shine a light on some more practical and applicable points. Even beginner photographers can tell that the mood, tone and beauty of an image is directly affected by the light falling on their subject. Truth be told, there’s a lot more to lighting than you might originally think.
Through the use of light sources and modifiers, a photographer, stage lighting technician or Director of Photography on a film can manipulate the image being created to feel like it’s taking place in an idyllic fantasy, a harsh and cold dystopian future, or a bright and professional portrait studio.
Basically, light and shadow are what tell the story in a photo. Adding more illumination allows your photos to look sharper, too. More light means you can use a faster shutter speed on moving subjects. More light also means you can use a smaller aperture in order to maximize your depth of focus. Learning how to utilize light well is absolutely the most effective way to take your photography to the next level.
 Natural or Artificial Light Sources
Many photographers prefer using natural light in their photoshoots. No, I’m not talking about the official beer of keeping it real. I’m talking about the sun. You may have seen workshops on how to use natural light in your photos. That’s likely because of one very good reason that’s hard to argue with–
It’s free.
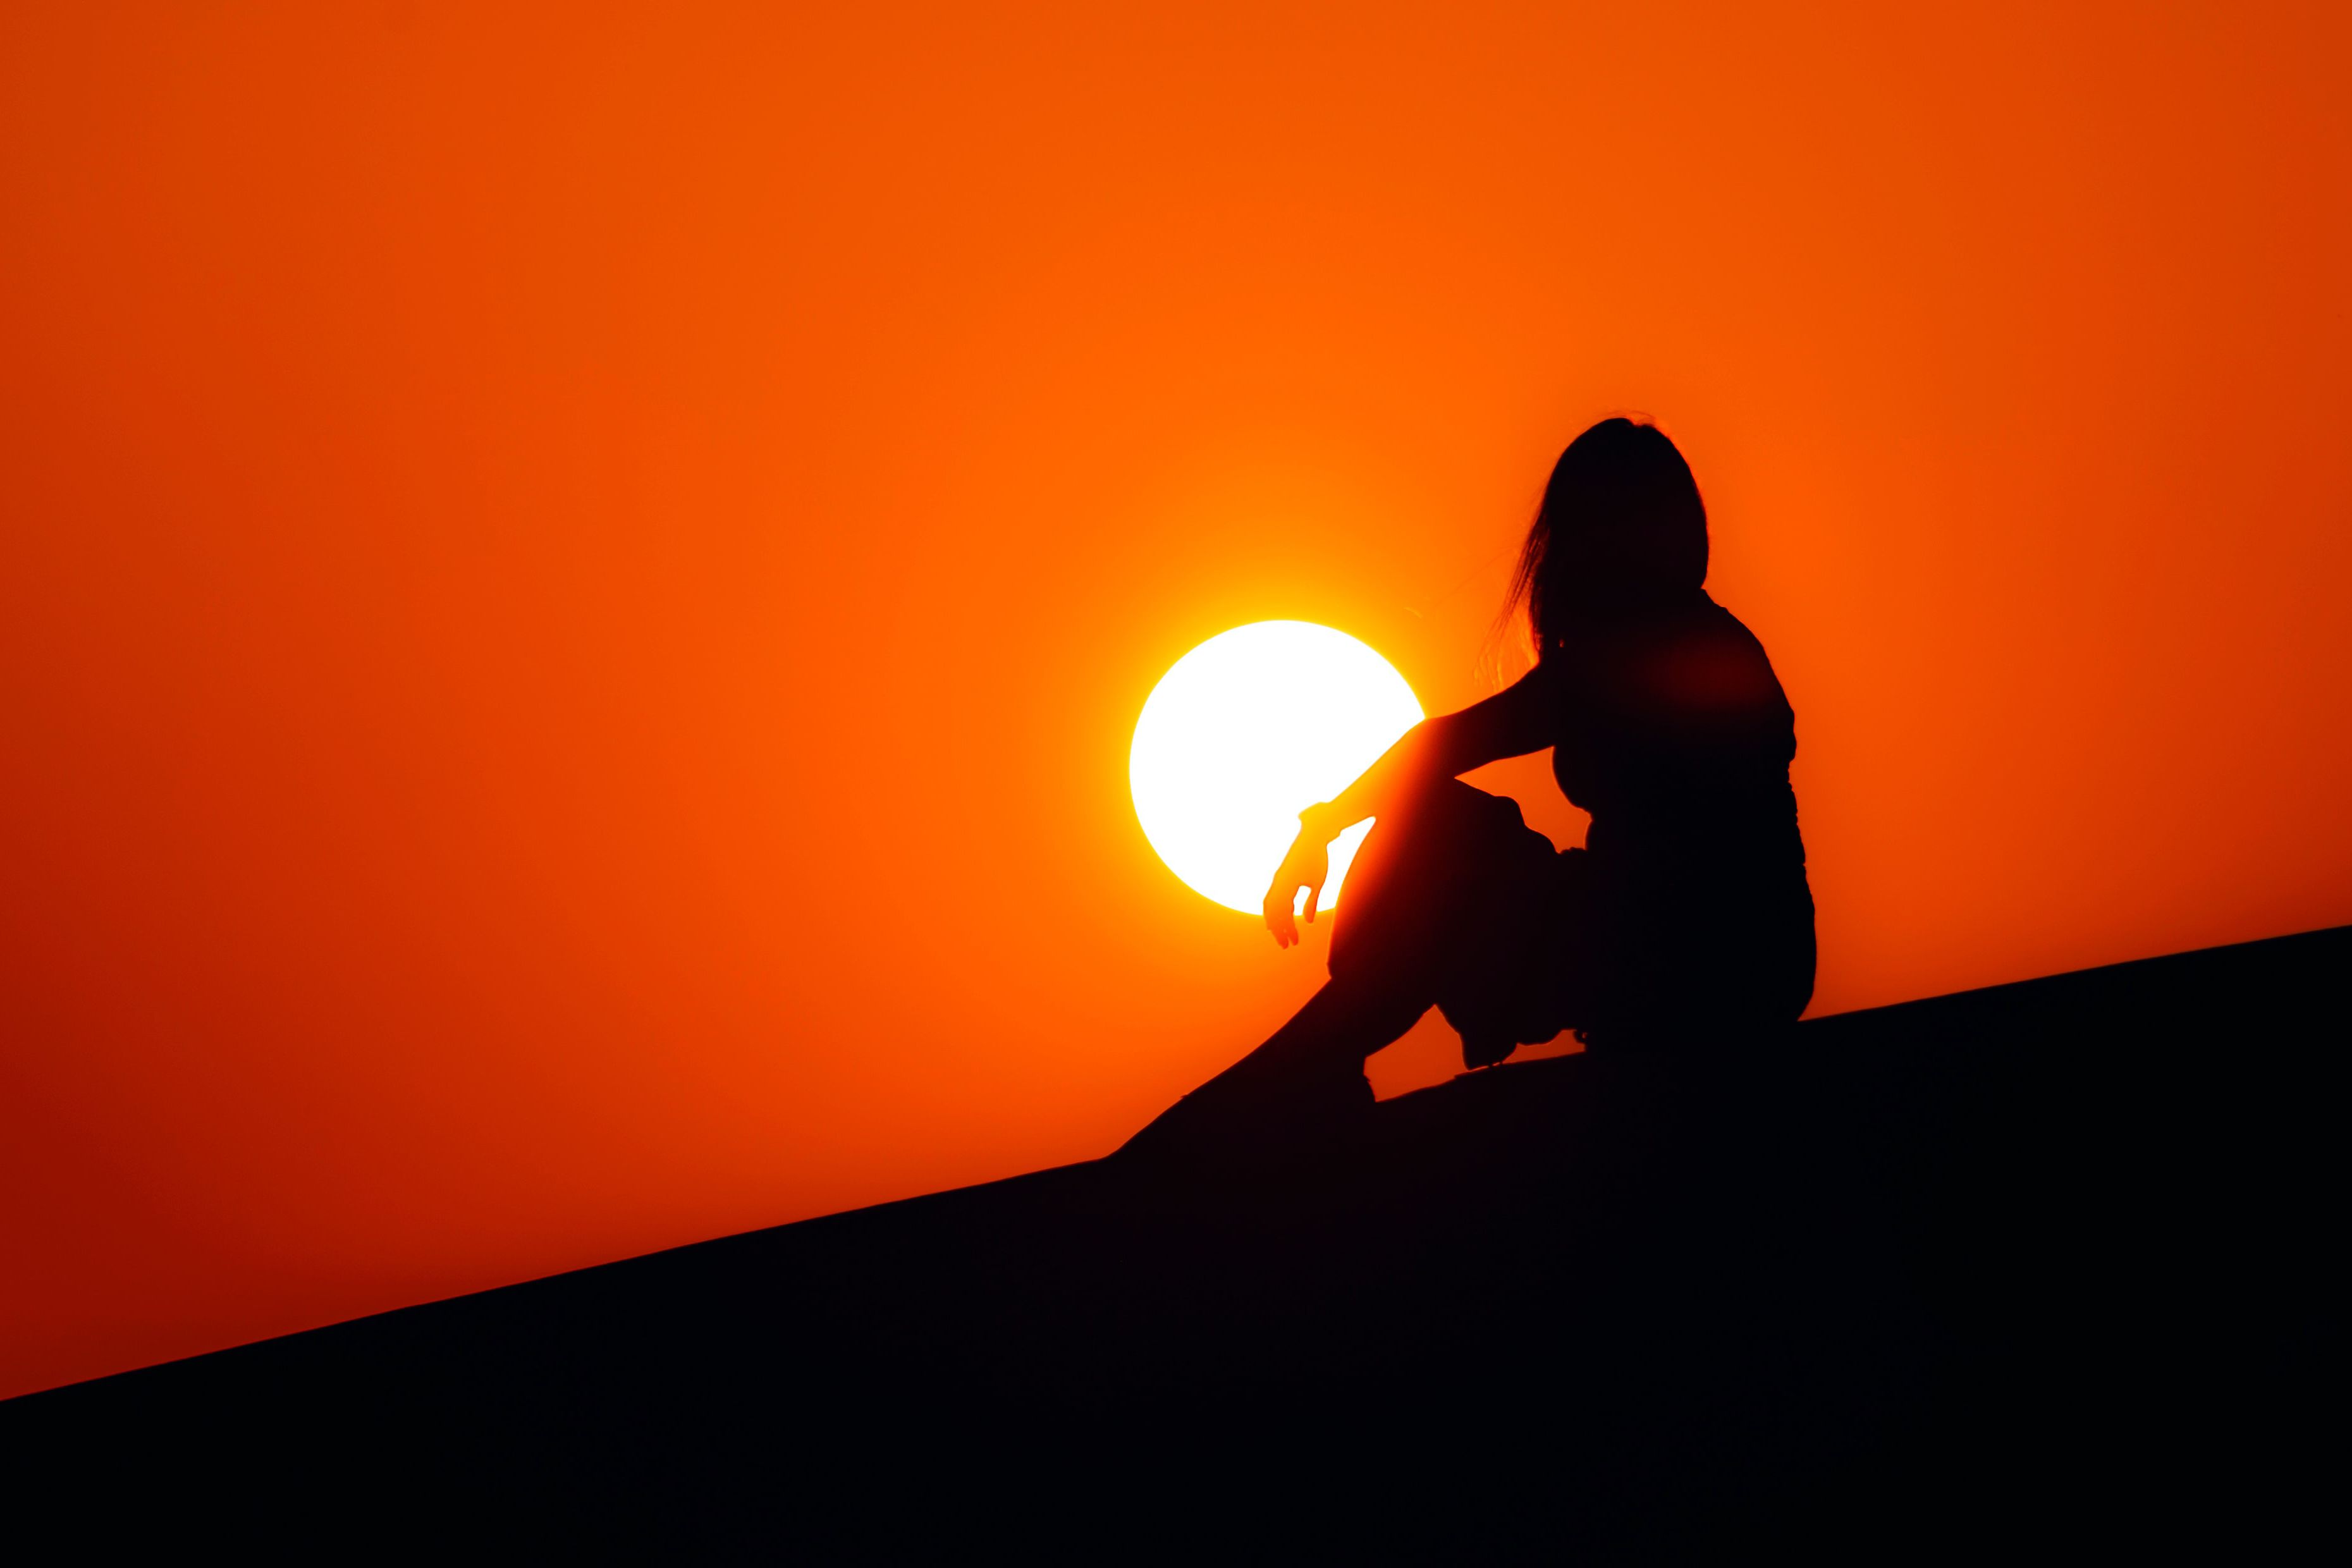
Often times, we are forced to use what’s given to us, and in certain situations, we may not be able to use a flash or studio lighting. In most of these cases, it’s wise to use the largest light source imaginable– a giant, burning ball of hydrogen and helium about 150 million kilometers away.
Of course, this can be somewhat unreliable. The sun moves across our sky, which over time can affect the direction in which the light is hitting our subjects. While this can create some very cool lighting scenarios affectionately dubbed Golden Hour and Magic Hour, it does mean that natural light must be used at certain times of day. Dark clouds can ruin your brightly-lit photo shoot. Any number of scenarios can happen when using natural light, but remember–it’s free.
Artificial light sources mostly consist of incandescent, fluorescent, or LED bulbs. These are much more easily controlled, able to be focused and modified consistently. It’s easy to replicate previously-used lighting scenarios and make small adjustments with artificial light sources. Many camera or studio flashbulbs can produce a quick burst of very intense light that you may not be able to reproduce with sunlight.
It’s this precision, portability and reliability that can make artificial light sources the better choice for a lot of photographers.
 Hard Light vs Soft
Have you ever wondered why some light sources produce sharp, dark shadows and some seem to gently wrap the subject in a blanket of light? You may think it has something to do with the brightness of the light, but it’s a little more complicated than that.
This is called hard light and soft light, and it’s affected by both the size of the light source and the distance from the subject. An intense point of light is considered a hard source, creating harsh and moody shadows. A large, diffused source produces that light-blanketing effect and is considered a soft light source.
In action, this can be seen with our sun. On clear, bright summer days, the sun will cast deep shadows because the primary source is coming from a single point. On cloudy, overcast days, the light from the sun is diffused across the cloud cover. Our sun isn’t any less bright these days, but since it has to pass through all that cloud cover first, the cloud cover itself is what’s casting the light upon us. Since the source of the illumination is spread out across a larger surface area, the light comes at us from many angles instead of just a single point.
That’s not to say that one is better than the other. If you’re portraying an interrogation scene, hard shadows are exactly what you’d be trying to achieve. For portraits and beauty, however, you’re going to want to stay away from a source that casts a harsh shadow from your subject’s nose.
 Direction & Position of Light
If living in the selfie age has taught us anything, it’s that camera angles matter. So, too, does the angle and direction of your light.
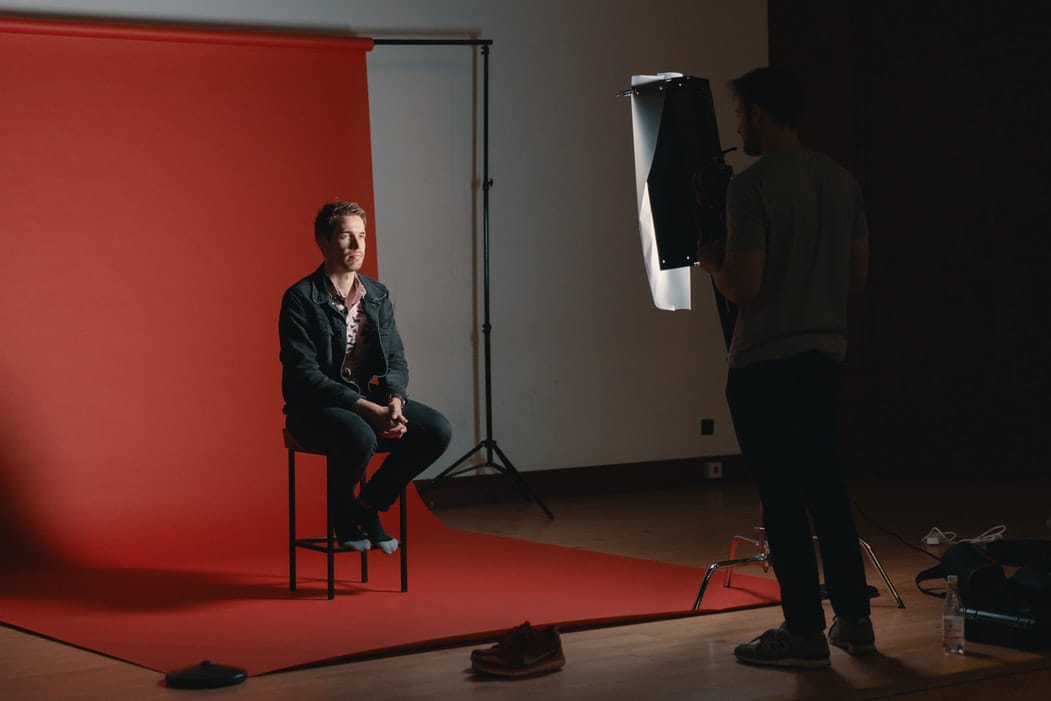
A bright light source pointed directly at your subject’s face, straight behind the camera is not always the most flattering angle. That’s why many portrait and studio photographers choose to illuminate from off-camera using flash triggers and slave units. Angled light generally looks better on faces, giving your photos a dynamic look.
Lighting from straight above the subject risks giving dark circles under the eye sockets, and lighting from below could make your subject look like they’re telling scary stories around a campfire. Lighting from directly behind your subject could produce a silhouette effect if you’re not careful.
One of the most popular lighting setups for human subjects is called Three-Point Lighting, consisting of (you guessed it) three lights. The brightest source, a Key light, is placed in front of but slightly off to one side of the subject in order to give the primary illumination. A less intense light, called a Fill light, is placed on the opposite side of the camera relative to the subject, in order to bring out details in the dark areas not illuminated by the Key. Often times, the Fill light intensity is adjusted to create more or less drama in the photo.
Finally, a Backlight, placed behind the subject, shines on the rear outline of the person’s head or neck. This is sometimes called a Hair light or Rim light, and it pulls the subject away from the background, giving the image a sense of depth.
 Continuous Lighting vs Strobes
Generally, when people think of photography lighting, they imagine the typical pop-up flash or picture a group of red-carpet paparazzo snapping away like a hyperactive miniature lightning storm. Not all camera users use flashes, though.
A lot of studio lighting comes in the form of LED lights, tungsten fixtures or fluorescent tubes. Since these sources provide a constant stream of light, they are easier to set up while knowing exactly what the final image is going to look like. They’re more helpful when photographing children or animals who may be startled by ultra-bright blasts of light provided by a strobe. These types of continuous lights are what you’d use if shooting video, as well.
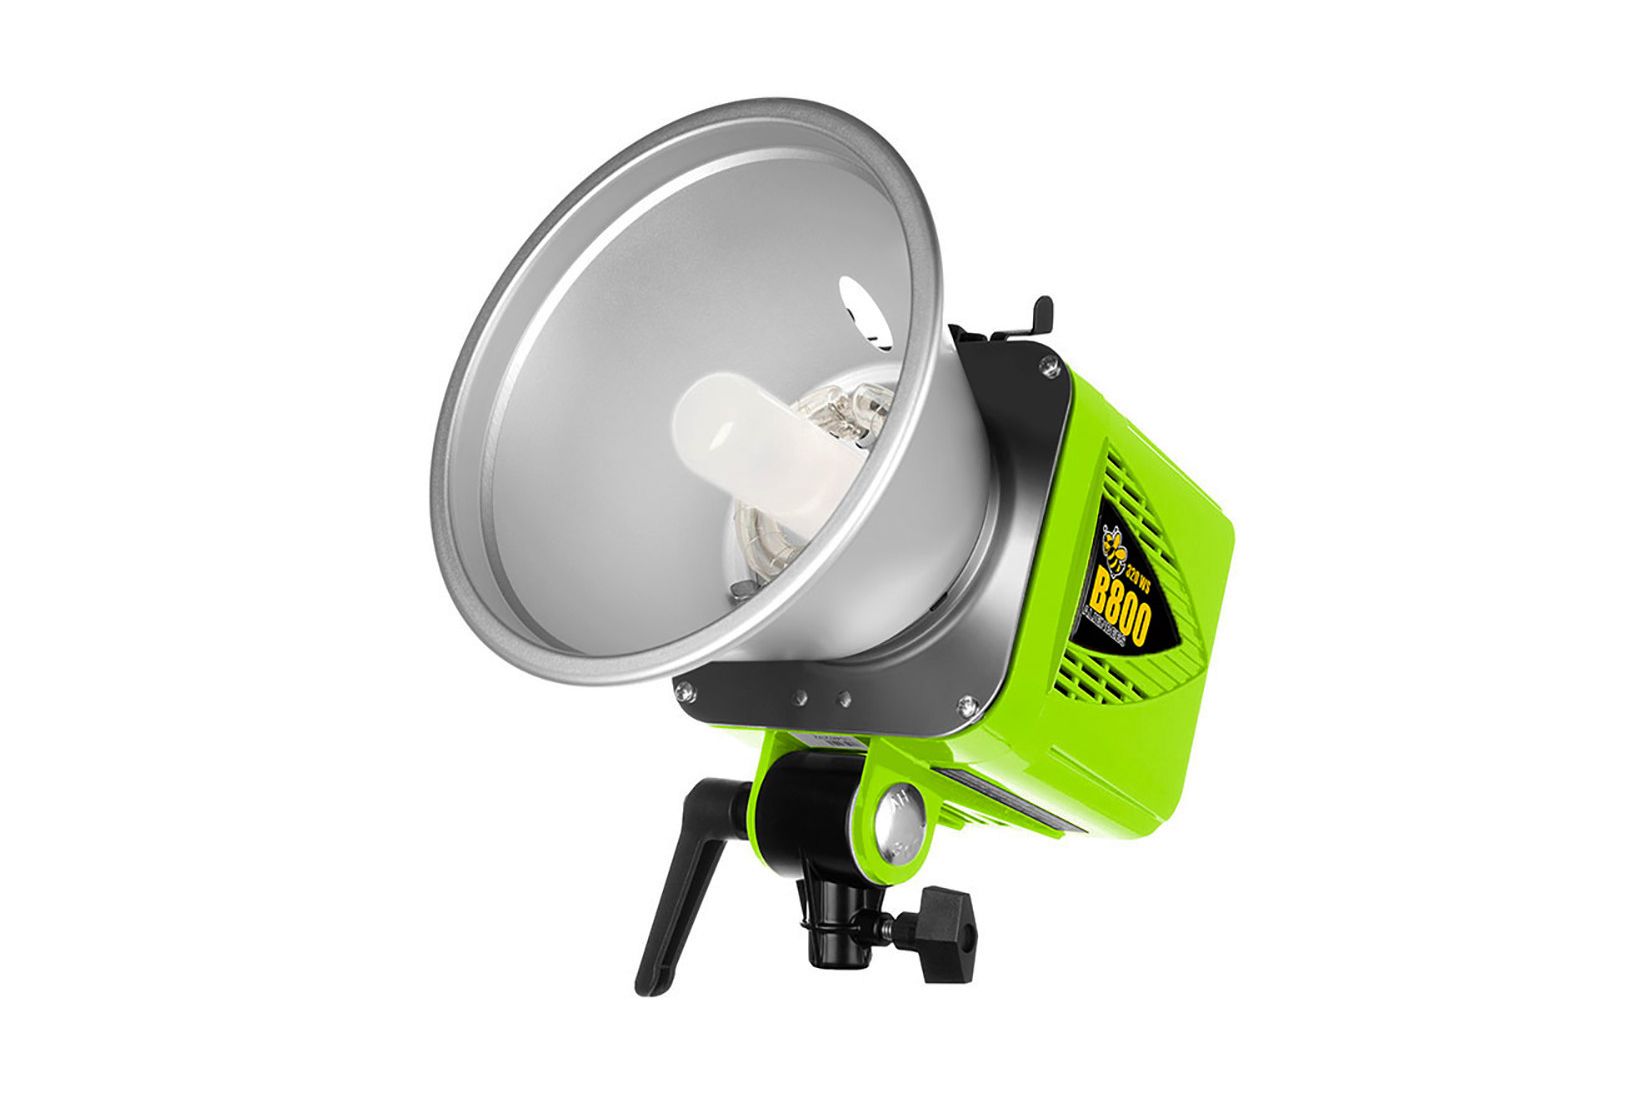
Strobe lighting on the other hand, provides an ultra-intense burst of light, releasing a lot of energy all at once while syncing up with your shutter speed. This can be handy when trying to freeze action without blinding your subject with a barrage of nonstop light.
Strobes are typically more portable than the continuous lights and have the added benefit of not heating up the room. Stage lights get hot, people. Cooler LED technology, while shunned at first, has come a long way from its humble, green-tinged beginnings. They are quickly becoming more prevalent as photographers and cinematographers become more familiar with them.
Many studio lighting strobe lights now come with a less intense, constant light for knowing exactly how the flashed light is going to fall on your subject, called a modeling light. Check out Alien Bees monolights for some of these pro features.
If you’re not a studio photographer, of course there are tons of options available in the form of on-camera flashes and lights. Ring lights are great for portraits and circular reflections in a subject’s eye. We’ll go over more of these in a later post.
 Light Modifiers
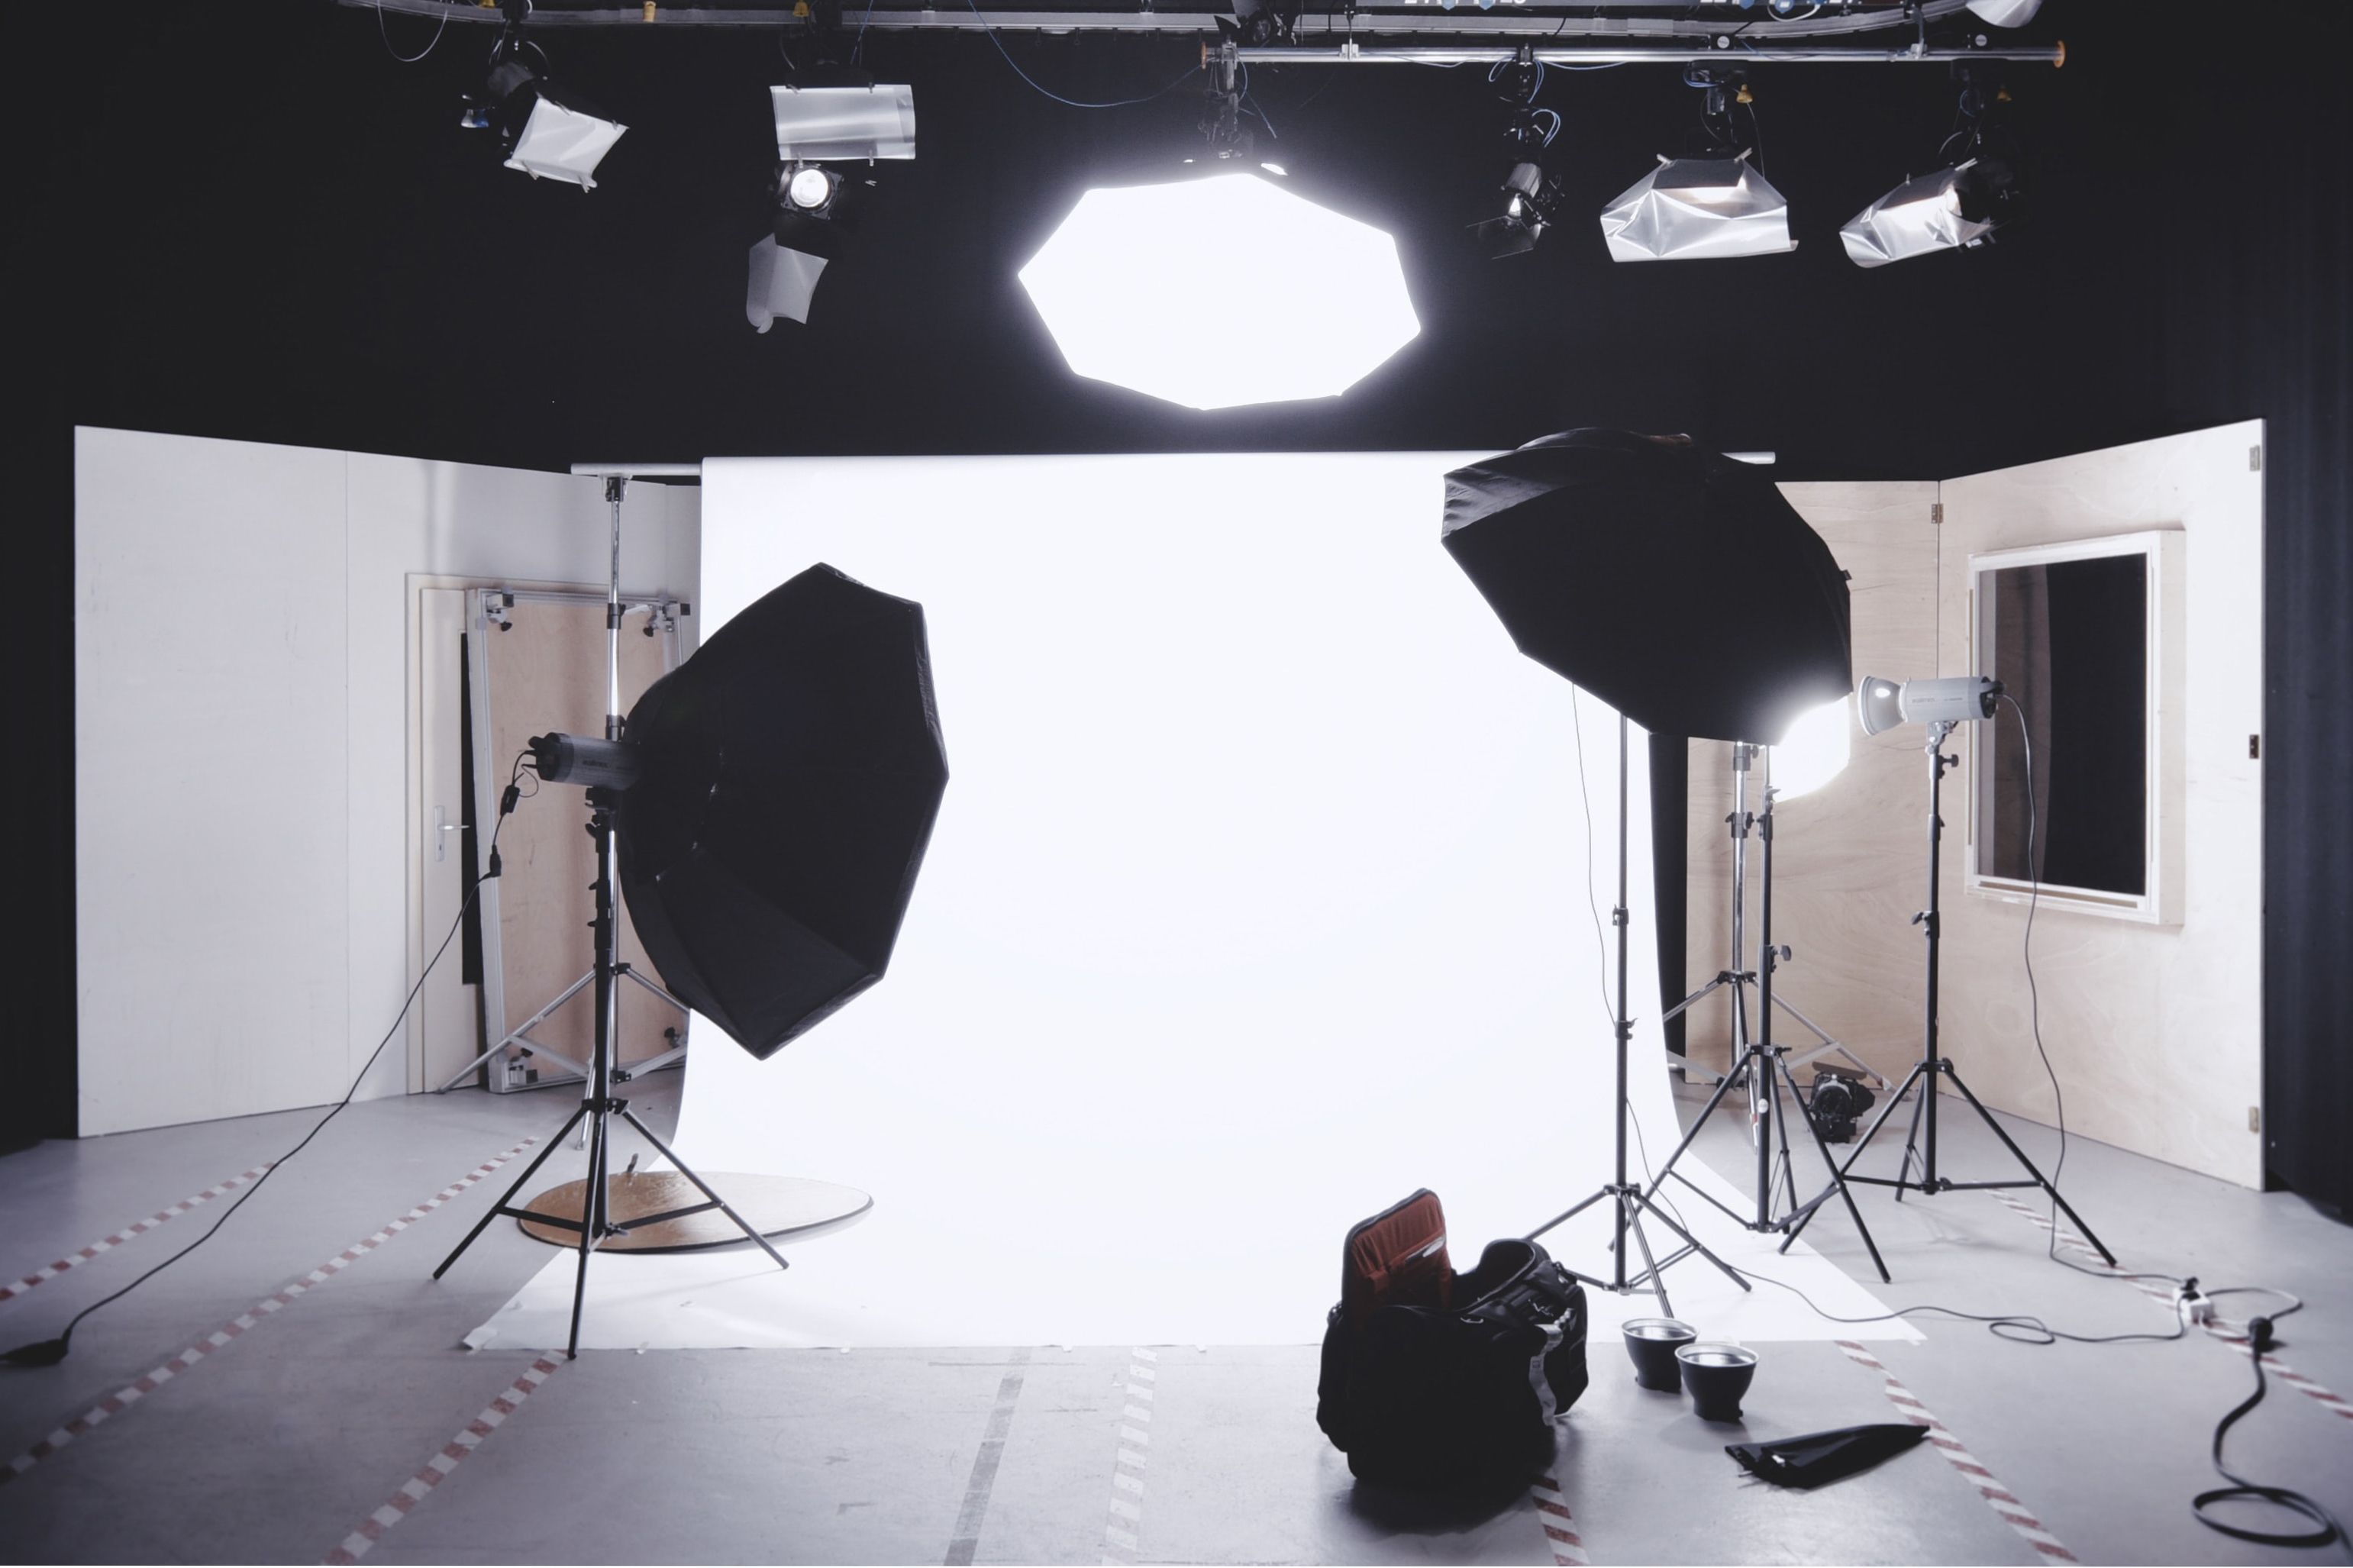
Once you’ve got a light source, there are countless ways to shape, filter and color that light. Most commonly in-studio, you’ll see umbrellas or softboxes.
These umbrellas work by pointing the actual flash unit away from the subject, so that the light bounces off of the interior of the umbrella onto your subject. This spreads out the emitted light, making it a larger and softer source.
Softboxes do the same thing, gently spreading and filtering the light so that it isn’t as harsh when it falls on your subject. There’s a sort of umbrella/softbox hybrid called an octobox that is common as well.
For movie lights, there are fresnel lenses like those used in lighthouses which can be adjusted to focus a beam of light into being more directional or less. These lights often feature simple wire scrims that can be added to reduce the intensity of the light without affecting things like color temperature or direction.
One of the most inexpensive ways to modify light is to use a large reflective or white surface to bounce the light. These are often sold as foldable rings with white, black, gold and silver surfaces to give you several options with which to reflect any available light.
 Light Meters
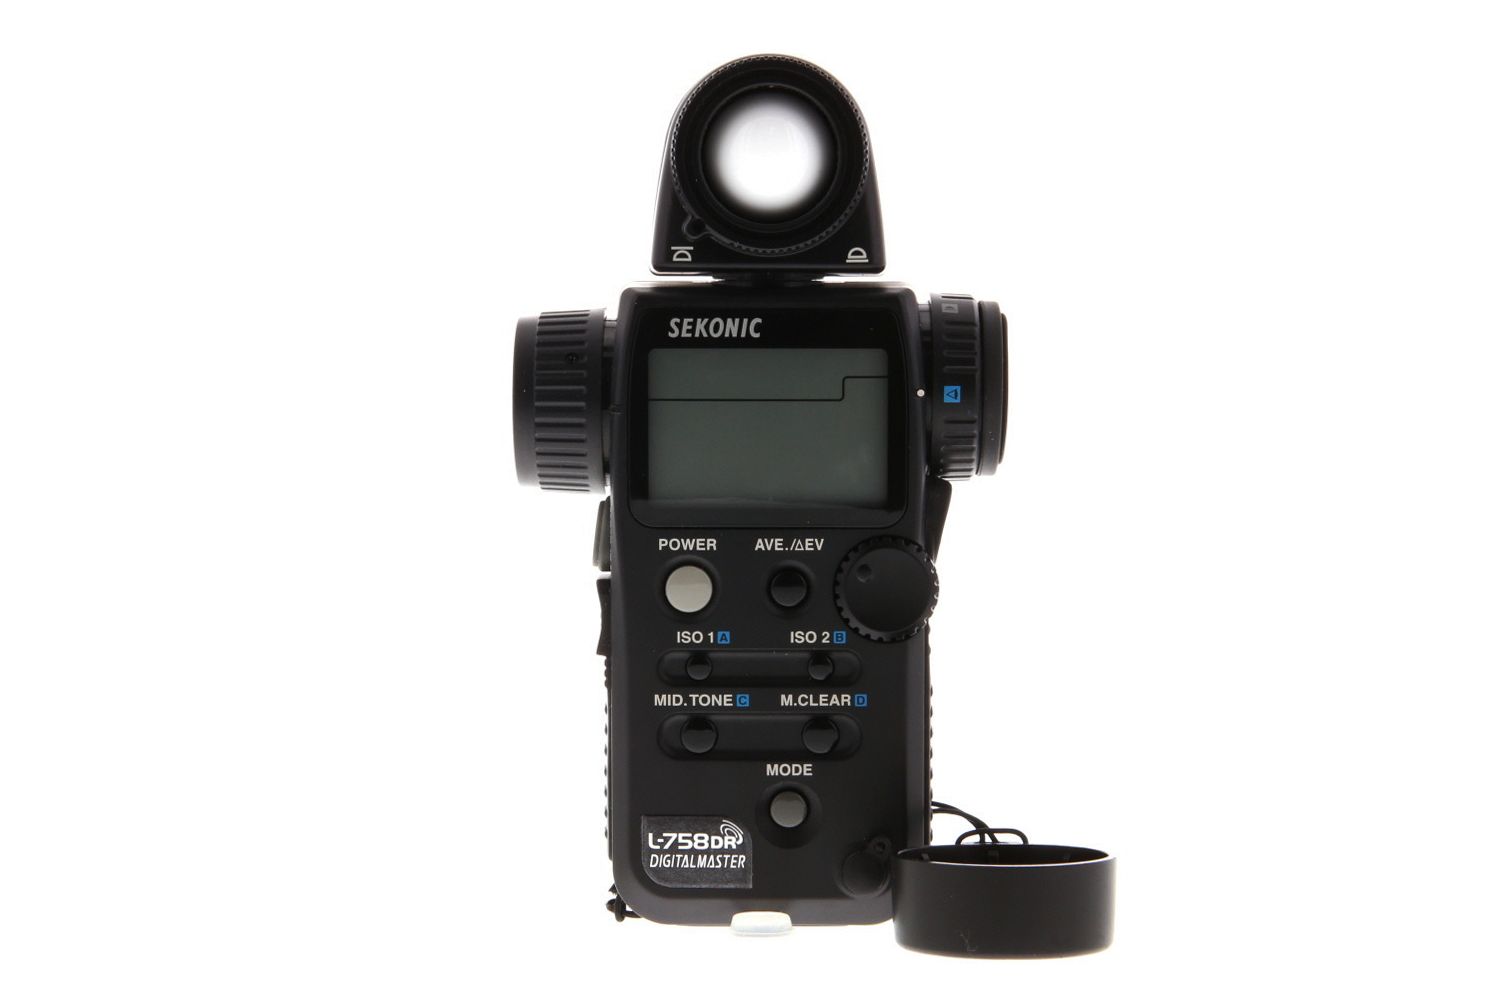
These pocketable devices are incredibly powerful. It’s a more complex version of the light meter inside your camera. By measuring the ambient light in a situation, one of these will allow you to precisely adjust what’s falling on your subject.
It can be hard to learn a healthy distrust of the digital screen on the rear of modern cameras. Light meters are often infallible, whereas trying to estimate how your image will look based on your display’s preview can be flawed.
Light meters can also give you different types of readings. A reflective reading will measure the light bouncing off of a subject, whereas an incident reading will tell you how much light is falling on your subject, without taking the subject’s reflective properties into effect.
A light meter is generally thought of as a more advanced tool that you’ll look into getting once you get very comfortable with using external lighting, but it’s an incredibly valuable piece of equipment once you get there.
 To Summarize
It should now be clear that there’s a lot more to photography lighting than just making sure it’s bright enough that the sensor picks up the image. Professional lighting is really the core basis of a lot of what pro photographers do. In the cinema world, there are people who devote their entire careers to learning and developing different lighting scenarios in order to achieve certain effects.
That being said, everyone has to start somewhere. If the best you can afford is a desk lamp, don’t be afraid to use it! Oh, and make sure to check keh.com if you’re on a budget. We might have just what you need.
We’d love to hear from you! If you’re a pro, what’s your do-to lighting situation? If you’re just starting out, is there anything you’d like to learn more about? Let us know in the comments below.
Shop On-Camera Flashes & Lights
Shop Studio Lighting
Shop Light Stands & Studio Accessories
Shop Lighting Accessories
Shop Light Meters
Shop All Lighting

