In our last article about the Exposure Triangle, we took a closer look at ISO or film speed and how it can give you more visibility in your images at the cost of additional noise or film grain.
Traditionally, most photographers don’t tend to use ISO settings to give their photos a certain effect. In my experience, ISO is the final setting that is adjusted to compensate for your desired shutter speed and aperture value.
With shutter speed, though, things start to get a little more interesting.
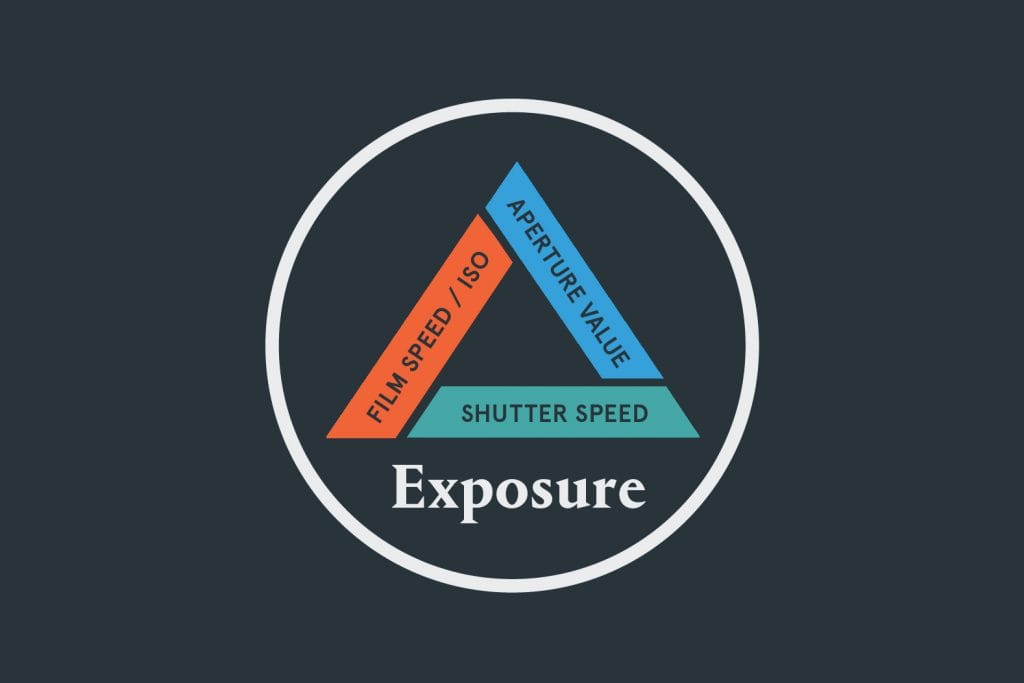
What is a shutter, anyway?
Your camera’s shutter speed is, at its most basic concept, the amount of time your film will be exposed to the light of the outside world. There are many different types of shutter mechanisms, but they all perform the same task of ‘shutting’ the light out of the interior of the camera, where the film plane or your image sensor sits.
By opening up the shutter, light comes through the aperture and hits the film, exposing the film. That’s why you’ll sometimes hear us call a photo an ‘exposure’. The longer the shutter is open, the greater the length of time any available light will hit your film, being absorbed by the chemicals or photosites and the brighter your image will be.
Whether it’s a fabric curtain that pulls itself from side to side or a carefully constructed series of metal blades that slide open and closed, the shutter is almost always a precision-machined piece of your camera or lens, capable of moving extremely quickly over and over again.
In a rangefinder or an old twin-lens camera, what you see when you look through the camera is simply an estimate of what the actual photograph will look like. As far as compact cameras go, it wasn’t until the SLR or Single-Lens Reflex camera was introduced that a photographer could truly see exactly what the shot was going to be.
With an SLR camera, the image enters through the lens and bounces off of a mirror that blocks the film, through a prism that shows the shooter what’s being seen through the lens. When the shutter release button is pressed, the mirror quickly flips up out of the way to reveal a mechanism that quickly opens and closes exactly how fast you’ve told it to, down to the tiniest fraction of a second. It’s pretty rad, actually.
With the advent of mirrorless cameras, this mirror was scrapped, and many camera models now offer the option to switch between a mechanical shutter or an electronic shutter when taking your photo. An electronic shutter isn’t an actual shutter, mind you– it’s just a chosen segment of time when your image sensor becomes active and takes a light sample.
So why is shutter speed important?
As I stated above, the longer your shutter is open, the more light is absorbed by your film or sensor. Modern film is very sensitive to light, so these shutter speeds are fast. Very fast.
On most camera AUTO modes, you’re likely to see speeds around 100-200 indoors, depending on your aperture and ISO settings. What you’re actually looking at is a measure of a fraction of a second. This means that a 100 shutter speed is 1/100th of a second, with 200 being 1/200th of a second and so on. The higher the number, the faster the speed.
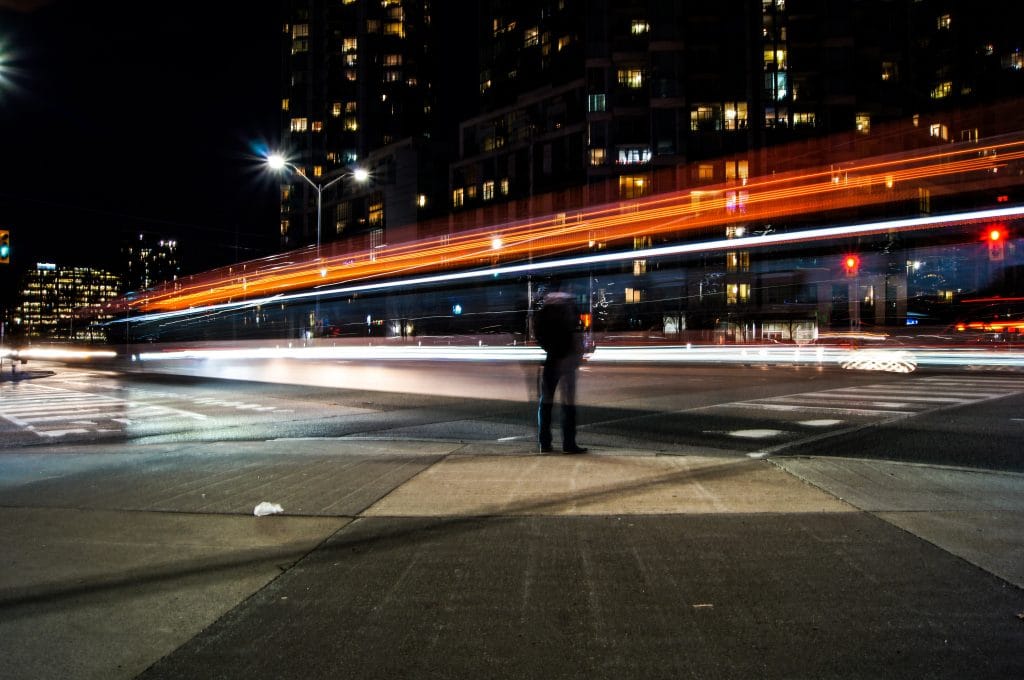
Additionally, once you get down to the slower shutter speeds, you’ll start seeing full second or multiple-second-long settings. These are great for nighttime photos or special effects shots that imply the movement of your subject.
Why does all of this matter? Not only does shutter speed affect how long the light will expose your photograph, it also affects any amount of motion blur within the photo. The 1/100 or 1/200 that you’ll see on AUTO mode is long enough to let a decent amount of light in, but generally quick enough to freeze any typical motion without causing much blur from a moving subject.
You may have noticed that for action shots, some shooters will use a flash at precise sporting moments. This tremendously bright light raises the intensity of the illumination coming in through the lens, allowing the photographer to compensate by shortening their shutter speed, cutting down the amount of time their sensor is exposed. This short exposure lets the photography truly freeze that microsecond of time to see who crossed the finish line first.
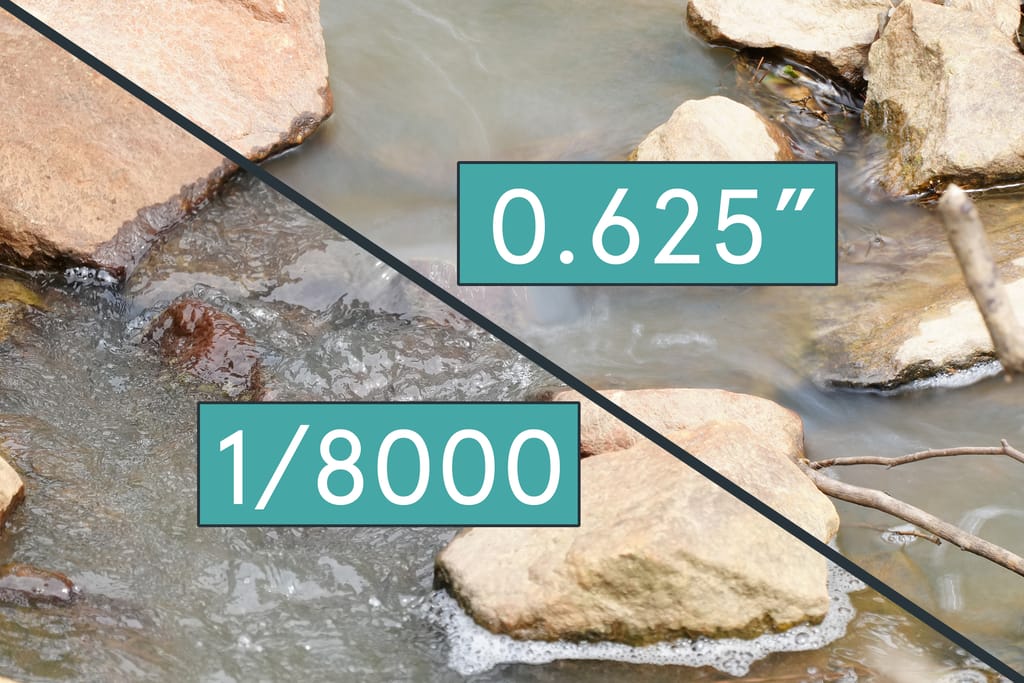
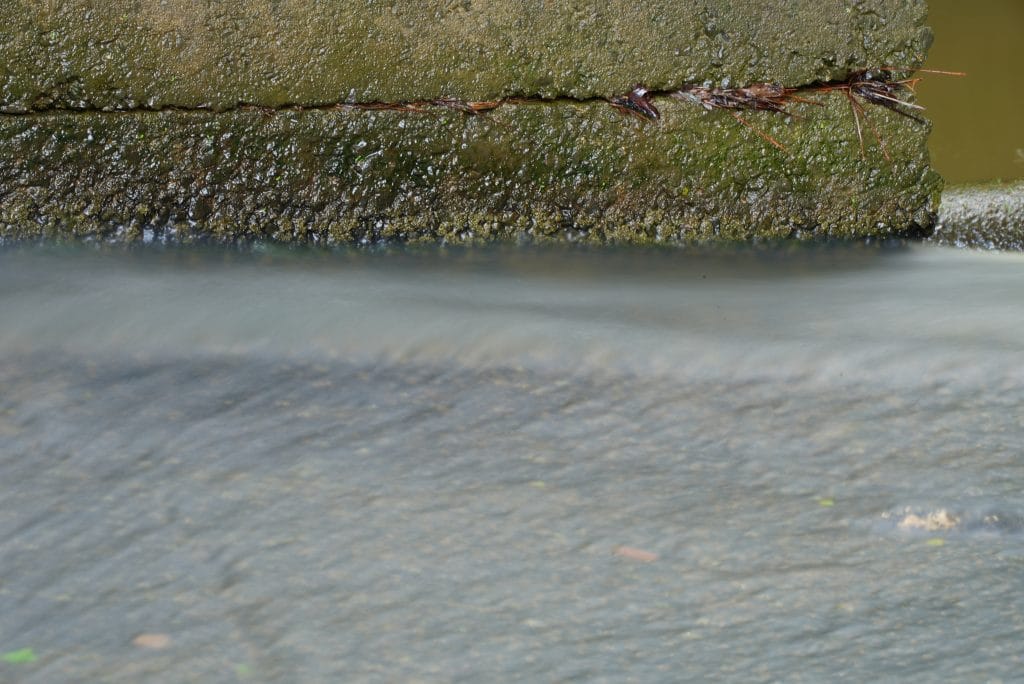
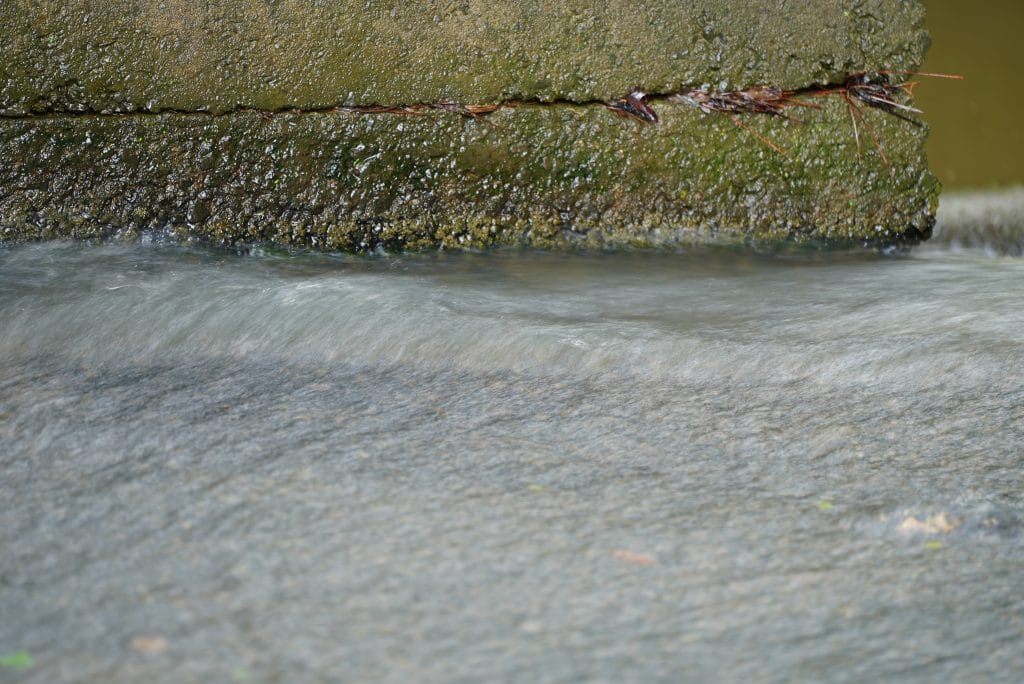
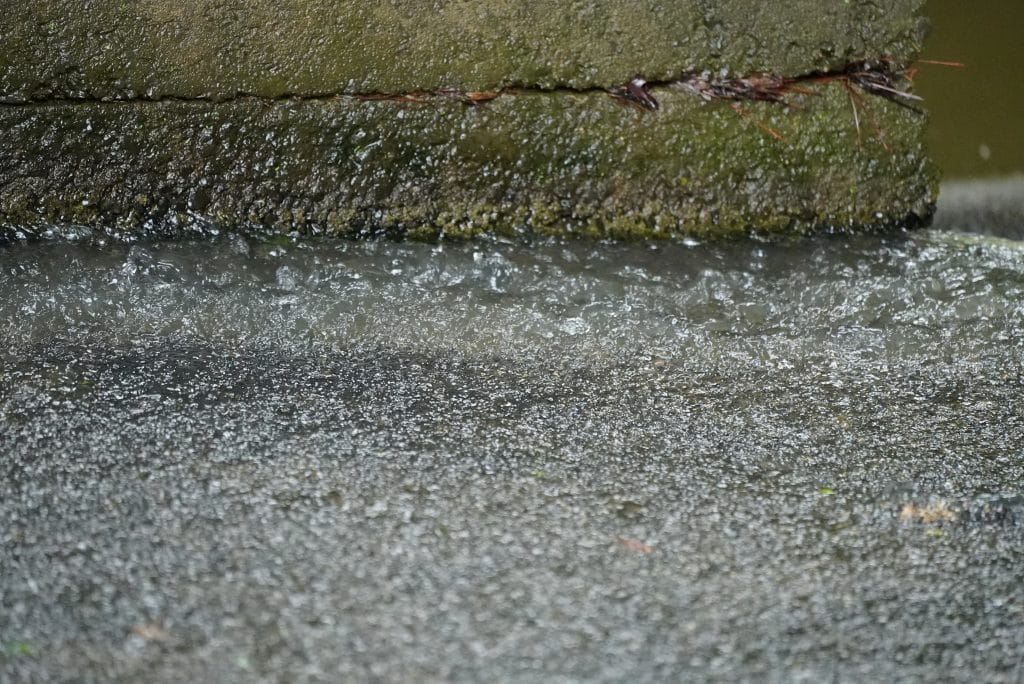
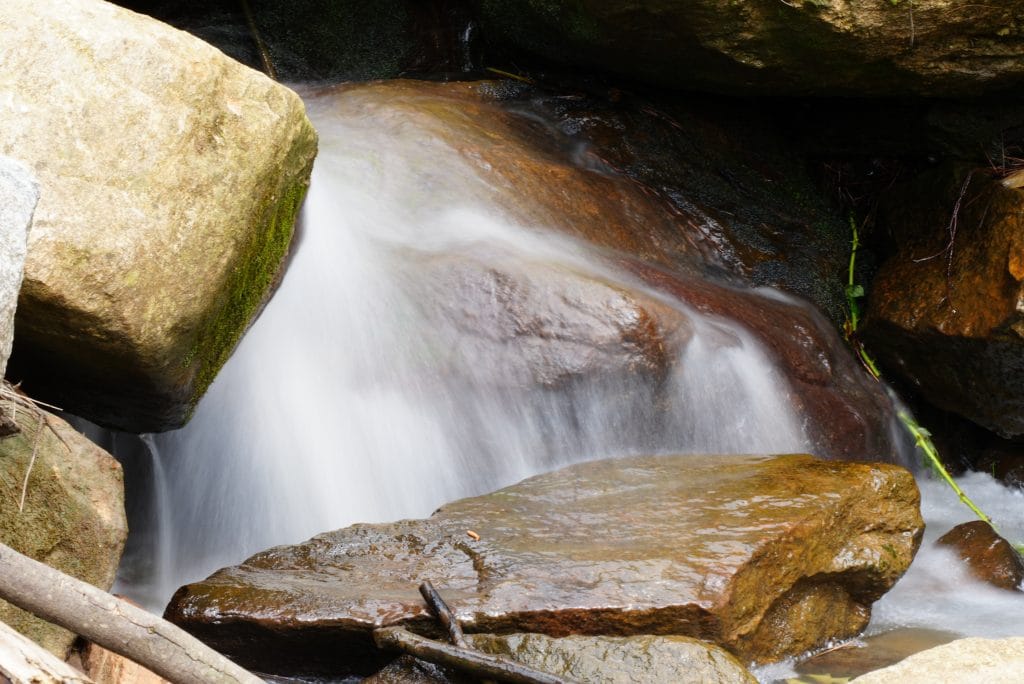
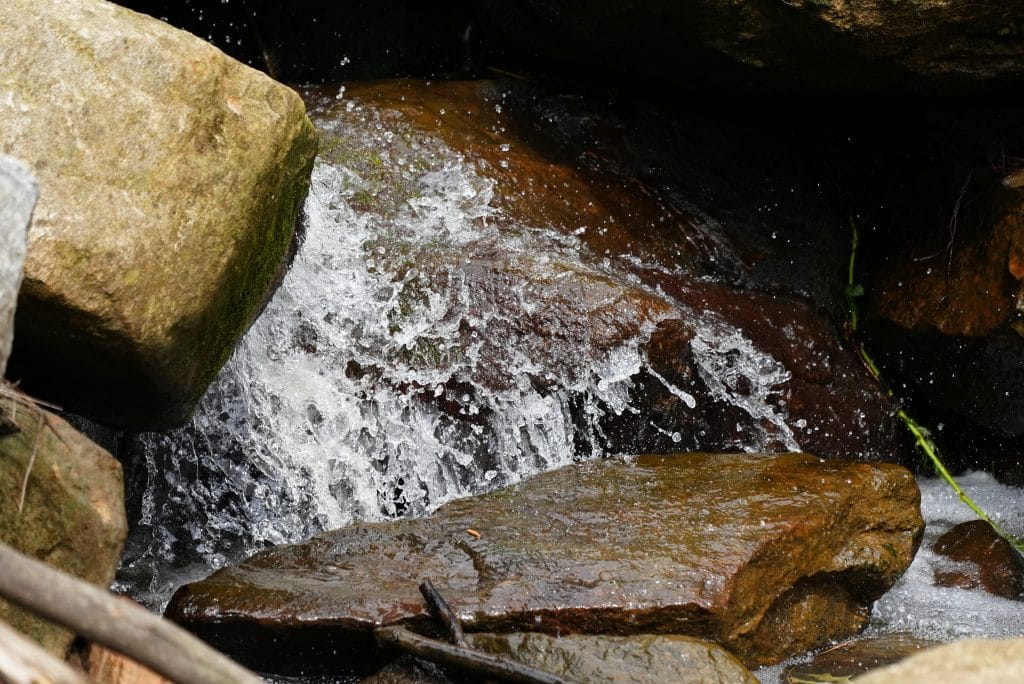
On the opposite side, a nature photographer may want to take an exposure of a lake or waterfall, but wishes that the water’s surface could be smooth and flowing instead of frozen in action. Using a tripod and purposefully selecting a longer shutter speed could grant them the ability to let the water’s natural motions blend together in the photo while the surrounding rocks and trees remain stationary.
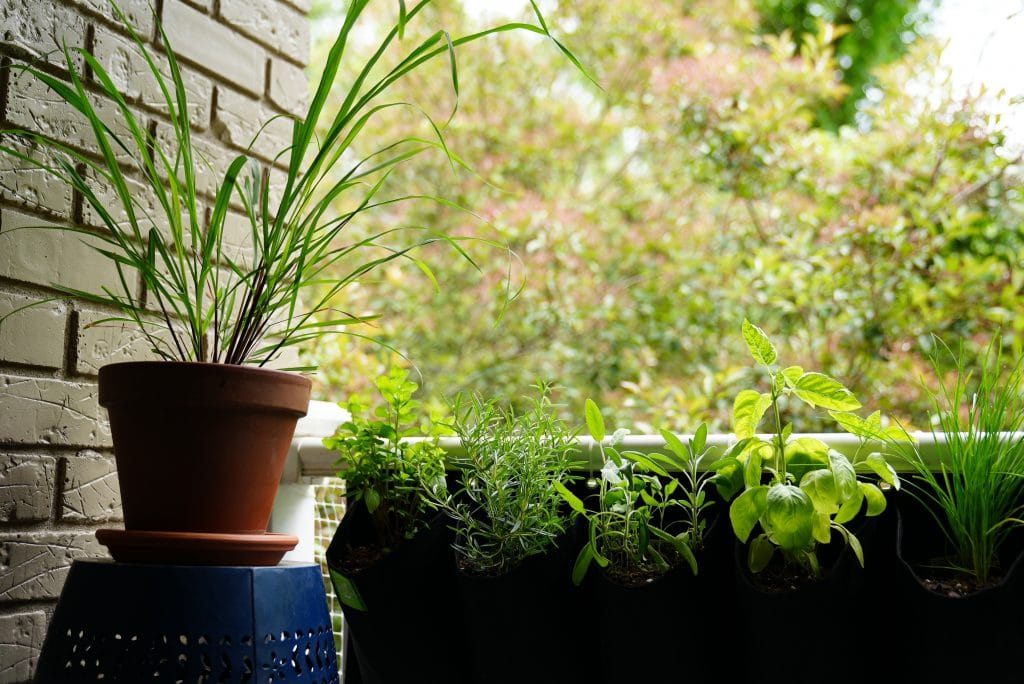
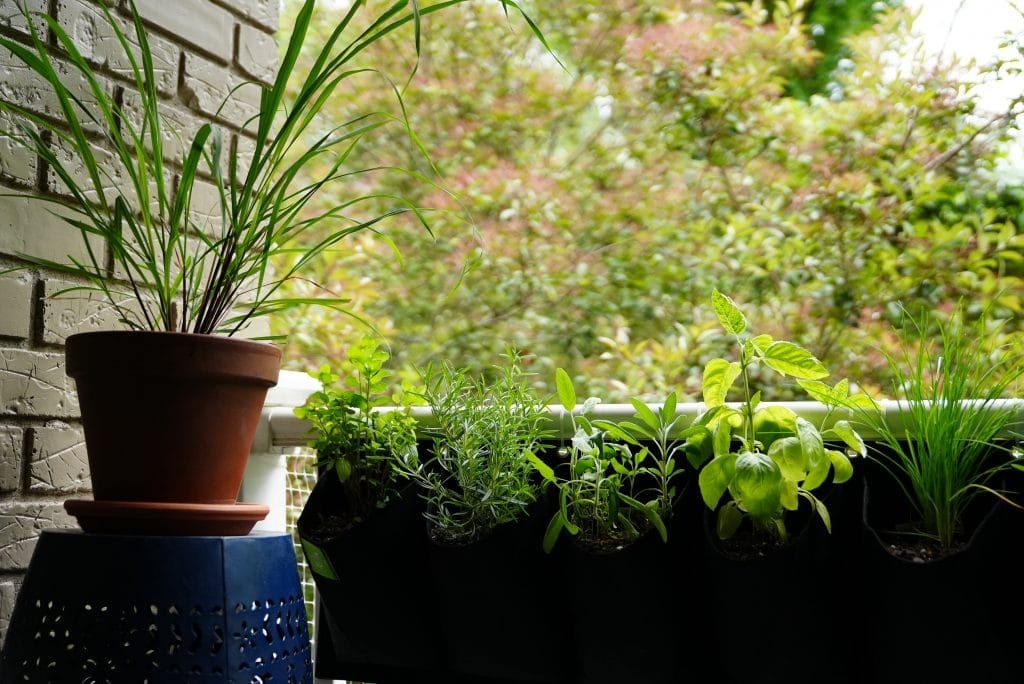
As you can see from the photos above, you won’t likely see any drastic effect on your images from changing the shutter speed if your subject and camera are stationary.
What’s the best shutter speed for photos?
The rule of thumb that I always go with is as follows–when you’re holding your camera in your hands, your shutter speed should be double your lens’s focal length in order to avoid extra motion blur from shaky hands. This means for a nifty 50 lens, you might be alright with a 1/100th shutter speed. For a 100mm, you may want to bump up to 1/200th shutter speed.
This may seem weird, but when you’re shooting on a telephoto lens, any excess movement from operating the camera will be amplified, with the effect increasing as your lens gets longer. You may have steady hands, but unless you’re a trained sniper or a machine sent from the future, even your breath or the blood pulsing through your arms with each heartbeat can show up as unwanted motion blur.
As I mentioned earlier, using a tripod will allow you to use longer shutter speeds without getting unwanted movement from shaky hands. You could also try a self-timer of a couple seconds so that your camera isn’t still wiggling from the force of your finger pressing the shutter release button.
Vibration-reduction lenses and internal stabilization technology in many modern camera bodies also allow you to take handheld shots with shutter speeds far longer than previously possible.
What about video shutter speed?
If you’re a video or hybrid shooter, you may have come across a concept known as shutter angle in your internet journeys. This actually goes back to a time when motion film cameras had circular, disc-shaped shutters. This shutter would spin nonstop, with each individual frame of film being fed through the camera during the period when the shutter was ‘closed’, remaining stationary when the shutter spun around to the ‘open’ segment.
In order to keep the timing of the motion picture steady, they would increase or decrease the ‘angle’ of the open segment of this rotating disc-like shutter mechanism. The wider the angle, the longer your film would be exposed, but this could also make each individual frame look blurred or smudged. On the opposite side, too narrow a shutter angle would eliminate all motion blur in each individual frame, giving the motion picture a jittery, unnatural look during playback.
Most filmmakers eventually settled on a 180-degree shutter angle in order to maintain a smooth look without too much motion blur. This means that for each frame of film, the disc would rotate and expose each frame for exactly 1/2 of the framerate of the drive rate.
If this is all mumbo jumbo to you, just remember this–for your videos to look how they do in the movie theater, keep your shutter angle at 180? or your shutter speed at double your framerate. If you’re shooting at 24fps, aim for a shutter speed of 1/50. If you’re at 60fps, go for 1/120 and so on.
What does all of that actually mean?
All of this boils down to one important compromise. The higher your shutter speed, the dimmer your photo will be, but it will freeze the action. The lower your shutter speed, the more light can come through your camera, but this also comes with extra motion blur.
Knowing this, you can start to creatively craft how your images will look. Freeze moving water or a fast-running child with a high shutter speed, and you may want to compensate for the lower amount of light by bumping up your ISO value so your image isn’t too underexposed.
If your camera has an “S” mode, that stands for Shutter Priority. Using this setting instead of AUTO will allow you to try out some alternate shutter speeds and see what develops!
Read Part I – The Exposure Triangle & How ISO Affects Your Image
Stay tuned for Part III where we’ll go over the setting that can make or break a beginner photographer, the aperture.

