Don’t let the cold weather crush your creativity! We know it’s easier to venture out for a photo walk or plan an outdoor photoshoot when the weather is warm and sunny, but there is tons of beauty to be found during the winter months. Our recommendation is just to make sure you and your gear are ready to face the elements… and then get out there and go shoot!
The first step? Prepare your camera for shooting in the snow and make sure that all of your gear is protected. Here are our top five tips and suggestions to do just that.
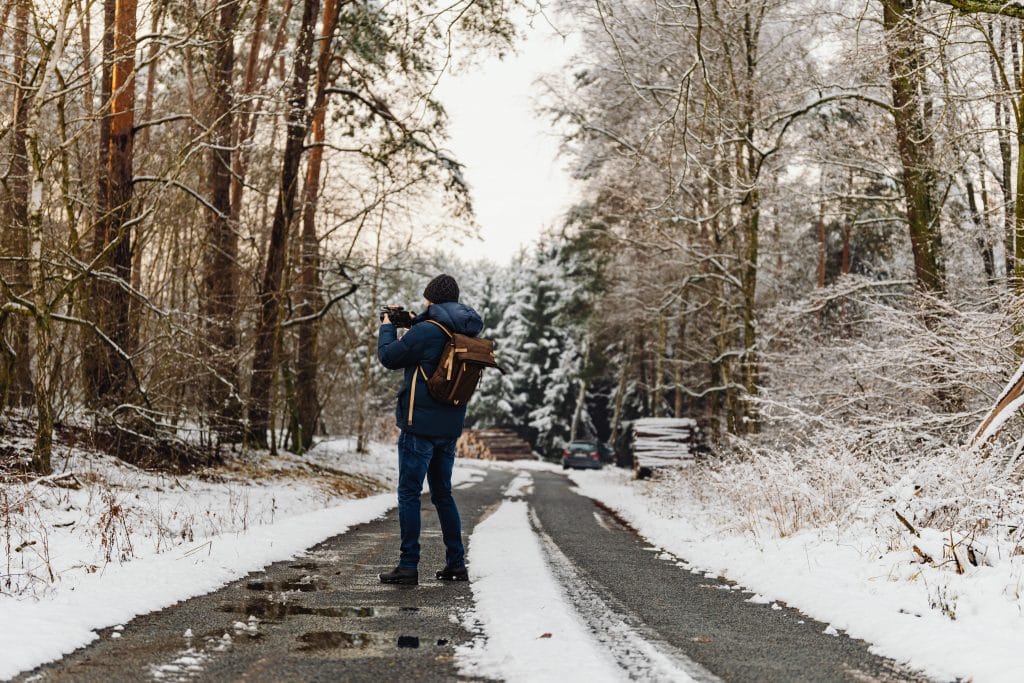
Invest in a good bag.
Don’t skimp on the bag for carrying your camera. Make sure it has plenty of padding to keep gear from bumping around. A rain cover is super helpful if your bag’s not already weatherproof! Resealable plastic bags are a great way to protect smaller gear, too.
Conquer the elements.
If you’re committed to shooting winter photography, a little condensation may be unavoidable. While your natural instinct might be to run and hide your gear, there are a few other options! Try to set up the shot in a dry spot (like in your car or under a covering) by making sure your settings are correct and the tripod is ready. With your camera covered, head back to the photo spot, quickly uncover your gear, shoot, and recover it again. You may get less time to nail the shot, but you’ve got this! If you think you’ll be shooting out in the snow, slush, or wintry mix often, a rain cover for your camera might be a good addition to your kit.
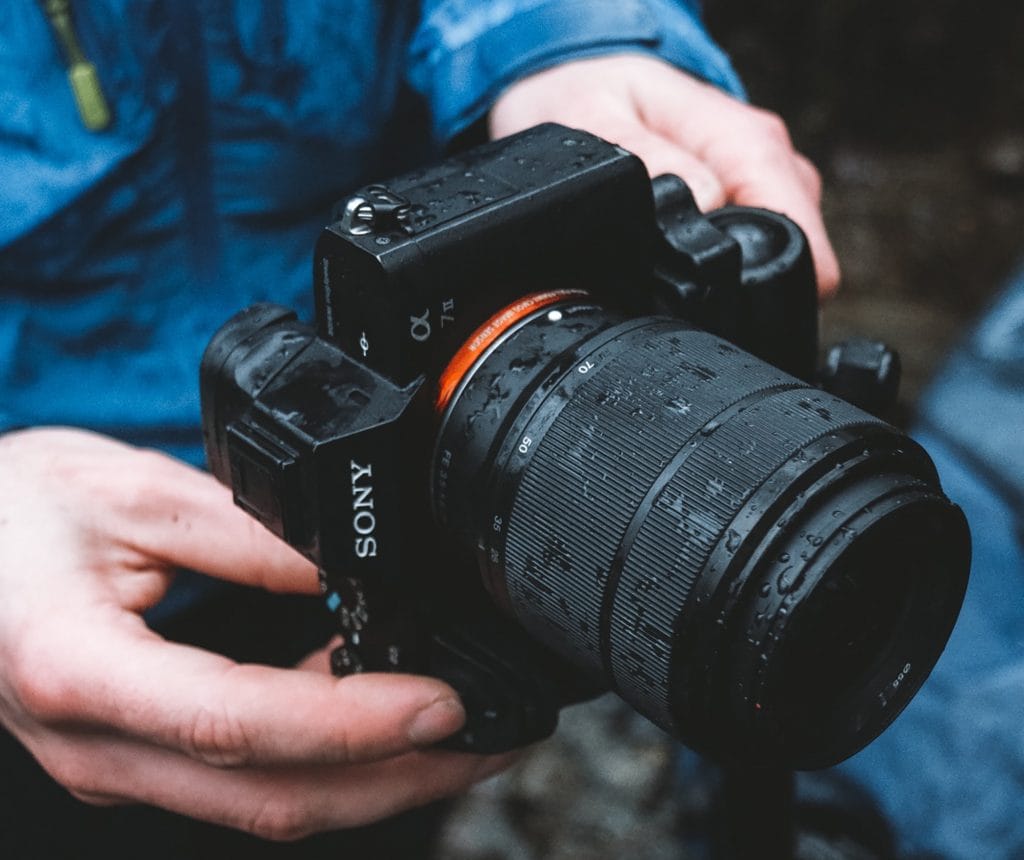
Wipe your gear down.
This may seem like a no-brainer, but keeping your gear clean and dry to the best of your ability is huge. Have a good microfiber cloth on hand at all times and make sure to give your camera a quick wipe down before packing it away.
Control fogging.
When the temperature changes abruptly from indoors to outdoors, your gear needs some time to acclimate. Waiting a few minutes to take things out of the bag lets everything get to the same ambient temperature — this will help keep your glass from fogging up! Condensation is never good for a camera, so this is an easy way to play it safe.
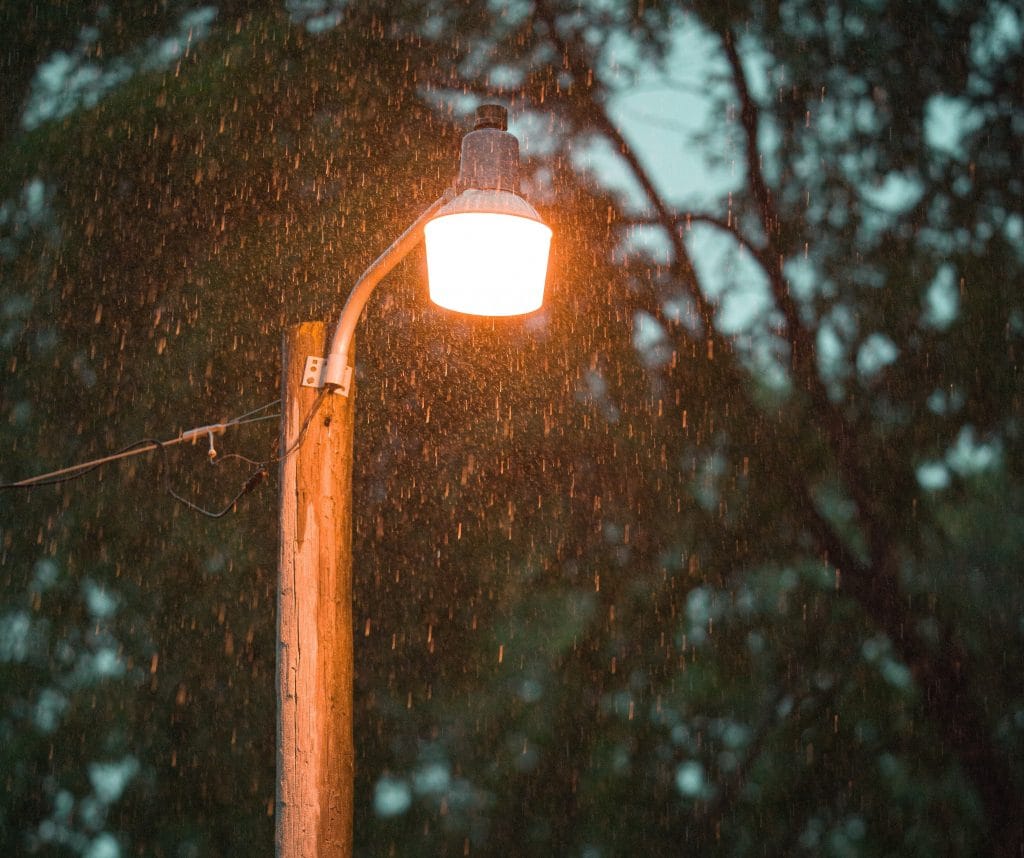
Use a filter.
Filters are a great way to help keep your glass clean, as well as add a layer of protection against moisture and drops. This is helpful on two fronts. A filter will keep the snow or wintry mix off your lens when you’re dabbling in cold weather photography. But since icy and wet ground is also likely, it can protect your lens in case of a slip or drop. It’s never a bad idea to add that extra layer of protection onto your glass!
Okay, so you’ve done the legwork to keep your investments safe… Now you’re ready to dive into some snow photography. We’ve got you covered. Here are some of our top winter photography tips to get you started.
Get a good exposure.
When you’re shooting snow, you want to ensure it looks nice and bright! If it’s a main component of your scene, your TTL (through the lens) meter will meter it as gray. To counteract this, you have a few options. You can:
- Overexpose — in manual mode, open up your aperture or slow your shutter speed.
- Use exposure compensation — +1 or more stops.
- Meter in a non-snowy area — to a tone that would be approximately middle gray.
You can also adjust your in-camera histogram so that you have correct levels. While yes, you can adjust these in your editing software program, it’s always better to get a good exposure in-camera so that you’re capturing the most accurate data possible.
Another idea is to bracket, getting multiple shots of the same scene exposed slightly differently. This is a great option for beginners, too — you’ll quickly learn about how to adjust your camera settings in different lighting situations moving forward.
When brightening up your whites, make sure not to take it too far. Since you’ll still want detail in the whites, there’s a fine line between a crisp, detailed white and whites that are blown out or clipped. In most snowy sunlit scenes, there will be some clipping, but expose so that the clipping happens in the appropriate areas. It’s a fine balance!
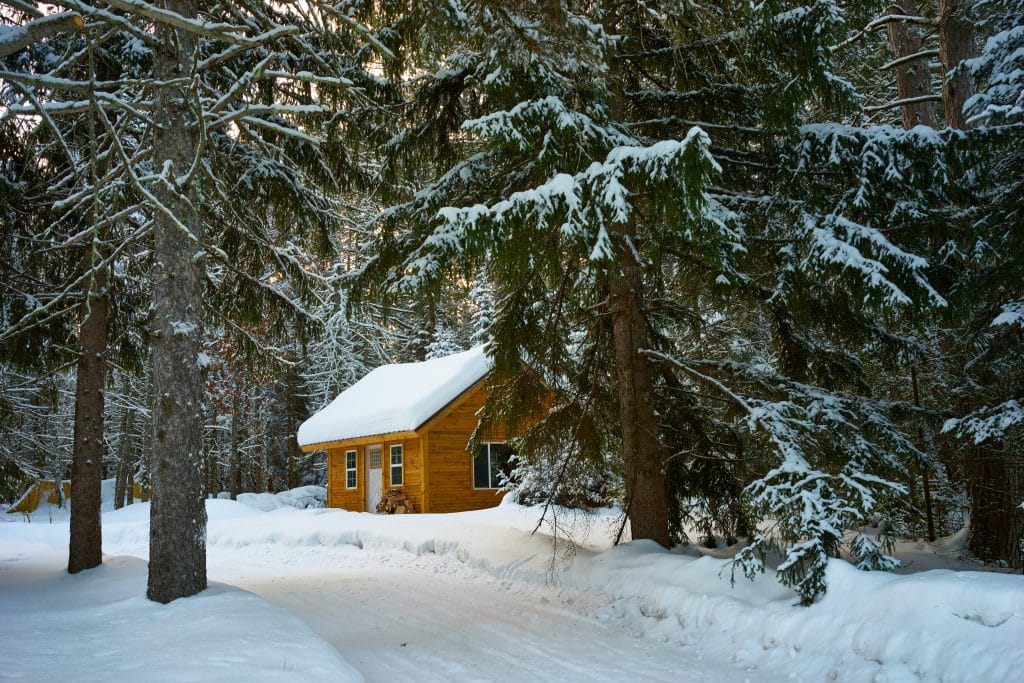
Adjust for color temperature and/or white balance.
Don’t just rely on your automatic white balance or other automatic settings, as the light reflecting off the snow can often play tricks. Play around with programmed presets within your camera, like ones for clouds and shadows. Shooting on a manual white balance is your best bet. Play around and don’t be afraid to adjust.
Pay attention to lighting.
Early morning and late afternoon are typically the best times of day to shoot outside during the winter months. The sun is at a low angle, which makes it less harsh than mid-day sun, and creates opportunities for some interesting images. Use the light in different ways, like side and back light, for different dramatic effects.
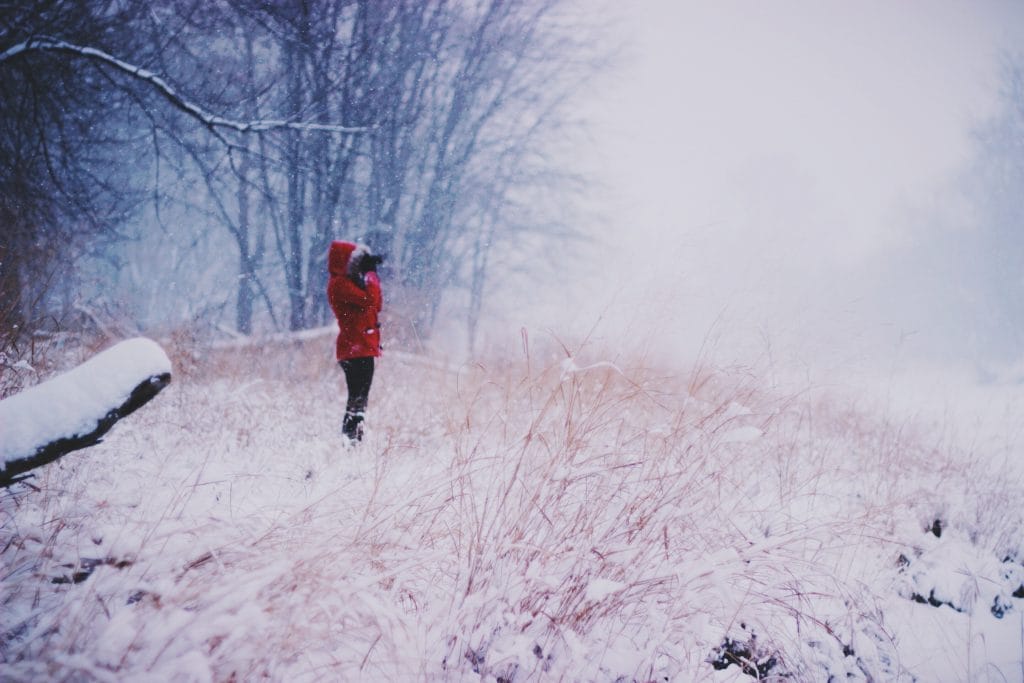
Consider the subject and scene.
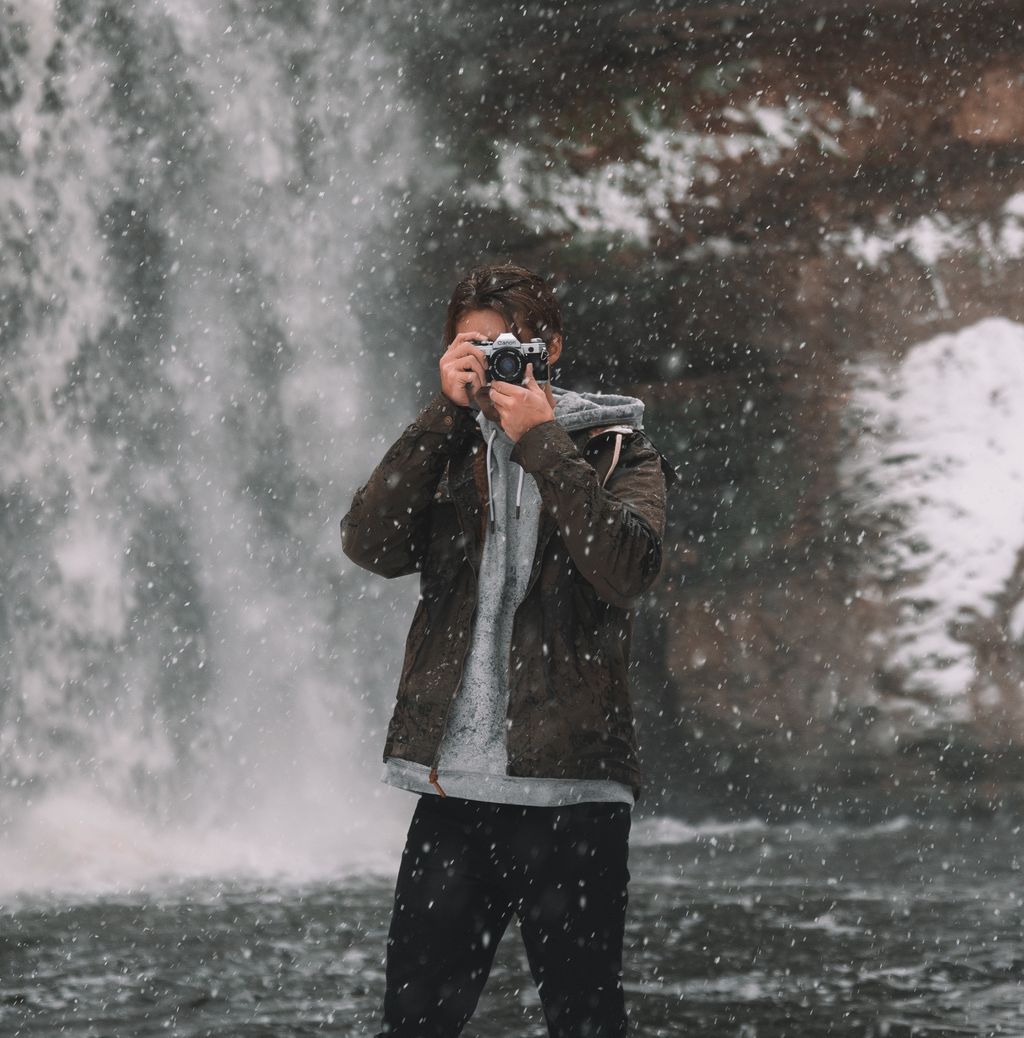
If you’re trying to figure out how to do a winter photoshoot, and have the luxury of models, the options are endless! Play with color — have your subject wear a colorful coat or have a bright accessory that will heavily contrast against the whites and grays of winter snow.
Shift perspective and play with scale for different outcomes. Consider where people stand in comparison to the nature around them and what focal length you use for shooting. You can create some seriously cinematic shots with all that snow around!
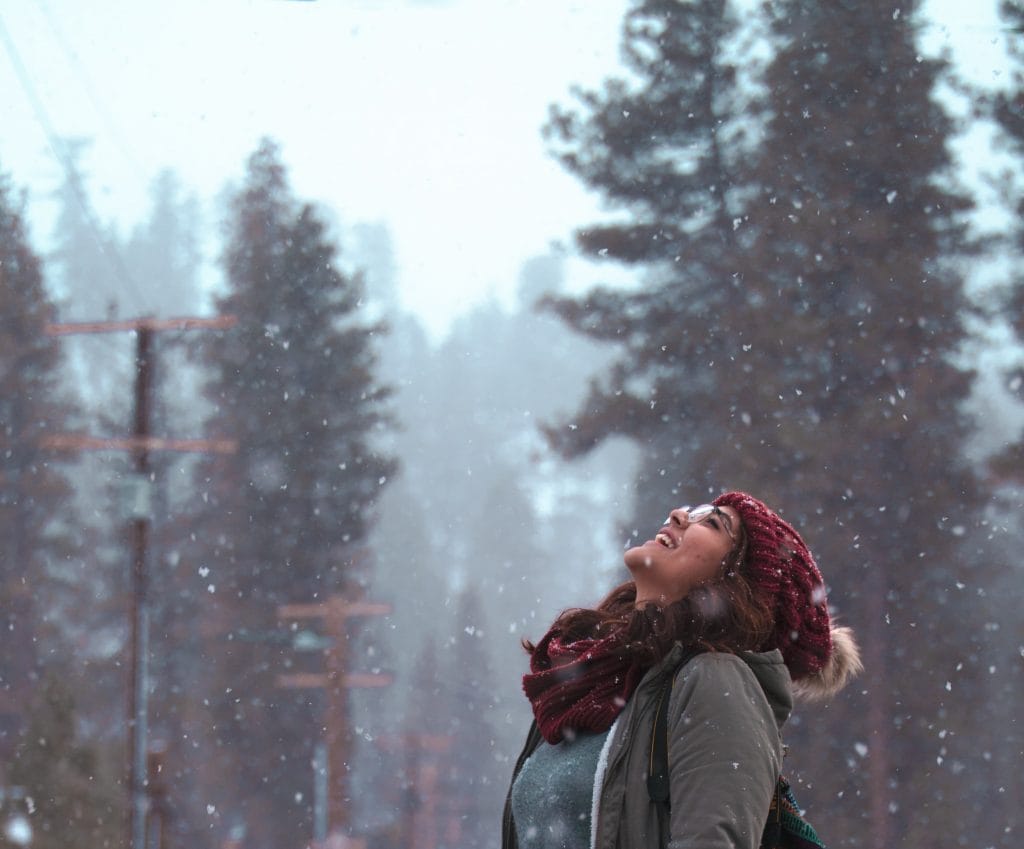
If it’s actively snowing, even better! Capture the flurries in action with a fast shutter speed (1/250 is a good place to start) — a shallow aperture is better too. This is a time to experiment since your settings will be based on the weather, wind speed, and more.
We hope that these snow photography ideas and tips to keep your gear safe in the cold were helpful. We can’t wait to see what you get out and create this winter. If you snap any snow photos you want to share, tag us on Instagram and use #KEHspotlight for a chance to be featured on our page.

