Product photography is all around us on a near-daily basis. Any time you make a purchase online or read the latest gear review, you’re seeing dozens of eye-catching images that showcase whatever it is that you’re researching. Quality visuals make the first impression on a viewer, no matter what the message is.
Shooting product photography is a great way to hone your skills as a photographer, bump up the production quality on your social media or even get a professional photo career started. In fact, it may be the best way to spend hands-on time with your camera while social distancing. You might even be able to pick up some extra income with a stock photo side gig.
Ready to start shooting? Let’s make sure you’ve got what you need to start making awesome product photos without spending a ton of cash.
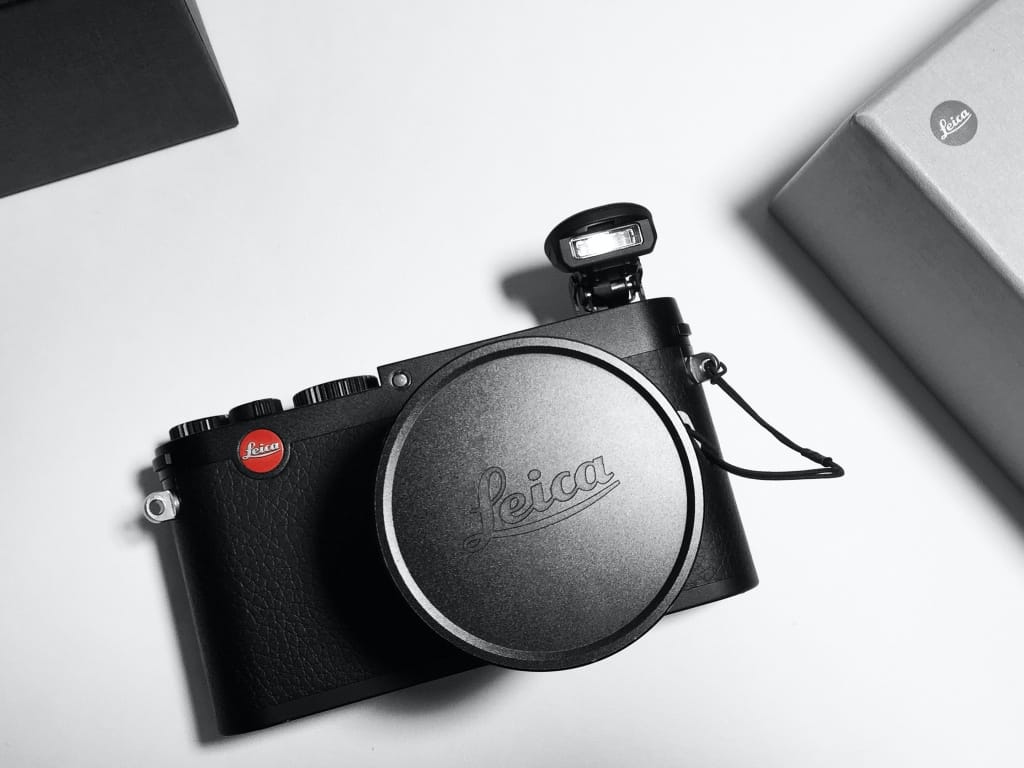
Pictured: A ton of cash.
Tips and Technique
You may or may not realize that product photography has a lot in common with another popular photo trend on social media—food photography. Many of the same methods of lighting and framing apply to other products, without a lot of the stresses that come with shooting food like making sure it appears fresh and hot. Check out some food photography tips from professional food & fashion photographer Kelsey Wilson here.
With the right lighting techniques, you can easily fool the viewer into thinking that a shoot is much more sophisticated than it actually is behind the scenes. Use a large sheet of paper underneath your tabletop product and curve it up the wall behind your subject to create what’s called a sweep. This will pull double duty by making it look like your subject is on an infinite plane without edges and also helps eliminate hard shadows cast from your product.
Other times, a real-world background can be appealing to see a product in its natural environment. A camera sitting on a desk next to a nondescript laptop gives the viewer the impression that it’s being used by a tech-savvy, hip professional. As with many types of photography, the most important piece of gear is the one that’s in the photographer’s head, generating inspiration and ideas.
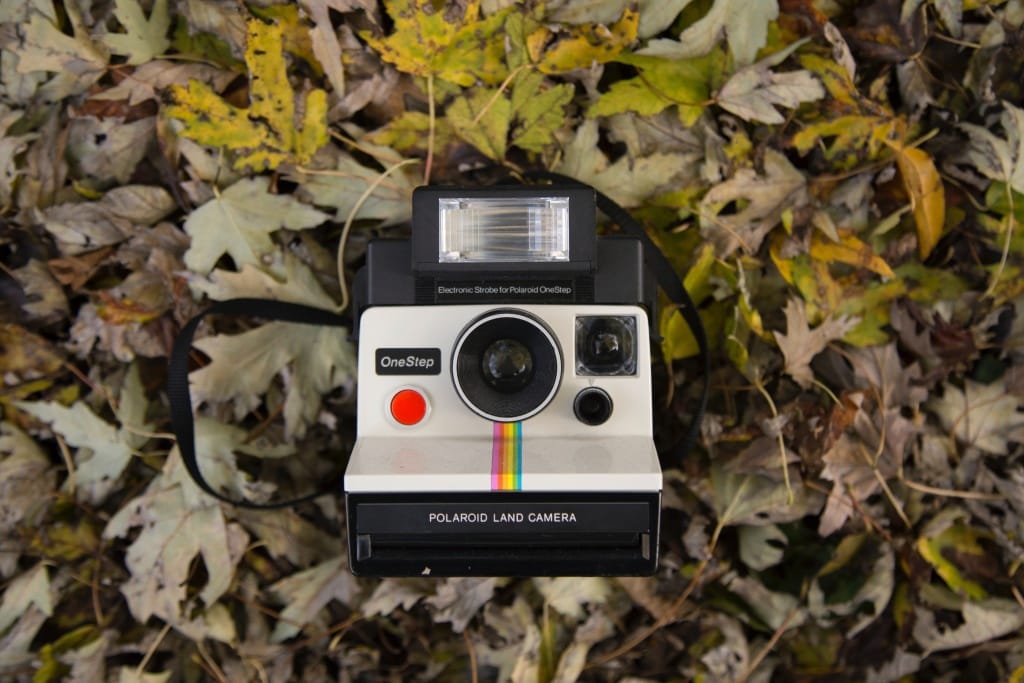
See? Now you want to take Polaroids while you crunch leaves.
Camera & Lens
Here’s the good news about product photography—it doesn’t have to cost much. Most of the time, you won’t need an expensive camera or lens to make a great product image. An image of a product sitting on a tabletop doesn’t require a large sensor or ultra-high resolution.
To stay within budget, an APS-C sensor digital camera would be a great choice. A Sony a6000, Fujfilm X-T2, Canon 70D or Nikon D7200 is plenty of camera for the task. If you’re on a serious budget, you could even drop down to a 12-megapixel Canon Rebel T3 to get started.
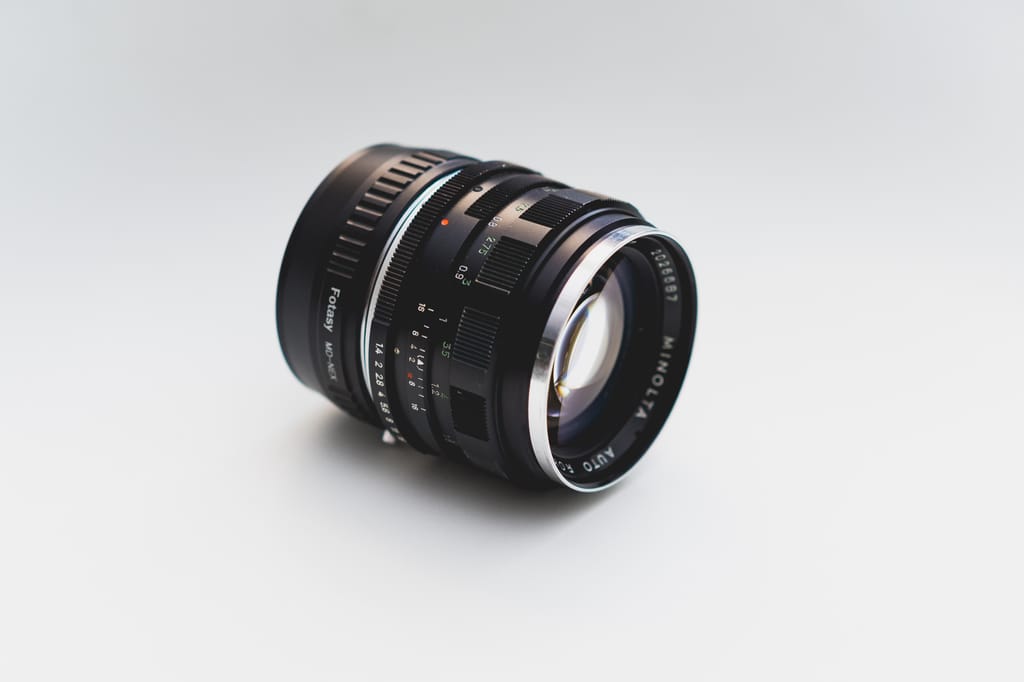
The lens and accessories will be more important here than the actual camera body. Think of shooting product photography similarly to shooting a portrait or headshot. To avoid distortion or fisheye, you’ll want to avoid using lenses that are wide-angle. To zero in on the subject and avoid unwanted background details, use a lens that’s 50mm or longer. Any of the nifty fifty lenses mentioned in this article will be a good choice.
For closer details, consider a short telephoto like an 85mm or a macro lens for your chosen system. A macro lens is great for small items like watches or jewelry. It can also allow you to get close to the product, drawing attention to specific details like a brand logo.
I don’t generally recommend using a kit zoom lens for product photos because they tend to have smaller apertures the more they zoom in on the telephoto side. Of course, this can be worked around but a large aperture can provide a shallow depth of field, helping to draw the viewer’s attention exactly where you want it.
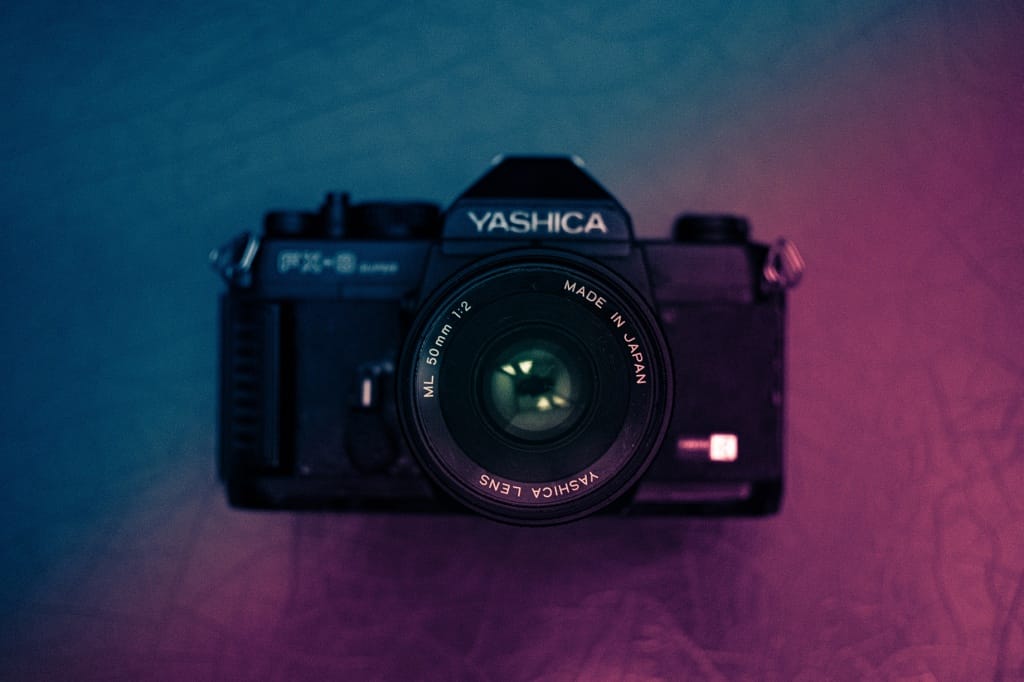
The more lights you’ve got, the more colors you can throw.
Lighting
As I mentioned earlier, lighting can be more important than your camera and lens when it comes to product photography. Those of us who are used to the more candid, documentary-style of shooting will likely be hesitant to add more lighting accessories to their kit, but proper lighting can make or break a product photo.
Budget shooters can start with just a few pieces of white and black foam core board. These can be picked up at many office supply or craft stores and used as inexpensive, lightweight reflectors of natural light. With a single light, a large roll of paper to create a sweep behind your subject, and a couple of pieces of white foam board, you can easily construct a DIY photo booth to eliminate harsh shadows. To kick up your flexibility, consider picking up a reflector disc which often includes a black side, white side, silver and gold along with a diffusor to break up light that’s too intense.
We have a variety of on-camera flashes and studio light units as well. It’s okay to start with just a single light, but consider what kind of professional looks you could achieve with a flash on your camera’s hot shoe with the addition of a second off-camera flash unit off to one side or creating a rim light.
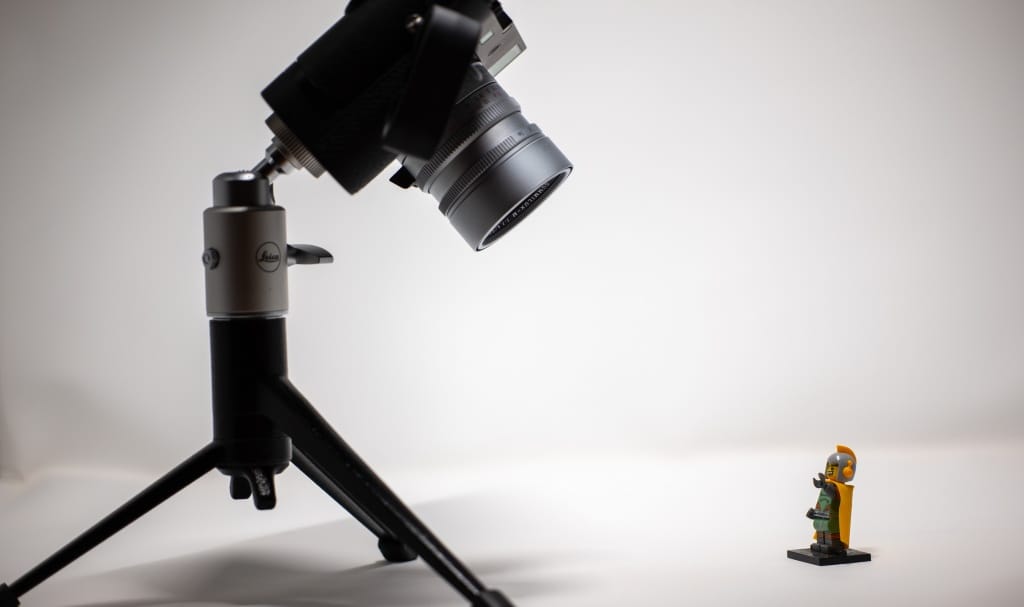
Don’t discount the power of the tripod.
Tripod
Even if you’re vehemently opposed to locking your camera down on a tripod, it’s easy to see where one could benefit a photographer during product photography. The ability to set your camera in one spot and zeroing in on your desired frame makes it much easier to precisely position your lights, adjust your product or make subtle adjustments without losing the moment.
Product photography requires consistency much more than some other types of quick-reflex photography. Even a budget tripod like the Manfrotto Compact Action will save you a lot of time and headache from trying to find that perfect angle again.
For more gear suggestions, photography tips or photo advice, give us a call at 1-800-DIAL-KEH.

