You
have no items in your shopping cart.
Food Photography Guide: Composition and Lighting Tips for Capturing the Holiday Table
November 17, 2026
1 min read

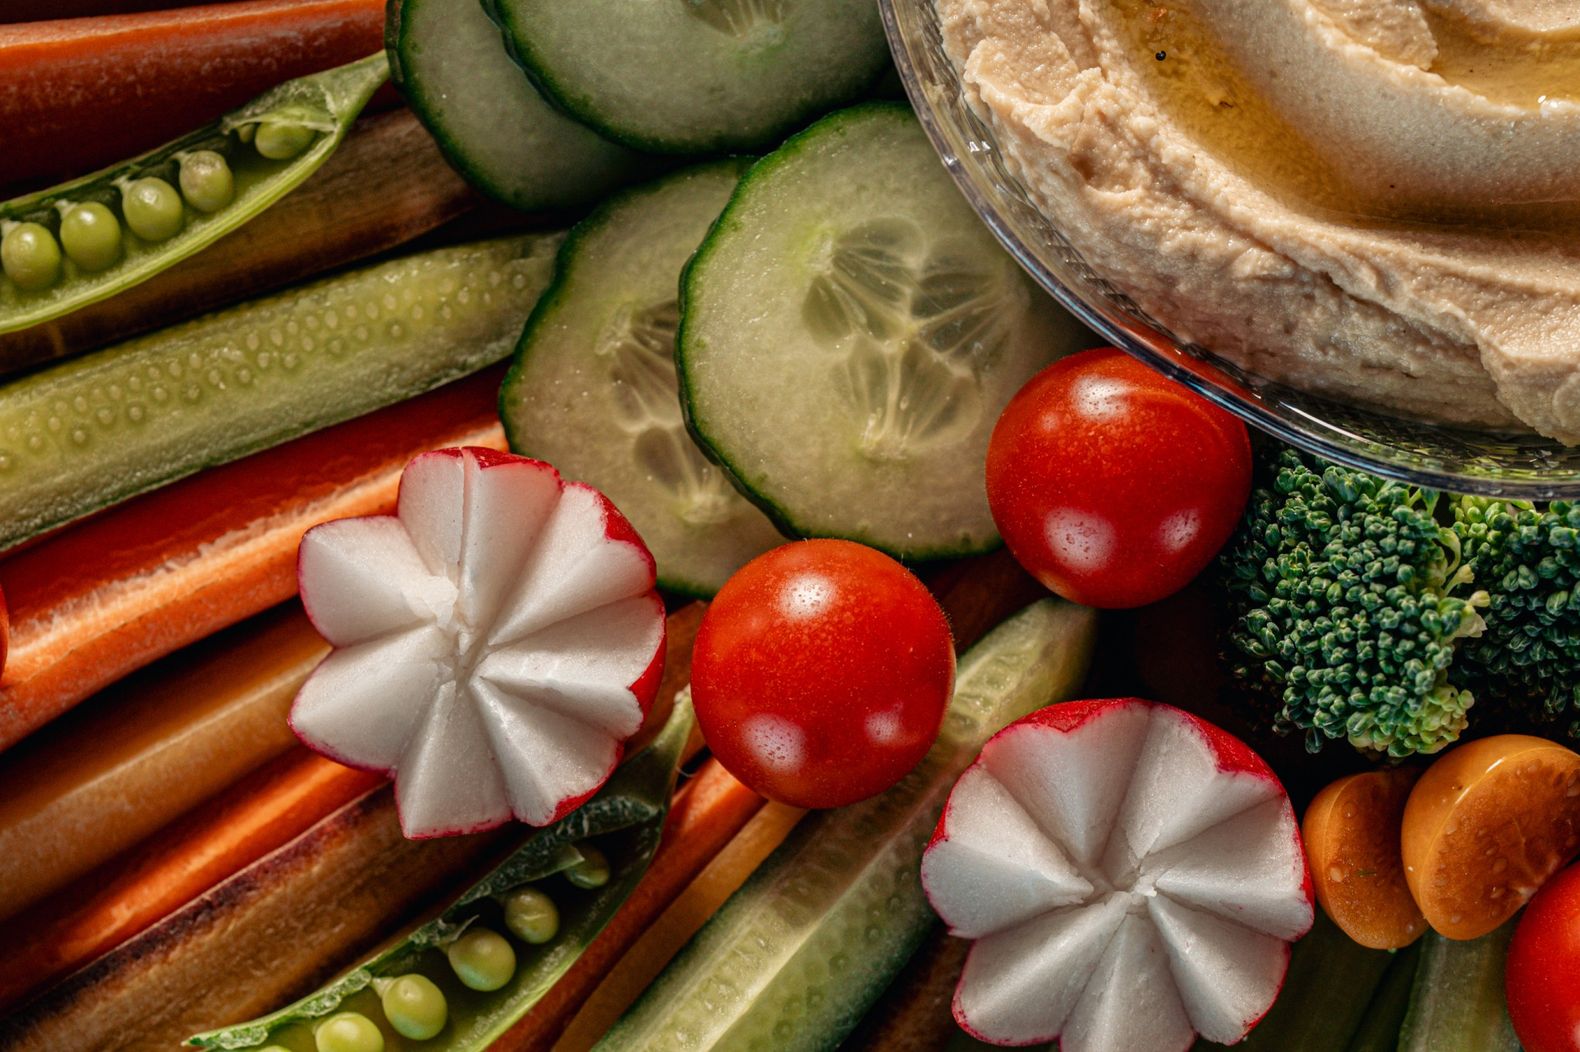
Holiday meals move quickly. The main course comes out of the oven, everyone gathers around the table, and before long, the best-looking dishes have been served. Photographing those moments takes more than finding the right camera angle. You need to work with limited daylight, crowded tables, changing lighting conditions, and food that won’t wait around for the perfect shot.
A little preparation can make all the difference.
Professional food photographer Savannah Bokus shares her approach to photographing food, from choosing the right lenses to shaping light and building a visual story. Her advice, featured in a KEH video interview below, offers a professional perspective on creating compelling food photographs without losing sight of what makes a gathering special.
Whether you’re documenting a family recipe, photographing the entire holiday spread, or capturing candid moments around the table, these techniques will help you make the most of your camera and surroundings.
One of the biggest challenges of holiday food photography is timing. A beautifully plated dish can quickly lose its visual appeal, especially when it’s hot, freshly prepared, or being passed around the table.
Rather than waiting until dinner is served to figure out your composition, prepare your setup in advance.
Start by deciding what you want to photograph. A full-table arrangement requires a different approach than an individual dish or a close-up of a dessert. Think about the story you want the image to tell and how much of the surrounding environment needs to be included.
Before the food arrives:
If you’re photographing a full dining table, take a test shot with empty serving dishes or place settings. This gives you an opportunity to adjust your position without asking everyone to wait while you rearrange dinner.
You can also identify which dishes should be photographed first. Foods that look best immediately after serving, such as a freshly sliced roast or a hot casserole, should take priority over dishes that can sit for a few minutes.
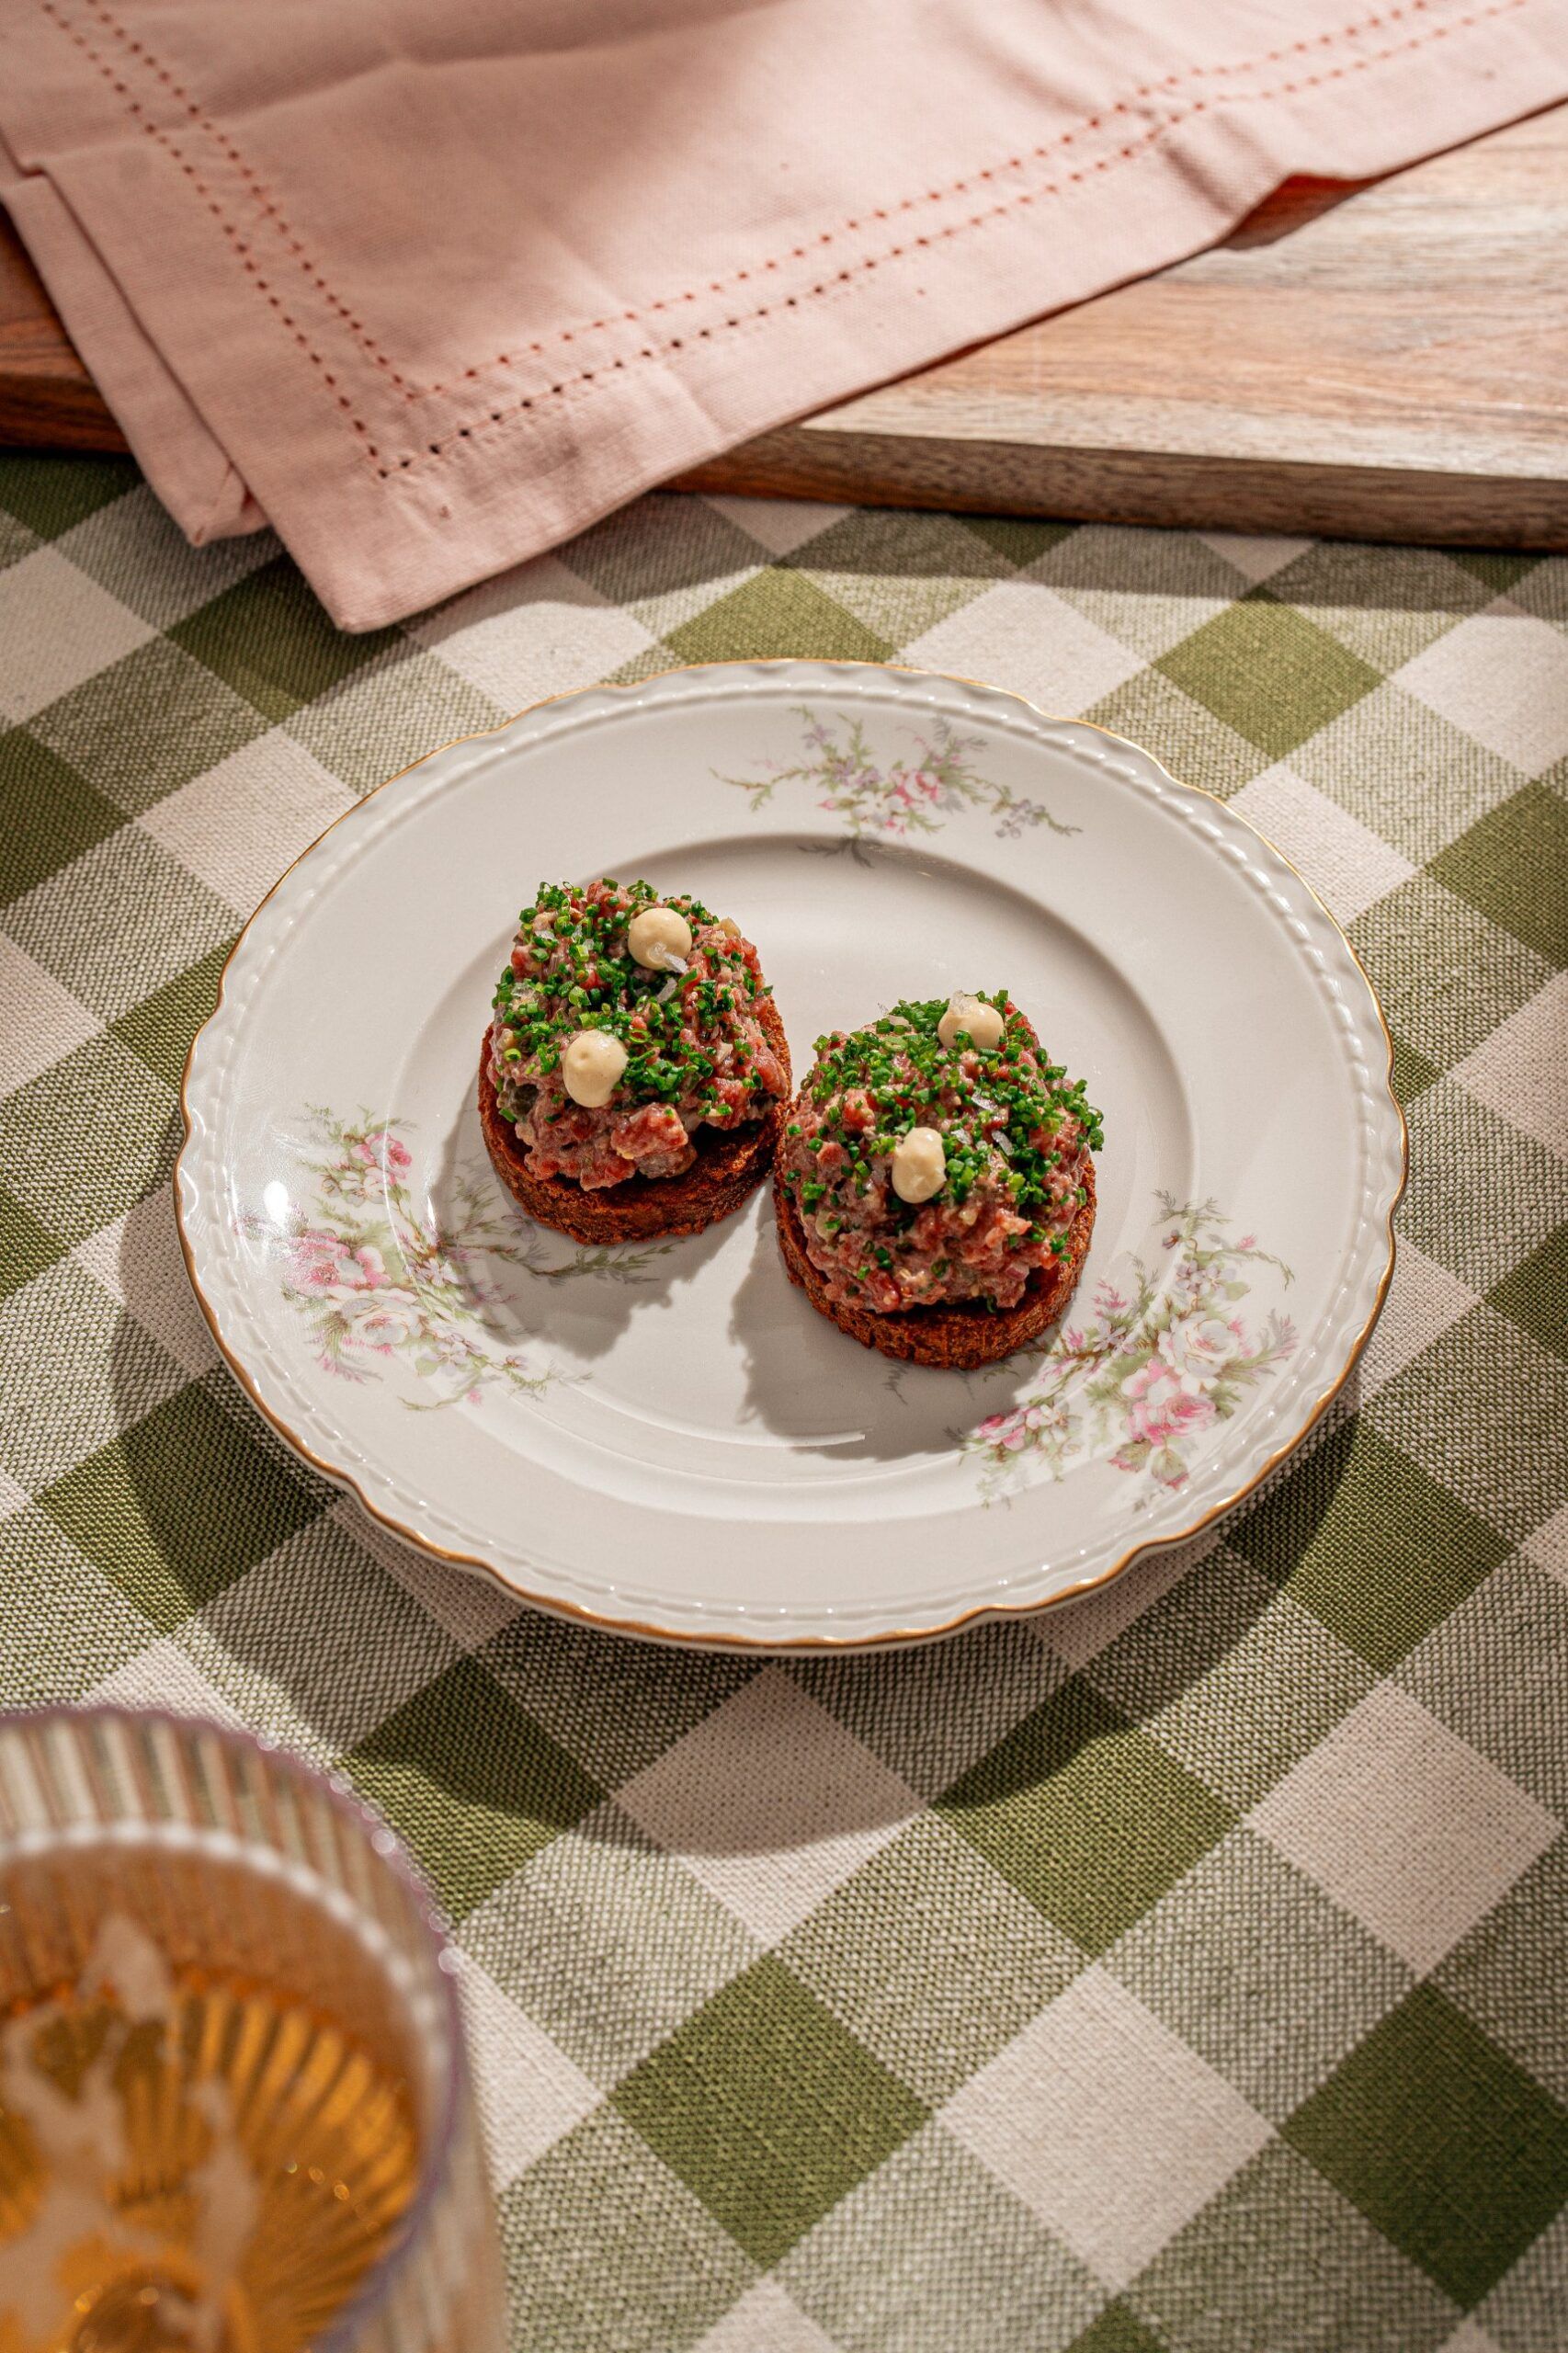
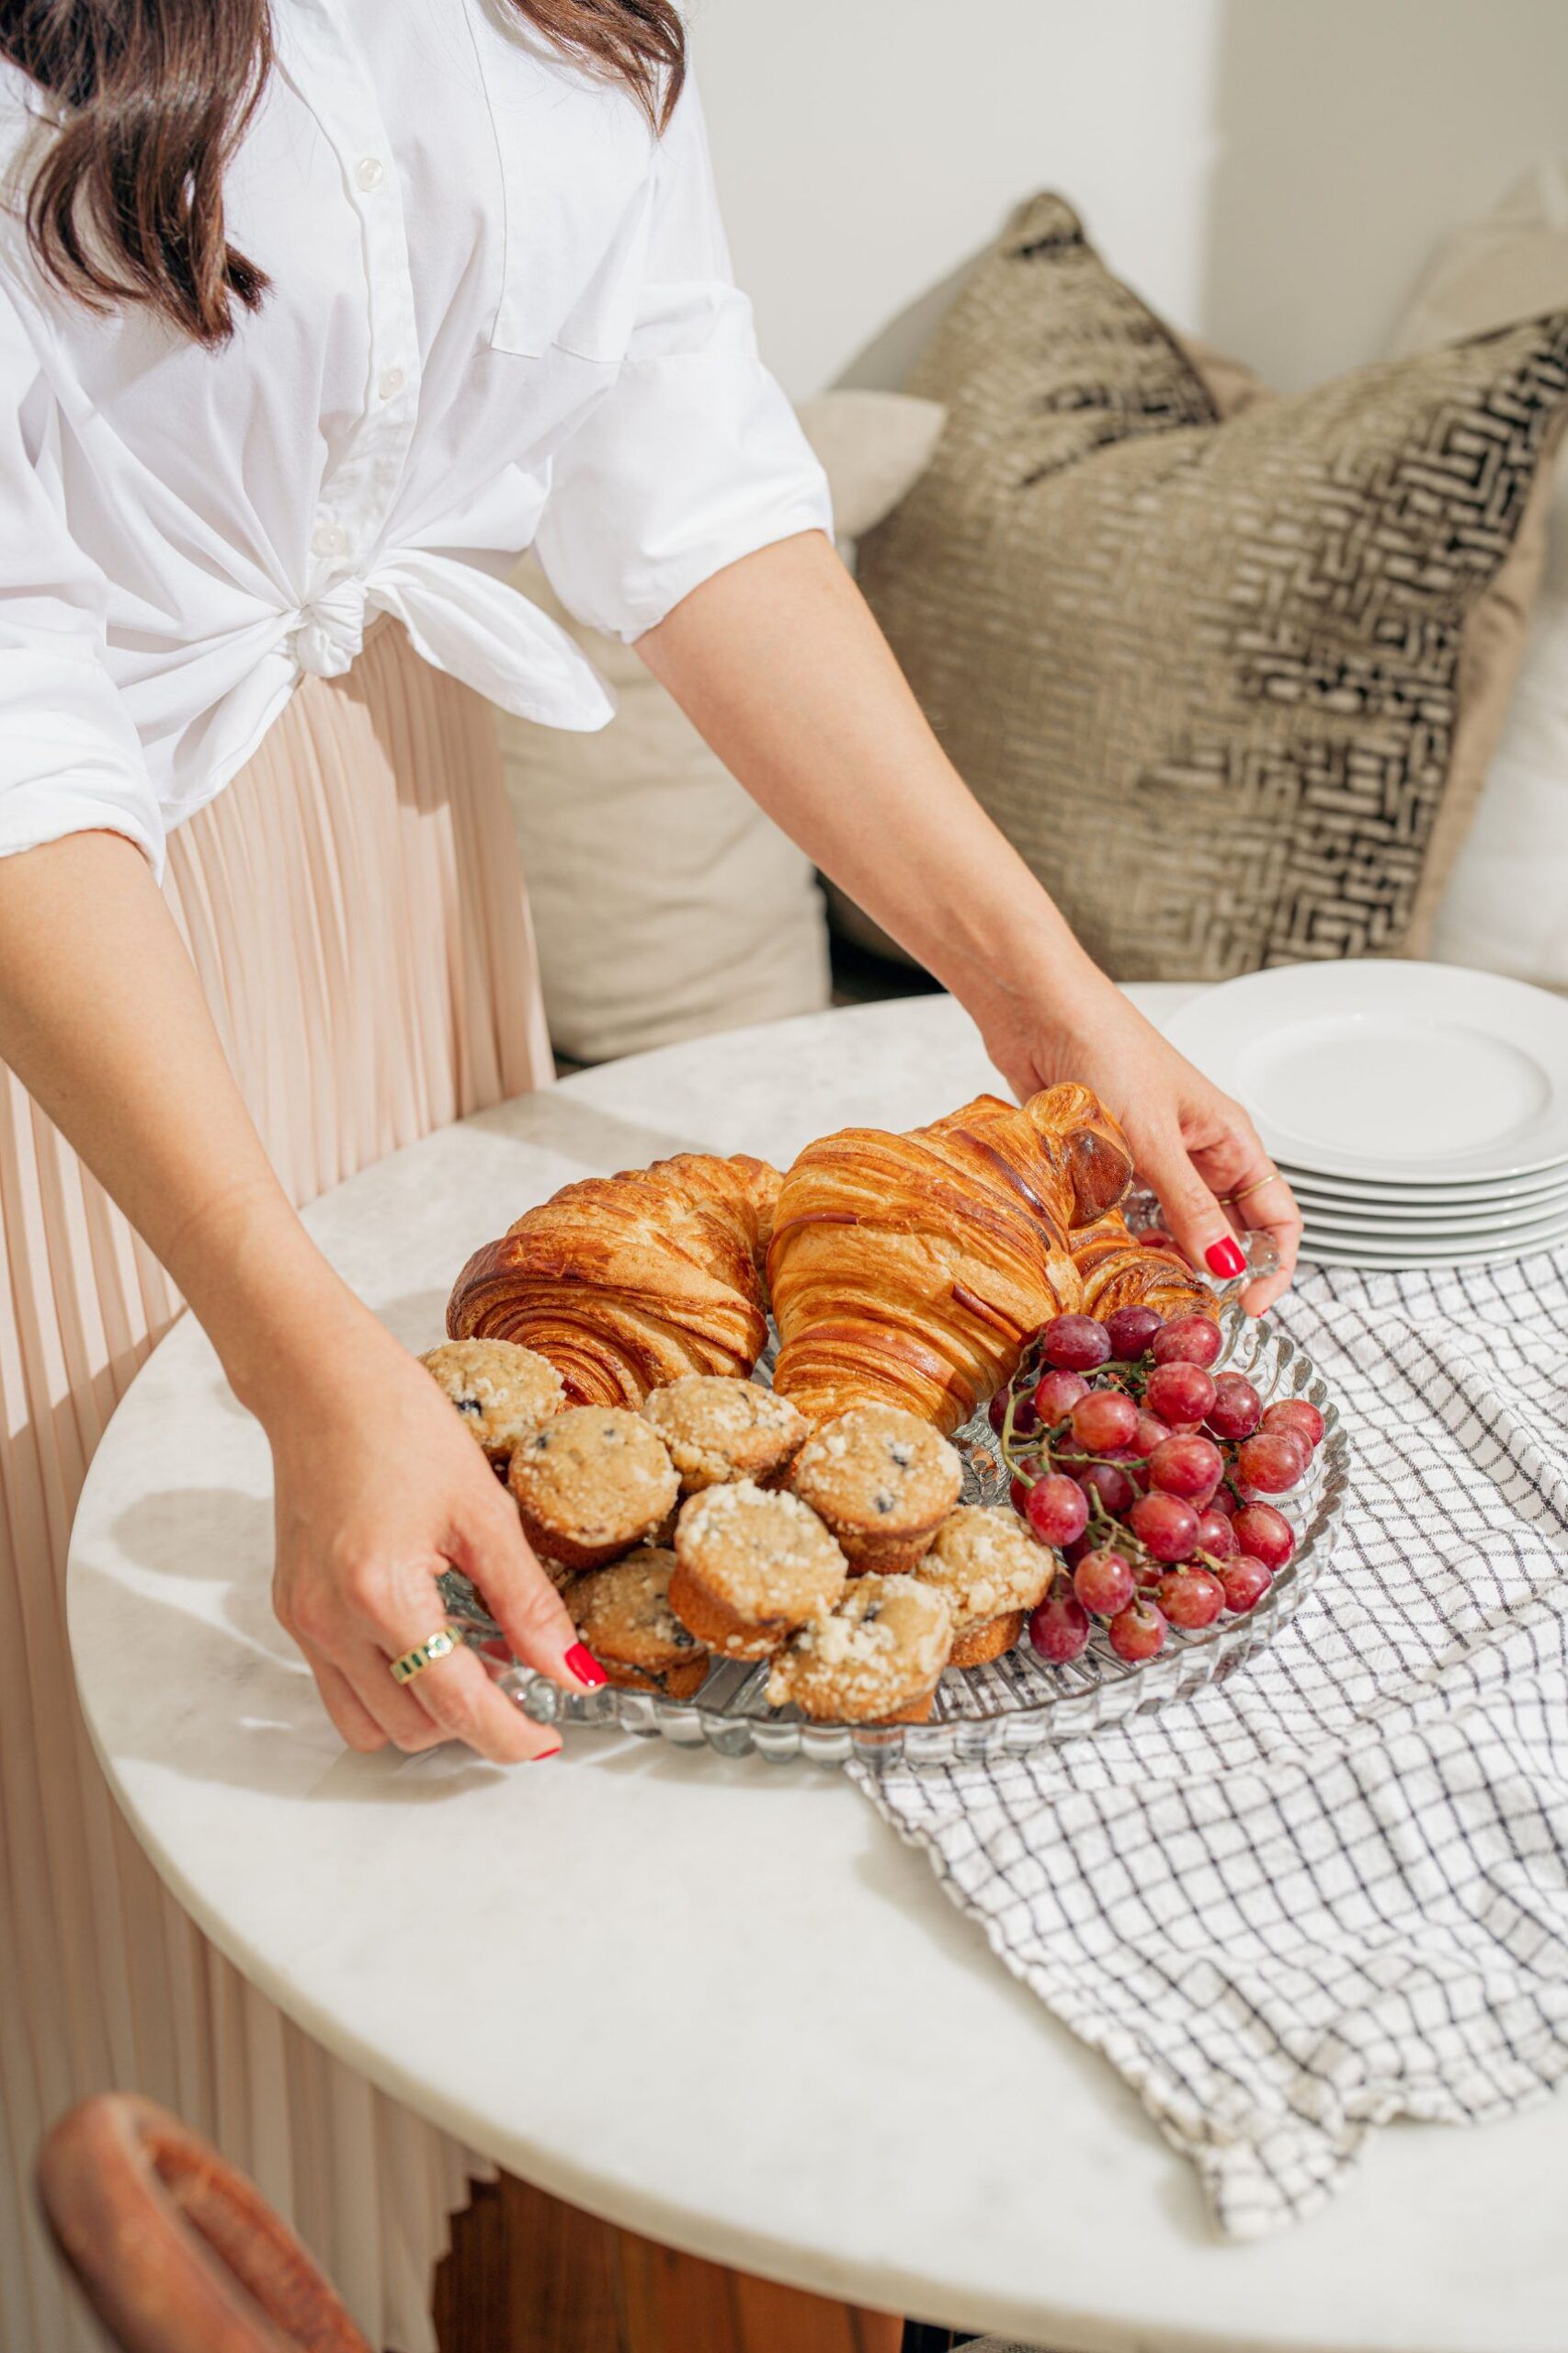
Once the food is ready, your composition should make the subject immediately recognizable while adding enough context to communicate the atmosphere of the meal.
Different foods benefit from different perspectives. Three camera angles are particularly useful:
Don’t assume one angle will work for every dish. Take a few photographs from different positions and compare how the food looks. A pie might benefit from an overhead composition, while a layered cake will usually look more interesting from the side.
Holiday tables naturally have a lot happening. Between serving bowls, glassware, utensils, decorations, and multiple dishes, it’s easy for a photograph to become visually overwhelming.
Choose one primary subject and let the surrounding elements support it. Smaller dishes, linens, ingredients, and serving utensils can help guide the viewer’s eye without competing with the main attraction.
Pay attention to the edges of your frame, too. Watch for partially cropped plates, objects blocking the food, and distracting elements in the background.
You don’t need to remove every detail. A few crumbs, a partially sliced pie, or a serving spoon resting beside a dish can make a photograph feel more authentic.
As Savannah explains in her interview, she likes using her 50mm lens for overhead flat lays, straight-on photographs, and different angles that help tell a story. That flexibility makes it a useful choice when you want to capture both the food and the atmosphere surrounding it.
Holiday dinners don’t always happen during the brightest part of the day. In fact, many gatherings take place after sunset, when dining rooms rely entirely on overhead fixtures, lamps, and decorative lighting.
This can create two challenges: insufficient light and inconsistent color.
A room illuminated by warm overhead bulbs and cooler window light can produce noticeably different colors across the same photograph. Food may appear overly orange in one area and cooler in another.
Instead of relying on every available light source, simplify your setup.
If natural daylight isn’t available, a single diffused continuous light is a practical starting point for indoor food photography.
A continuous light allows you to see how the illumination falls across the food before taking the photograph. Unlike a flash, the light remains on while you’re composing and adjusting your exposure.
For a simple tabletop setup:
For stationary food, this setup provides a consistent light source that you can adjust until the dish looks the way you want.
Photographing people serving or eating requires a different approach. A stationary dish can be photographed using a tripod and a slower shutter speed, but people move. Keep the continuous light positioned out of the way, maintain a sufficiently fast shutter speed, and increase ISO when necessary. Avoid asking guests to hold still under an elaborate lighting setup just to get the shot.
If you’re photographing earlier in the day, a window can provide beautiful natural light.
Position the food near a window with light coming from the side. This helps reveal texture and dimension, making details like browned edges, flaky pastry, and fresh ingredients more noticeable.
If direct sunlight creates harsh shadows, soften it with a sheer curtain or diffuser. A white reflector or foam board opposite the window can bounce light back onto the darker side of the dish.
Savannah also uses more controlled lighting techniques in her professional work, including hard flash for a crisp, detailed appearance and strip boxes to create a moodier environment.
Her advice is a good reminder that lighting doesn’t have to look one particular way. The goal is to choose a setup that supports the mood and details you’re trying to capture.
Once you’ve established your light source, pay attention to white balance.
A fixed white balance can help maintain consistent color across a series of photographs, particularly when you’re photographing multiple dishes under the same lighting conditions.
Shooting in RAW format also gives you more flexibility to refine white balance and color during editing.
Avoid mixing daylight, warm household bulbs, and artificial photography lights whenever possible. Controlling your light sources at the beginning is easier than trying to correct inconsistent color throughout an entire set of photographs.
The best camera settings depend on whether your subject is stationary or moving. A beautifully arranged centerpiece and a candid photograph of someone carving the main course require different exposure choices.
Aperture priority is a useful starting mode for stationary food photography because it allows you to control depth of field while your camera adjusts shutter speed. Manual mode provides more control when your lighting and composition remain consistent.
Use these settings as starting points:
| Photography situation | Starting settings | What to consider |
| Individual food portraits | f/4–f/5.6 | Creates some background separation while keeping the main subject sharp. |
| Multiple dishes or full-table arrangements | f/8–f/11 | Helps maintain sharpness across more of the scene. |
| Handheld photographs | 1/125 second or faster | Helps reduce camera shake. |
| Low-light environments | Raise ISO as needed | Maintains a usable shutter speed when light is limited. |
| People serving or moving | 1/250 second or faster | Helps freeze movement and capture natural gestures. |
These are starting points, not fixed rules. Your lens, camera, available light, and subject movement will influence the settings that work best.
For stationary food: You have more flexibility with shutter speed. A tripod can help you photograph at smaller apertures or in dim lighting without introducing camera shake. Pay attention to depth of field, especially when photographing multiple dishes that need to remain in focus.
For people and movement: Prioritize shutter speed. If someone is pouring gravy, passing a serving dish, or slicing dessert, a faster shutter speed helps preserve the action. Don’t be afraid to increase ISO to get a sharp photograph.
For changing conditions: Review your photographs as you work. Check focus and exposure, particularly when moving between a brightly lit kitchen and a darker dining room. A quick adjustment before the next shot is better than discovering an entire series is underexposed.
Savannah also recommends using foam board to control light. White foam board reflects light back onto a subject, while black foam board absorbs light to create a moodier appearance. It’s a simple, inexpensive way to adjust contrast without investing in an extensive lighting kit.
Once your camera and lighting are ready, think about the gathering as a sequence rather than trying to photograph everything at once.
A loose shot list helps you capture the important moments without spending the entire meal behind your camera.
Start with ingredients, table settings, and the finishing touches. These photographs help establish the story before the food reaches the table.
Look for details like fresh herbs being added, a pie coming out of the oven, or someone arranging the final place settings.
This is your opportunity to photograph the entire table while everything is still in place.
Try an overhead or slightly elevated angle, depending on the size and layout of the table. If the room is too tight for a wide composition, photograph the spread in sections rather than forcing everything into one frame.
Before everyone starts serving, photograph the dishes that deserve their own attention.
Move closer to capture textures, colors, and presentation. Try a few angles and pay attention to how the light falls across the food.
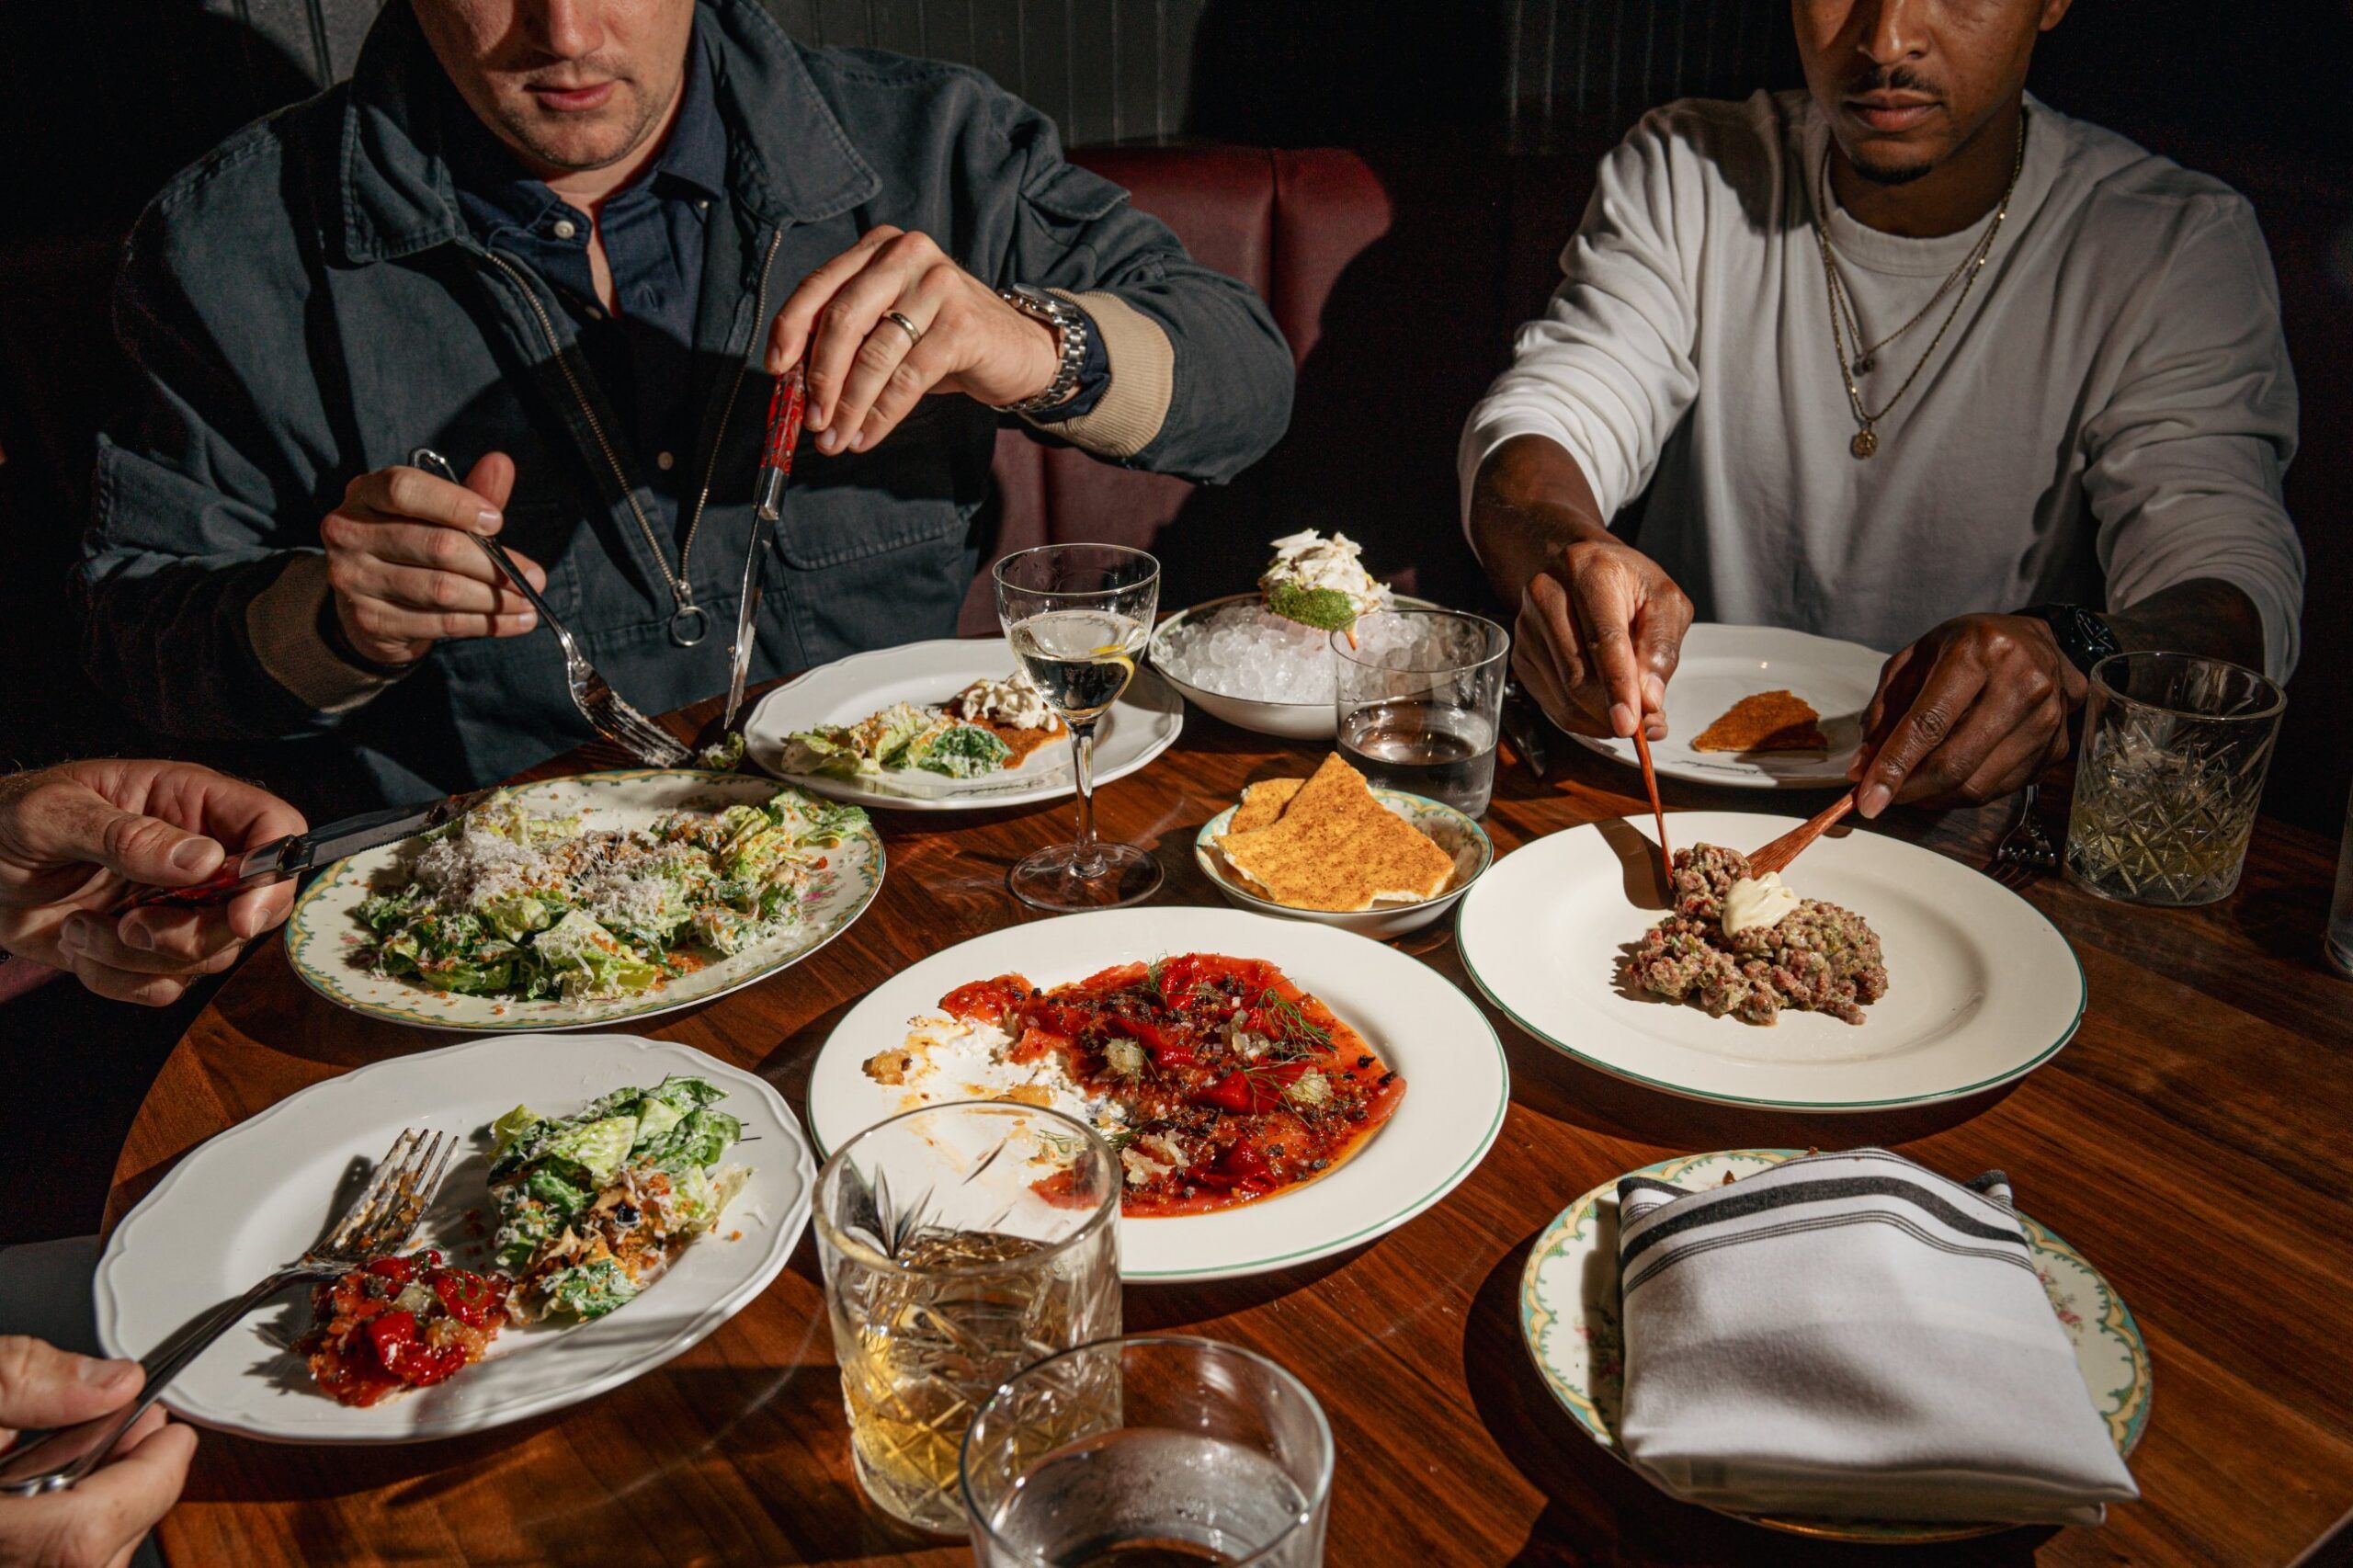
Once dinner begins, shift your attention to the people and activity around the table.
Look for natural moments: someone carving the main course, passing a serving bowl, pouring a drink, or reaching for another slice of pie.
This is where a faster shutter speed and a flexible lens become especially useful. Be ready to capture the moment rather than trying to stage every photograph.
After the main course, look for smaller moments that might otherwise go unnoticed. A freshly cut dessert, an empty serving dish, or a close-up of a favorite family recipe can add variety to your photographs.
Don’t forget the people, either. The food may be the subject, but the gathering is the reason you’re taking the photographs.
Want more food photography tips? Check out this video:
You don’t need a specialized food photography kit to capture great images. A camera body with manual exposure controls and RAW image capture, paired with a versatile lens, provides a solid foundation.
The most useful equipment depends on what you’re photographing and where you’ll be working.
Food photography often involves switching between wide compositions, individual dishes, and close-up details. These are some useful lens options to consider:
| Photography need | Gear to consider | Why it helps |
| Capturing the entire table | Wide-angle or standard zoom | Provides framing flexibility in smaller dining spaces. |
| Photographing individual dishes | 50mm or 85mm prime | Offers natural-looking perspective and subject separation. |
| Capturing food details | Macro lens | Allows you to focus closely on textures and ingredients. |
| Working in low light | Fast prime lens | A wider maximum aperture lets more light reach the sensor. |
| Switching between compositions | Standard zoom lens | Lets you adjust framing without changing lenses. |
Savannah Bokus relies on three focal lengths for different parts of her professional food photography work:
Together, these lenses provide flexibility to capture the overall scene, individual dishes, and the details that make a meal distinctive.
When shopping for KEH Certified™ pre-owned lenses, check the mount and compatibility requirements for your camera body. Different camera systems have different lens options, and adapters don’t always preserve every feature, including autofocus and electronic communication.
A few accessories can make food photography easier, particularly when working in smaller spaces or challenging lighting conditions.
You don’t need to purchase everything at once. Start with the equipment that addresses your biggest challenges, whether that’s photographing in a dim dining room, fitting the entire table into your frame, or getting closer to intricate food details.
KEH Certified™ pre-owned cameras, lenses, and accessories offer another way to explore different equipment without automatically paying full retail. With inspected and graded gear, you can build a setup that supports your photography goals while keeping more room in your budget.
The best holiday food photographs aren’t necessarily the most elaborate. They’re the ones that capture the dishes, details, and people that make a gathering worth remembering.
Prepare your camera before dinner, work with the lighting available, and prioritize the moments that matter most. Whether you’re photographing a beautifully arranged holiday table or someone reaching for the last piece of pie, a little planning and the right techniques can help you create photographs you’ll want to revisit long after the meal is over.
Ready to explore new creative possibilities? Shop KEH’s selection of KEH Certified™ pre-owned cameras, lenses, and accessories to find the equipment that helps bring your next photographic idea to life.
The best angle depends on the subject. Overhead photography works particularly well for flat dishes and full-table arrangements, while a 45-degree angle provides a natural perspective for plated meals. Lower angles are useful for taller foods, such as layered cakes and stacked desserts.
Start by simplifying your lighting setup. Turn off competing household lights and use one diffused continuous light positioned to the side of your subject. A fast lens can also help in darker environments. Increase ISO when necessary to maintain a usable shutter speed, especially when photographing people or other movement.
For stationary food, a tripod provides more flexibility to use slower shutter speeds.
There isn’t one setting that works for every food photograph. Apertures around f/4–f/5.6 are a useful starting point for individual dishes, while f/8–f/11 can help keep more of a full-table arrangement in focus. Adjust shutter speed according to whether your subject is stationary or moving, and increase ISO when necessary.
No. A standard zoom or prime lens can handle many food photography situations. A 50mm lens is a versatile option for individual dishes, while wider lenses are useful for capturing larger arrangements. Macro lenses are particularly helpful when photographing small details and textures at close range.
Pay attention to lighting, composition, and presentation. Side lighting helps reveal texture, while thoughtful styling keeps attention on the food. Use complementary tableware and relevant ingredients, and photograph dishes while they’re fresh. Small details, such as a freshly cut slice or a well-placed garnish, can make a photograph feel more inviting.