You
have no items in your shopping cart.
8 Low-Light Photography Tips That Have Nothing to Do With Your Camera
October 21, 2026
1 min read

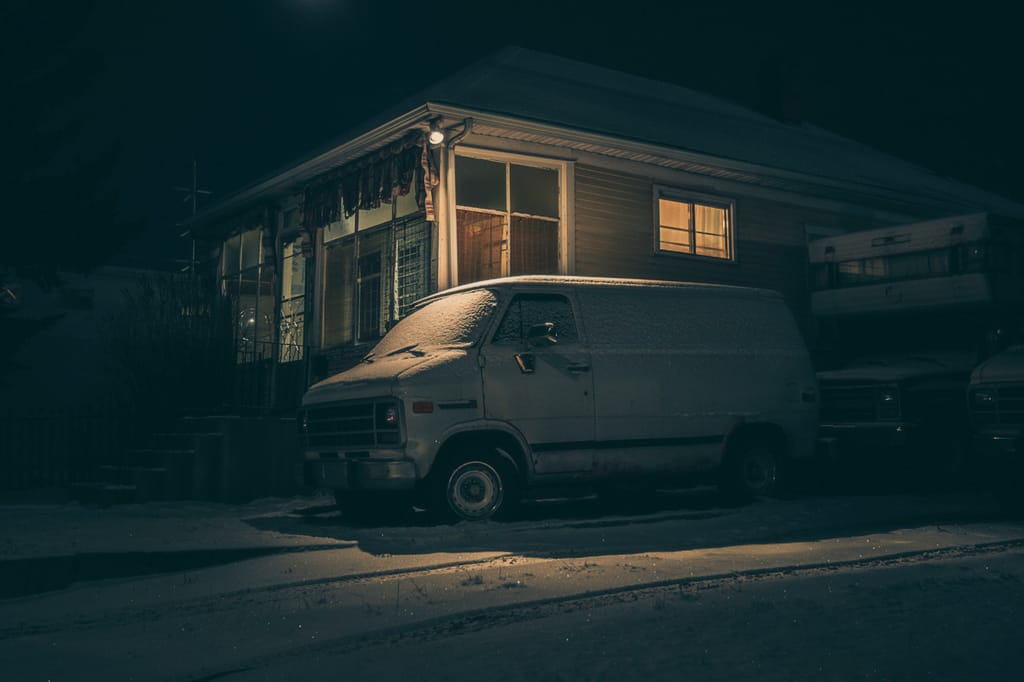
Dim rooms, blue-hour streets, candlelit dinners, school plays, night markets—low light has a way of turning good photo ideas into blur, noise, and frames that are simply too dark. It’s tempting to assume a newer camera will magically fix everything, but technique often makes a bigger difference than you might expect. These eight low-light photography tips focus on smarter decisions you can make with the gear you already own, helping you create sharper, cleaner, more intentional images.
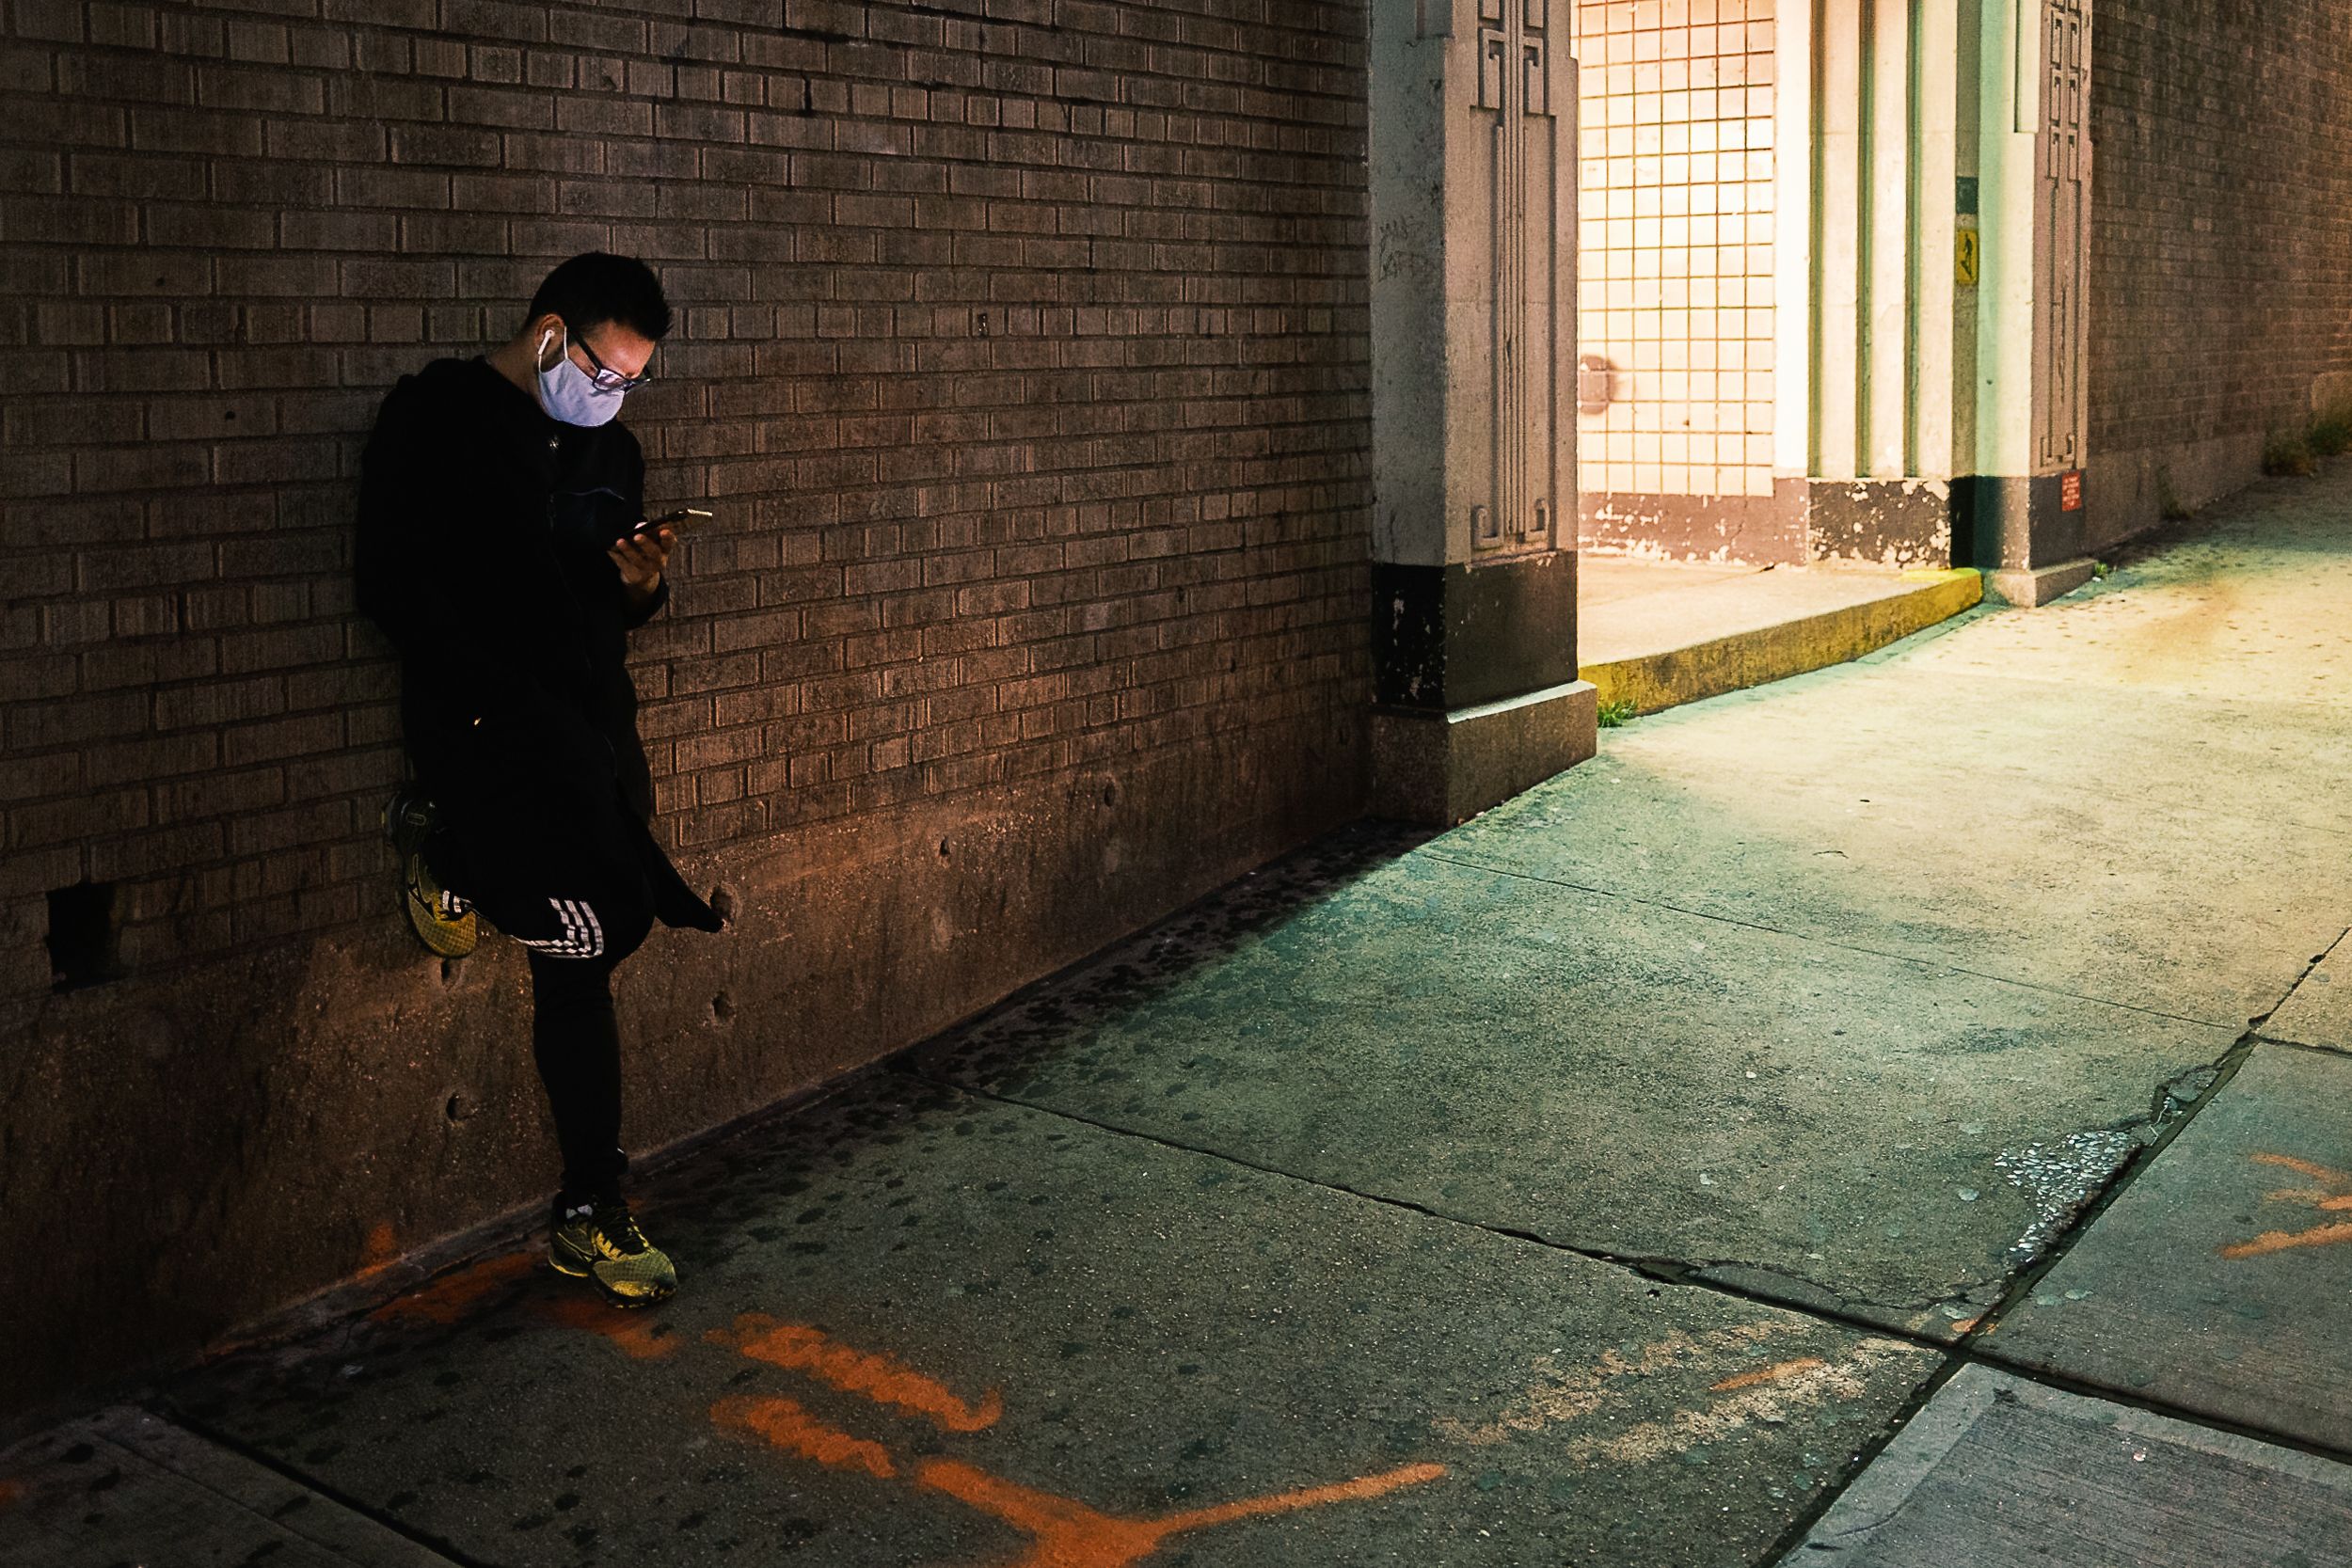
Before changing your settings, take a moment to locate the best available light. A window, lamp, storefront, candle, stage spotlight, or passing car headlights can shape your image more than a small adjustment to your settings. Low-light photography isn’t just about finding more light. It’s about making the most of what’s already there.
Indoors, move your subject closer to a table lamp or window instead of shooting from across the room. On the street, wait for someone to walk beneath a sign or into a pool of shop light. At events, position yourself where speeches, dances, or reactions are already illuminated. Photographing pets at home? Try placing them near a doorway or a bright patch on the floor.
Pay attention to the direction of the light, too. Light falling across someone’s face creates a different effect than light coming from directly behind them. Small changes in positioning can transform the mood of an image without changing a single camera setting.
When a low-light photo isn’t working, moving a few feet can be more effective than cycling through settings. A different angle can put light on a face, eliminate a bright distraction, or help you frame a subject against a darker background.
If your subject is backlit, try moving until the available light reaches their face. For street photography, step across the sidewalk to catch reflections in wet pavement or frame someone against an illuminated storefront. During portraits, turn your subject slightly toward the nearest light source.
The same approach works at events. Move to an aisle where stage lighting falls toward the performers, or find an angle that separates your subject from a cluttered background. With pets, get low and shift your position until their eyes catch a highlight.
Instead of immediately reaching for your settings, ask yourself what would change if you moved. Sometimes the best exposure adjustment starts with your feet.
A blurry low-light photo doesn’t always mean your camera needs an upgrade. Camera shake happens when your hands move during an exposure, while subject motion happens when the person, pet, or object you’re photographing moves. Knowing the difference helps you figure out what to change.
Start by giving yourself a stable position. Hold the camera with both hands, keep your elbows close to your body, and stand with your feet comfortably apart. If you’re near a wall, lean against it for extra support. When seated, resting your elbows on a table or your knees can help reduce movement.
Your breathing matters, too. Take a breath, exhale gently, and press the shutter without jabbing at it. These small adjustments can make a noticeable difference, especially when you’re working with slower shutter speeds.
Just remember that a steady photographer can’t stop a moving subject from blurring. If you’re photographing a running dog or a dancer, you’ll need to account for their movement as well.
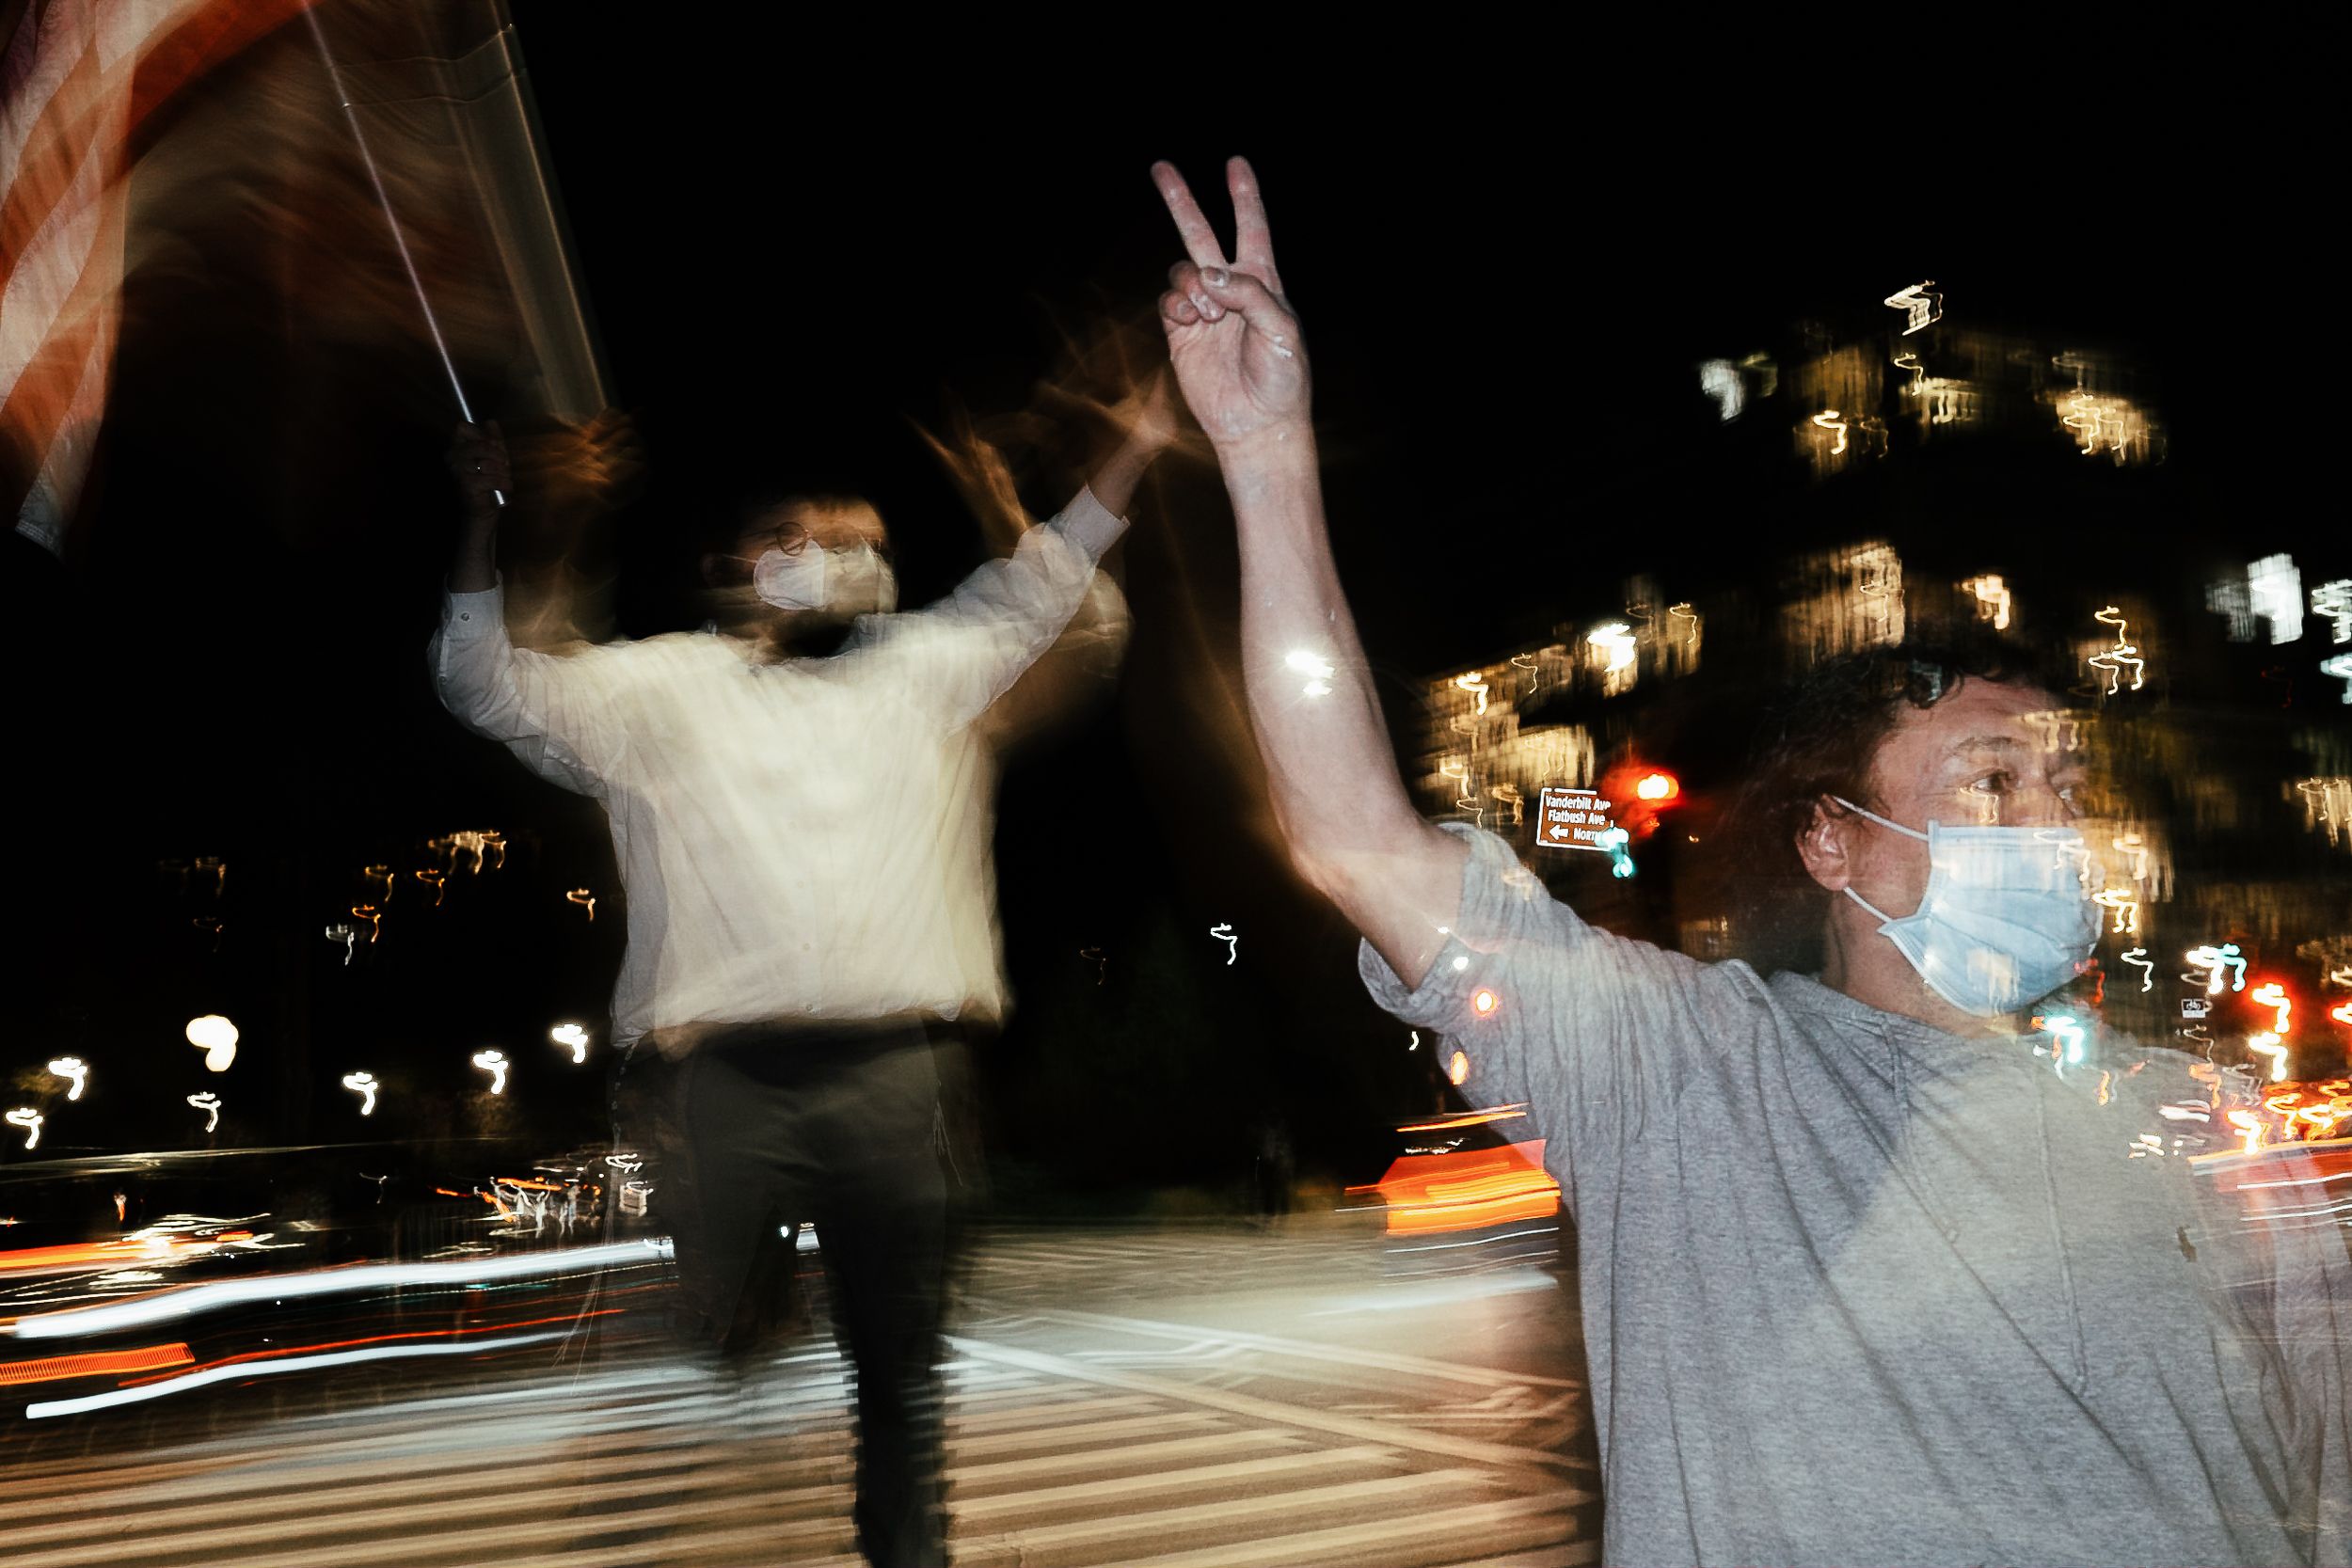
Low light makes motion more challenging because slower shutter speeds leave more time for movement to register in the image. Rather than trying to eliminate every bit of blur, decide whether you want to freeze the action, time your shot for a quieter moment, or use movement creatively.
For portraits, look for brief pauses between gestures. Photograph someone just after a laugh, before they turn their head, or while they’re listening rather than speaking. These moments can feel more natural and are often easier to capture sharply.
On the street, you might keep a storefront sharp while allowing pedestrians to blur through the frame. At events, anticipate repeated actions like clapping, dancing, or walking toward a microphone. Knowing what comes next gives you a better chance of catching the moment you want.
The same principle applies to pets. Instead of photographing a dog at full speed in a dim room, look for moments when they’re sitting, sniffing, or watching something. You can still capture personality without fighting constant motion.
Low-light scenes often contain plenty of visual distractions: bright signs, scattered light sources, cluttered backgrounds, and deep shadows. A simpler composition helps your subject stand out without requiring you to brighten every part of the frame.
Indoors, look for a clean background before photographing someone at a dinner table. On the street, try framing one person beneath a single light source rather than including an entire busy block. For portraits, a dark wall or doorway can help draw attention to the face.
You can also use darkness deliberately. A silhouette against a bright window, a face emerging from shadow, or a single illuminated detail can tell a stronger story than a frame in which everything competes for attention.
Before pressing the shutter, scan the edges of your frame. Is there a bright object pulling your eye away from the subject? Could you take a step to simplify the background? In low light, a thoughtful composition can do more for your image than trying to show every detail.
Not every low-light photograph needs to be sharp from edge to edge. A longer exposure can turn traffic into light trails, water into a soft blur, and moving crowds into an atmospheric wash of color. Motion becomes part of the image rather than a technical problem to solve.
Look for scenes where movement adds something to the story. Passing cars beneath neon signs, people crossing a busy street, or reflections shifting across wet pavement can all work well. If you’re photographing a quiet interior, a longer exposure can also preserve the room’s natural atmosphere without making it look unnaturally bright.
The key is deciding what should remain still and what can move. If you want light trails, let the traffic move through the frame. If you want a recognizable person surrounded by blurred movement, look for a moment when they pause while the rest of the scene continues around them.
Take a test shot and review the result. If everything is blurred, consider whether the camera moved or the subject did. If the blur adds energy or atmosphere, keep it. If it distracts from the subject, adjust your approach.
You don’t always need to introduce another light source to soften shadows. Nearby surfaces can redirect existing light and help illuminate your subject more evenly.
A white wall, pale curtain, light-colored ceiling, or even a white tabletop can reflect light back into a scene. This is especially useful indoors, where a single window or lamp may illuminate one side of a face while leaving the other in shadow.
For a portrait, position your subject near a light-colored wall so some of the incoming light bounces back toward them. If the light from a window is too direct, a sheer curtain can diffuse it, creating softer transitions between highlights and shadows. You can also look for naturally reflective surfaces on the street, such as pale building facades or light-colored pavement.
Pay attention to the color of the surfaces around you. A brightly colored wall may cast a noticeable tint onto skin, while a neutral surface is more likely to preserve natural-looking colors.
This approach won’t replace a dedicated light source in every situation, but it can make the light you already have go further. Before adding anything to your setup, look around and see what the environment can do for you.
Low light leaves less room for rushed decisions, especially when you’re photographing an event or working in an unfamiliar location. A little preparation helps you recognize useful light, anticipate movement, and spend less time troubleshooting when the moment arrives.
Before an indoor gathering, notice which corners are best lit and where the background looks cleanest. For street photography, walk your route around dusk and look for interesting signs, windows, and reflections. For portraits, choose a location with a reliable light source and enough room to position your subject.
At events, find out where speakers, performers, or key moments will happen. Think about where you’ll stand before the action starts. If you’re photographing pets at home, pay attention to when they’re most relaxed and where they tend to settle near natural light.
Planning doesn’t mean you have to map out every shot. It simply gives you a starting point, so you can focus on the moments worth capturing instead of scrambling to find them.
Start by finding better available light, adjusting your position, stabilizing your hands, and simplifying your composition. Pay attention to subject movement and look for opportunities to use the environment to your advantage. These techniques can improve your results with the camera you already own.
The most common causes are camera shake and subject movement. A slower shutter speed can make either problem more noticeable. Steady your camera to reduce shake, and look for better-lit moments or adjust your timing when photographing moving subjects.
Absolutely. Aperture, shutter speed, and ISO all affect how your images look. But settings work best when you also consider the available light, your subject’s movement, and how you want the final image to feel.
Standing in one place and repeatedly changing settings without reconsidering the scene. Moving closer to a light source, changing your angle, or waiting for a quieter moment can often make a bigger difference.
Low-light photography gets easier when you treat dim scenes as creative challenges rather than gear tests. Learn to recognize good light, steady yourself, anticipate movement, and make deliberate choices about what belongs in the frame.
You don’t need to solve every lighting problem with a new piece of equipment. Start by working with the light and surroundings you have. The more you practice, the better you’ll become at recognizing what a scene needs—and when your gear is genuinely holding you back.