You
have no items in your shopping cart.
Transitioning Indoors: The Camera Gear That Makes a Difference
October 17, 2026
1 min read

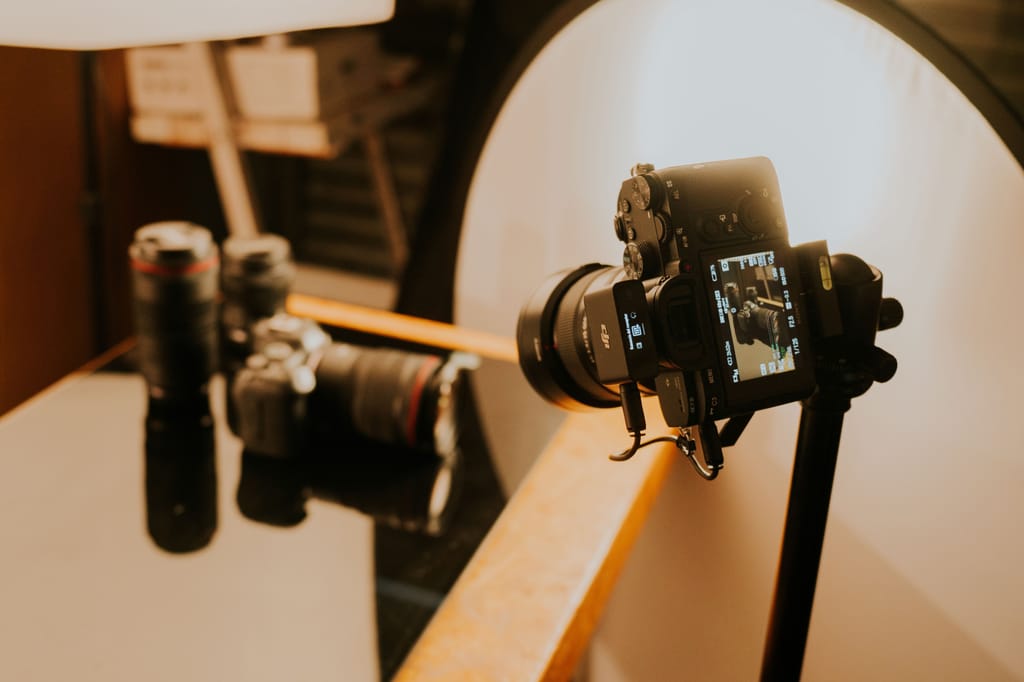
Shorter days and colder weather mean more time shooting indoors. Living rooms, studios, cafés, kitchens, and window-lit corners can all make great settings, but they also put your gear to the test. Less light, tighter spaces, mixed color temperatures, and moving subjects can make sharp, well-exposed photos harder to get.
Before you blame your camera or start shopping for a whole new kit, figure out what’s actually holding you back. A faster lens might solve your low-light problems. A speedlight could give you more control over your lighting. And sometimes, a simple change in camera settings is all it takes.
Here’s how to build an indoor photography setup that works, with practical gear recommendations from the camera experts at KEH.
Indoors, you have less light, less room to move, and more variables to manage. You can’t always step back, wait for better light, or reposition your subject. The room dictates some of your options, so your gear and technique need to make up the difference.
Start With the Light. Window light can be beautiful, but it falls off quickly as your subject moves farther into the room. Artificial lighting complicates things further. A warm table lamp, cool daylight, and green-tinged overhead LEDs can leave skin tones looking inconsistent and colors harder to correct in editing.
Here’s a simple fix: turn off the lights you don’t need. One consistent light source is often easier to work with than several competing ones. From there, use your camera position, subject placement, and exposure settings to get the look you want.
Then Consider Your Working Space. A 70-200mm lens might be perfect for outdoor portraits, but it’s not doing you many favors in a cramped living room. A wider focal length gives you more room to frame your subject, while a fast maximum aperture helps you work with less available light.
The point isn’t to own a lens for every possible situation. It’s to understand what your current gear can do and identify where a specific upgrade would actually help.
| Problem | Try This First | Gear That Can Help |
| Blurry moving objects | Increase shutter speed | Fast lens, speedlight |
| Camera shake | Improve support or stabilization | Tripod, stabilized lens/body |
| Dark, noisy photos | Improve available light and exposure | Fast prime, flash, LED |
| Unflattering lighting | Reposition or diffuse the light | Reflector, softbox |
| Inconsistent colors | Simplify mixed lighting | Gray card, controlled lighting |
| Not enough room | Adjust framing and camera position | Wider lens |
| Missed focus | Change autofocus mode | Camera with better low-light AF |
A high megapixel count won’t save an underexposed, blurry photo. For indoor photography, prioritize reliable autofocus, manageable noise at higher ISO settings, and features that help you shoot handheld when the light isn’t cooperating.
Indoor photography often calls for ISO 800, 1600, 3200, or higher. A camera that handles higher ISO settings well gives you more flexibility to maintain a fast enough shutter speed without excessive noise.
In-body image stabilization (IBIS) is another useful feature. It helps compensate for camera shake when you’re shooting handheld, particularly with stationary subjects such as interiors, products, and still life. But stabilization won’t freeze a moving child, an active pet, or a speaker gesturing during an event. For that, you still need a fast enough shutter speed.
Autofocus matters just as much. Eye detection can help keep portraits sharp without constantly moving your focus point. Many mirrorless cameras offer excellent subject detection, but a capable DSLR paired with a bright lens can still deliver the goods.
Burst mode is useful when you’re photographing people who are moving, interacting, or likely to blink at exactly the wrong moment. For still life and interiors, single-shot mode is usually all you need.
Silent shutter can be useful for quiet events, performances, and candid moments. Just be aware that electronic shutters can produce banding under certain artificial lights or distort fast-moving subjects. Test your camera under the lighting you’ll be using before relying on silent shooting for an important session.
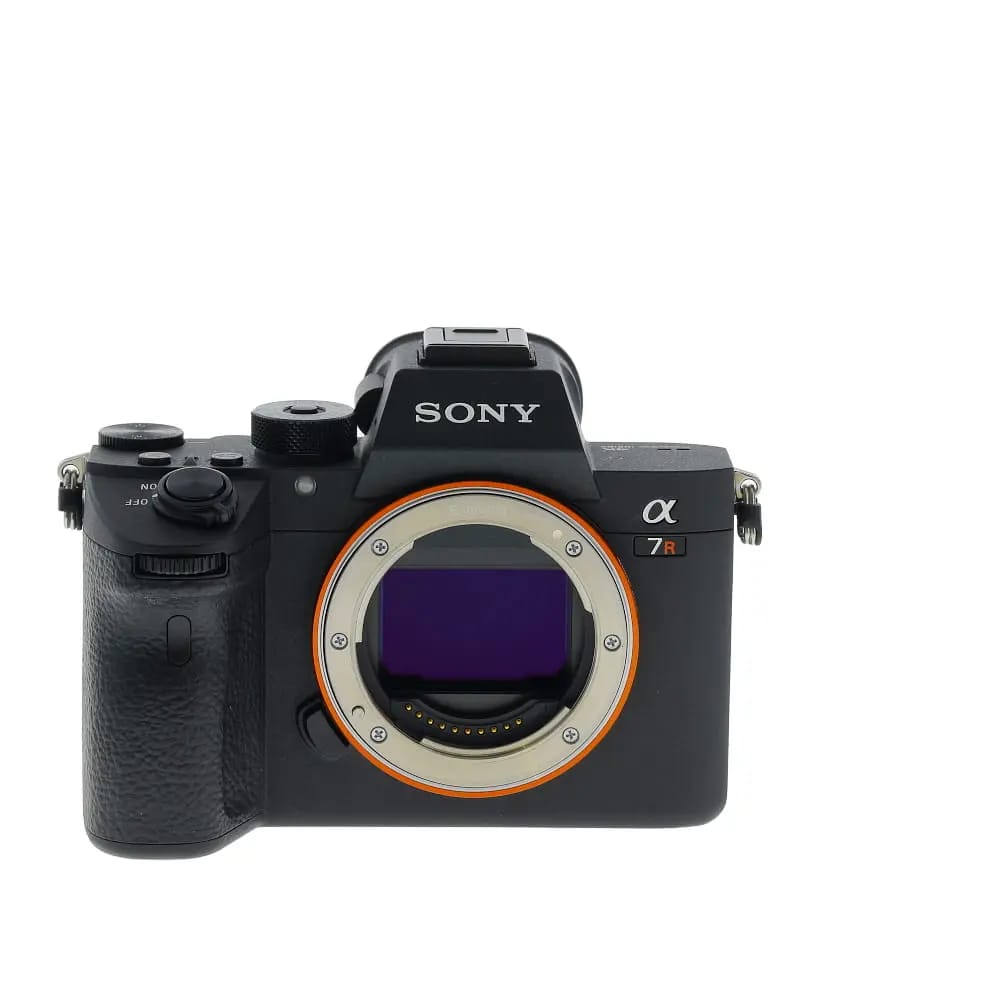
If your current camera is genuinely limiting your indoor work, these bodies are worth exploring. Each offers a different combination of sensor size, features, and system compatibility.
Before buying a new body, check whether a lens upgrade would solve the problem for less. If your camera focuses reliably and produces files you’re happy with, putting your budget toward a faster lens or lighting may make a more noticeable difference.
When a body upgrade does make sense, KEH Certified™ pre-owned gear gives you another way to build a capable setup without automatically paying retail.
If your indoor photos are blurry, noisy, or consistently underexposed, take a closer look at your lens. A wide maximum aperture lets more light reach the sensor, giving you more flexibility with shutter speed and ISO.
A 35mm or 50mm prime with an f/1.8 maximum aperture is one of the most useful upgrades for indoor photography. These lenses are typically compact, relatively affordable, and bright enough for everything from portraits to everyday documentary work.
The Sony FE 50mm f/1.8 Lens is a straightforward option for Sony E-mount shooters. Canon DSLR users can look to the Canon EF 50mm f/1.8 STM Lens for a similar combination of light-gathering ability and portability.
Want even more light? An f/1.4 lens gathers more than an f/1.8, but the difference comes with a trade-off: your depth of field gets shallower, leaving less room for focusing errors. An f/2 lens can be a practical middle ground between light-gathering ability, size, and control.
Primes don’t zoom, so you’ll need to move to change your framing when space allows. That’s not always a disadvantage. Working with a fixed focal length encourages you to pay attention to your position and composition rather than relying on the zoom ring.
KEH tip: If low light is your biggest problem, start by comparing a fast prime with your current lens. Moving from f/4 to f/1.8 provides substantially more light, but explain that this also reduces depth of field at a given focal length and subject distance.
For events, family gatherings, portraits, and small-business content, a standard zoom gives you the flexibility to change your framing without changing lenses. A 24-70mm f/2.8 covers a useful range of perspectives while maintaining a constant maximum aperture. A 28-75mm f/2.8 offers a similar approach with a slightly narrower wide end.
The Canon EF 24-70mm f/2.8L II USM Lens is a versatile choice for Canon EF shooters. Sony E-mount photographers can explore the Tamron 28-75mm f/2.8 Di III VXD G2 Lens.
A constant f/2.8 aperture won’t let in as much light as an f/1.4 or f/1.8 prime at its widest setting. What you gain is flexibility, which is especially useful when you’re photographing an event and don’t have time to swap lenses every few minutes.
When you’re photographing interiors, real estate, or behind-the-scenes content, a wide-angle lens helps you fit more of the room into the frame without backing into a wall. A 20mm or 24mm prime, or a zoom covering roughly 16–35mm, can be useful when space is limited.
Keep in mind that a wide-angle lens doesn’t automatically distort an image. Perspective distortion comes from camera position, not focal length alone. Shooting close to a subject exaggerates the apparent size of nearby objects relative to those farther away. A wide-angle lens captures more of the scene from that close position, making the effect more noticeable, especially near the edges of the frame. Optical distortion, by contrast, is a lens aberration that can cause straight lines to appear curved.
For indoor portraits, a 50mm or 85mm lens can help you achieve a more natural-looking perspective when you have enough room to work. Ultimately, choose your focal length based on your subject, the framing you want, and how far you can move from the scene.
You don’t need a studio full of strobes to make better indoor photos. A window, reflector, or single speedlight can give you far more control than relying on whatever light happens to be in the room.
The difference is learning to shape the light rather than simply adding more of it.
Direct flash can create harsh shadows and bright hotspots. Bouncing a speedlight off a neutral-colored ceiling or wall turns that surface into a larger apparent light source, producing softer, more flattering illumination.
It’s a practical technique for family gatherings, events, and quick portraits when you need to move around. Keep an eye on the surface you’re bouncing from: colored walls and wooden ceilings can introduce unwanted color casts.
If the ceiling is too high, the walls are the wrong color, or there’s nowhere useful to bounce the light, try a bounce card or an appropriate flash modifier instead.
Softboxes, umbrellas, diffusers, and reflectors each solve a different lighting problem.
Continuous lighting is particularly useful for product photography, video, and learning how light falls on a subject because you can see the effect before taking the shot.
Speedlights are often more practical for still photography when you need portable power and the ability to freeze movement. Choose continuous lighting when a steady preview matters more than flash output. Either way, one well-placed light is a better starting point than several poorly controlled ones.
A tripod isn’t just for landscapes and long exposures. Indoors, it’s useful whenever your subject is stationary and precise framing matters more than mobility.
Interiors, artwork, food, products, and self-portraits often benefit from a stable camera position, especially when your subject is stationary. A tripod keeps the camera steady, helping prevent camera shake when you use slower shutter speeds or lower ISO settings in low light.
For interior photography, a geared head is particularly useful. It allows small, controlled adjustments when aligning furniture, doorways, and vertical lines. That precision can save time when you’re trying to get the framing exactly right.
Keep in mind that a tripod only prevents blur caused by camera movement. If your subject moves during a long exposure, it can still appear blurry. To freeze motion, you’ll need a fast enough shutter speed, whether or not you’re using a tripod.
If you’re photographing an event, performance, or subject that requires constant repositioning, a monopod provides support without locking you into one spot. It can reduce fatigue and help steady heavier camera-and-lens combinations.
It won’t replace a tripod for long exposures, but it’s a practical choice when you need extra stability and the freedom to move.
You don’t need another bag of gear. You need the right gear. A few reliable accessories can prevent avoidable problems and keep an indoor session running smoothly.
Prioritize what you actually use. If you regularly shoot long sessions, an extra battery is a better investment than an accessory that never leaves your bag.
Check This Out: Essential Camera Accessories: What You Actually Need
There’s no magic combination of settings that works for every indoor scene. Start with your subject and how it moves, then balance shutter speed, aperture, and ISO around the result you need.
These are starting points, not rules. Your camera, lens, lighting, and subject will determine what works.
Blurry photos? First, figure out why. If your subject is moving, raise your shutter speed. If the camera is shaking, use stabilization, improve your support, or adjust your technique. If the subject isn’t sharp despite a fast shutter speed, check your focus mode and focus point.
Too much noise? Open your aperture or add light before pushing ISO unnecessarily. Don’t severely underexpose an image and expect to fix everything in editing; lifting dark shadows can make noise more noticeable.
Strange color casts? Simplify your lighting when possible. Turn off competing bulbs, set a custom white balance, or use a gray card as a reference. A little preparation at the start of a session can save plenty of correction work later.
Finally, match your autofocus mode to your subject. Single-shot autofocus works well for stationary subjects, while continuous autofocus is generally better for moving people and pets. Eye detection is excellent for portraits, but if it struggles in very dim conditions, switch to a smaller focus area and target a high-contrast detail.
You don’t need to buy everything at once. Start with the camera and lenses you already own, then invest in the pieces that address your biggest limitations.
KEH Certified™ pre-owned gear makes it easier to explore different bodies, lenses, and accessories while keeping your budget in view. And if your outdoor gear isn’t getting much use this season, selling or trading it can help fund the equipment you actually need.
Start with your existing camera body and add a 50mm f/1.8 prime, a reflector, an extra battery, and a basic tripod.
This setup covers portraits, detail shots, window-light photography, and everyday indoor scenes. If low light is your main challenge, prioritize the fast prime. The reflector and tripod add flexibility without requiring a major investment.
Pair an APS-C or full-frame camera body with a 24-70mm or 28-75mm f/2.8 zoom, one compact prime, and a speedlight.
This combination is well-suited to family sessions, events, portraits, and small-business content. Add a gray card and a simple light modifier for more consistent color and greater control over your lighting.
For photographers who regularly shoot multiple genres indoors, build around a capable full-frame mirrorless body, a fast standard zoom, a 35mm or 50mm prime, an 85mm portrait lens, a tripod, and a reliable flash or continuous light.
You’ll have the flexibility to shoot portraits, interiors, products, and gatherings without constantly working around your gear. You can also build this kit over time instead of buying everything at once.
If your outdoor telephoto or specialty lens is collecting dust, consider selling or trading it to KEH. Put that value toward equipment you’ll reach for regularly, rather than letting good gear sit unused.
Better indoor photography starts with identifying what’s actually holding you back. Blurry images may call for a faster shutter speed or steadier support. Noisy files may point to a need for more light or a faster lens. Inconsistent color may be due to lighting, not the camera.
Before replacing your camera, get to know what your current setup can do. Then make one meaningful upgrade, learn what it changes, and build from there. A fast prime, a dependable tripod, or a simple lighting modifier can do more for your results than a bag full of accessories you don’t need.
When you’re ready to upgrade, KEH offers KEH Certified™ pre-owned camera bodies, lenses, lighting, and accessories to help you build a setup that works for how you shoot. Our camera experts know the gear, and our inspection and grading process gives you more confidence in what you’re bringing home. If your current equipment no longer fits your needs, selling or trading it can help put your next upgrade within reach.
Look for a camera that handles higher ISO settings well, focuses reliably in low light, and offers the features you need for your subjects. Full-frame mirrorless cameras can be excellent choices, but APS-C cameras and DSLRs can deliver great results, too. A fast lens and good lighting may make a bigger difference than upgrading your camera body alone.
A 35mm or 50mm prime with an f/1.8 aperture is a strong starting point for portraits and everyday indoor photography. If you need more framing flexibility for events or family gatherings, a standard zoom with a constant f/2.8 aperture is worth considering. For interiors and smaller rooms, a wider lens can help you capture more of the space.
Open your aperture, use a shutter speed fast enough for your subject, and adjust ISO as needed. Positioning your subject near a window can also provide useful natural light. If you’re still struggling, a faster lens or a speedlight can give you more control over exposure.
Your settings depend on what you’re photographing. For portraits, try f/1.8-f/2.8 and a shutter speed of 1/125 sec or faster. For active kids or pets, start around 1/250 sec or faster. For stationary interiors on a tripod, try f/5.6-f/8 at a low ISO and adjust shutter speed to suit the available light.
Neither is universally better. A prime lens with a wide maximum aperture, such as f/1.8, is useful when light is limited and you want a shallow depth of field. A constant f/2.8 zoom offers more framing flexibility without requiring frequent lens changes. Choose based on your subject, working space, and shooting style.
Not always. Window light and a fast lens can be enough for many indoor scenes. A flash becomes especially useful when ambient light is insufficient, or you need to freeze movement. Bouncing a speedlight off a neutral ceiling or wall can create softer, more natural-looking results than pointing it directly at your subject.
Start with the gear you already own. Try a faster lens, simplify competing light sources, adjust white balance, and use a tripod for stationary subjects. If you do need an upgrade, explore KEH Certified™ pre-owned cameras, lenses, and lighting to build a more capable kit around your budget.