You
have no items in your shopping cart.
Sensor Cleaning 101: How To Safely Clean DSLR & Mirrorless Sensors At Home
September 03, 2026
1 min read

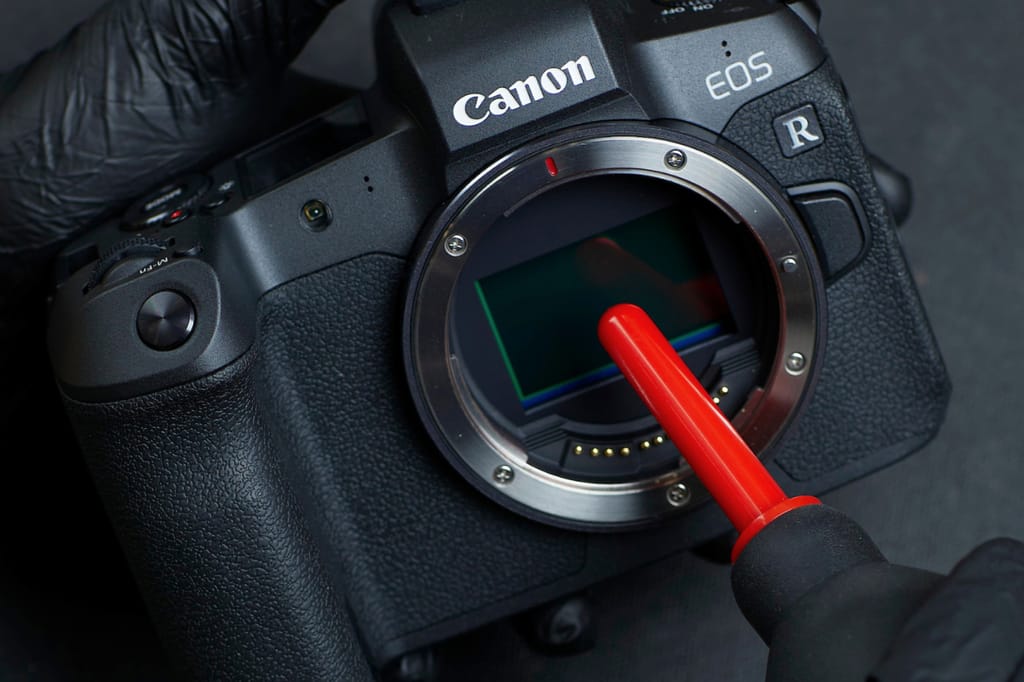
You take the perfect photo… same mysterious dark spot… and suddenly your sky, wall, or clean studio backdrop looks like it brought a tiny uninvited guest. That spot may be camera sensor dust, and this guide walks you through safe camera sensor cleaning at home without making it feel like camera repair school. The KEH team is here as your trusted gear mentor: calm, practical, and honest about when DIY sensor cleaning is smart—and when it’s better to let a pro handle it.
You can clean a camera sensor at home if you use the right tools, work carefully, and follow your camera manufacturer’s instructions. But “can” does not always mean “should.” If your camera is valuable, under warranty, visibly damaged, or contaminated with sticky or oily residue, professional camera sensor cleaning may be the better move.
Also, a quick clarification before we go further: sensor dust means tiny particles that appear on the protective filter or surface in front of the imaging sensor, often showing up as dark spots in photos taken at small apertures. When people say “clean camera sensor,” they usually mean cleaning that protective surface—not the delicate imaging chip itself. Some contamination cannot be removed through home cleaning, so this camera maintenance guide is about safe first steps, not forcing a fix.
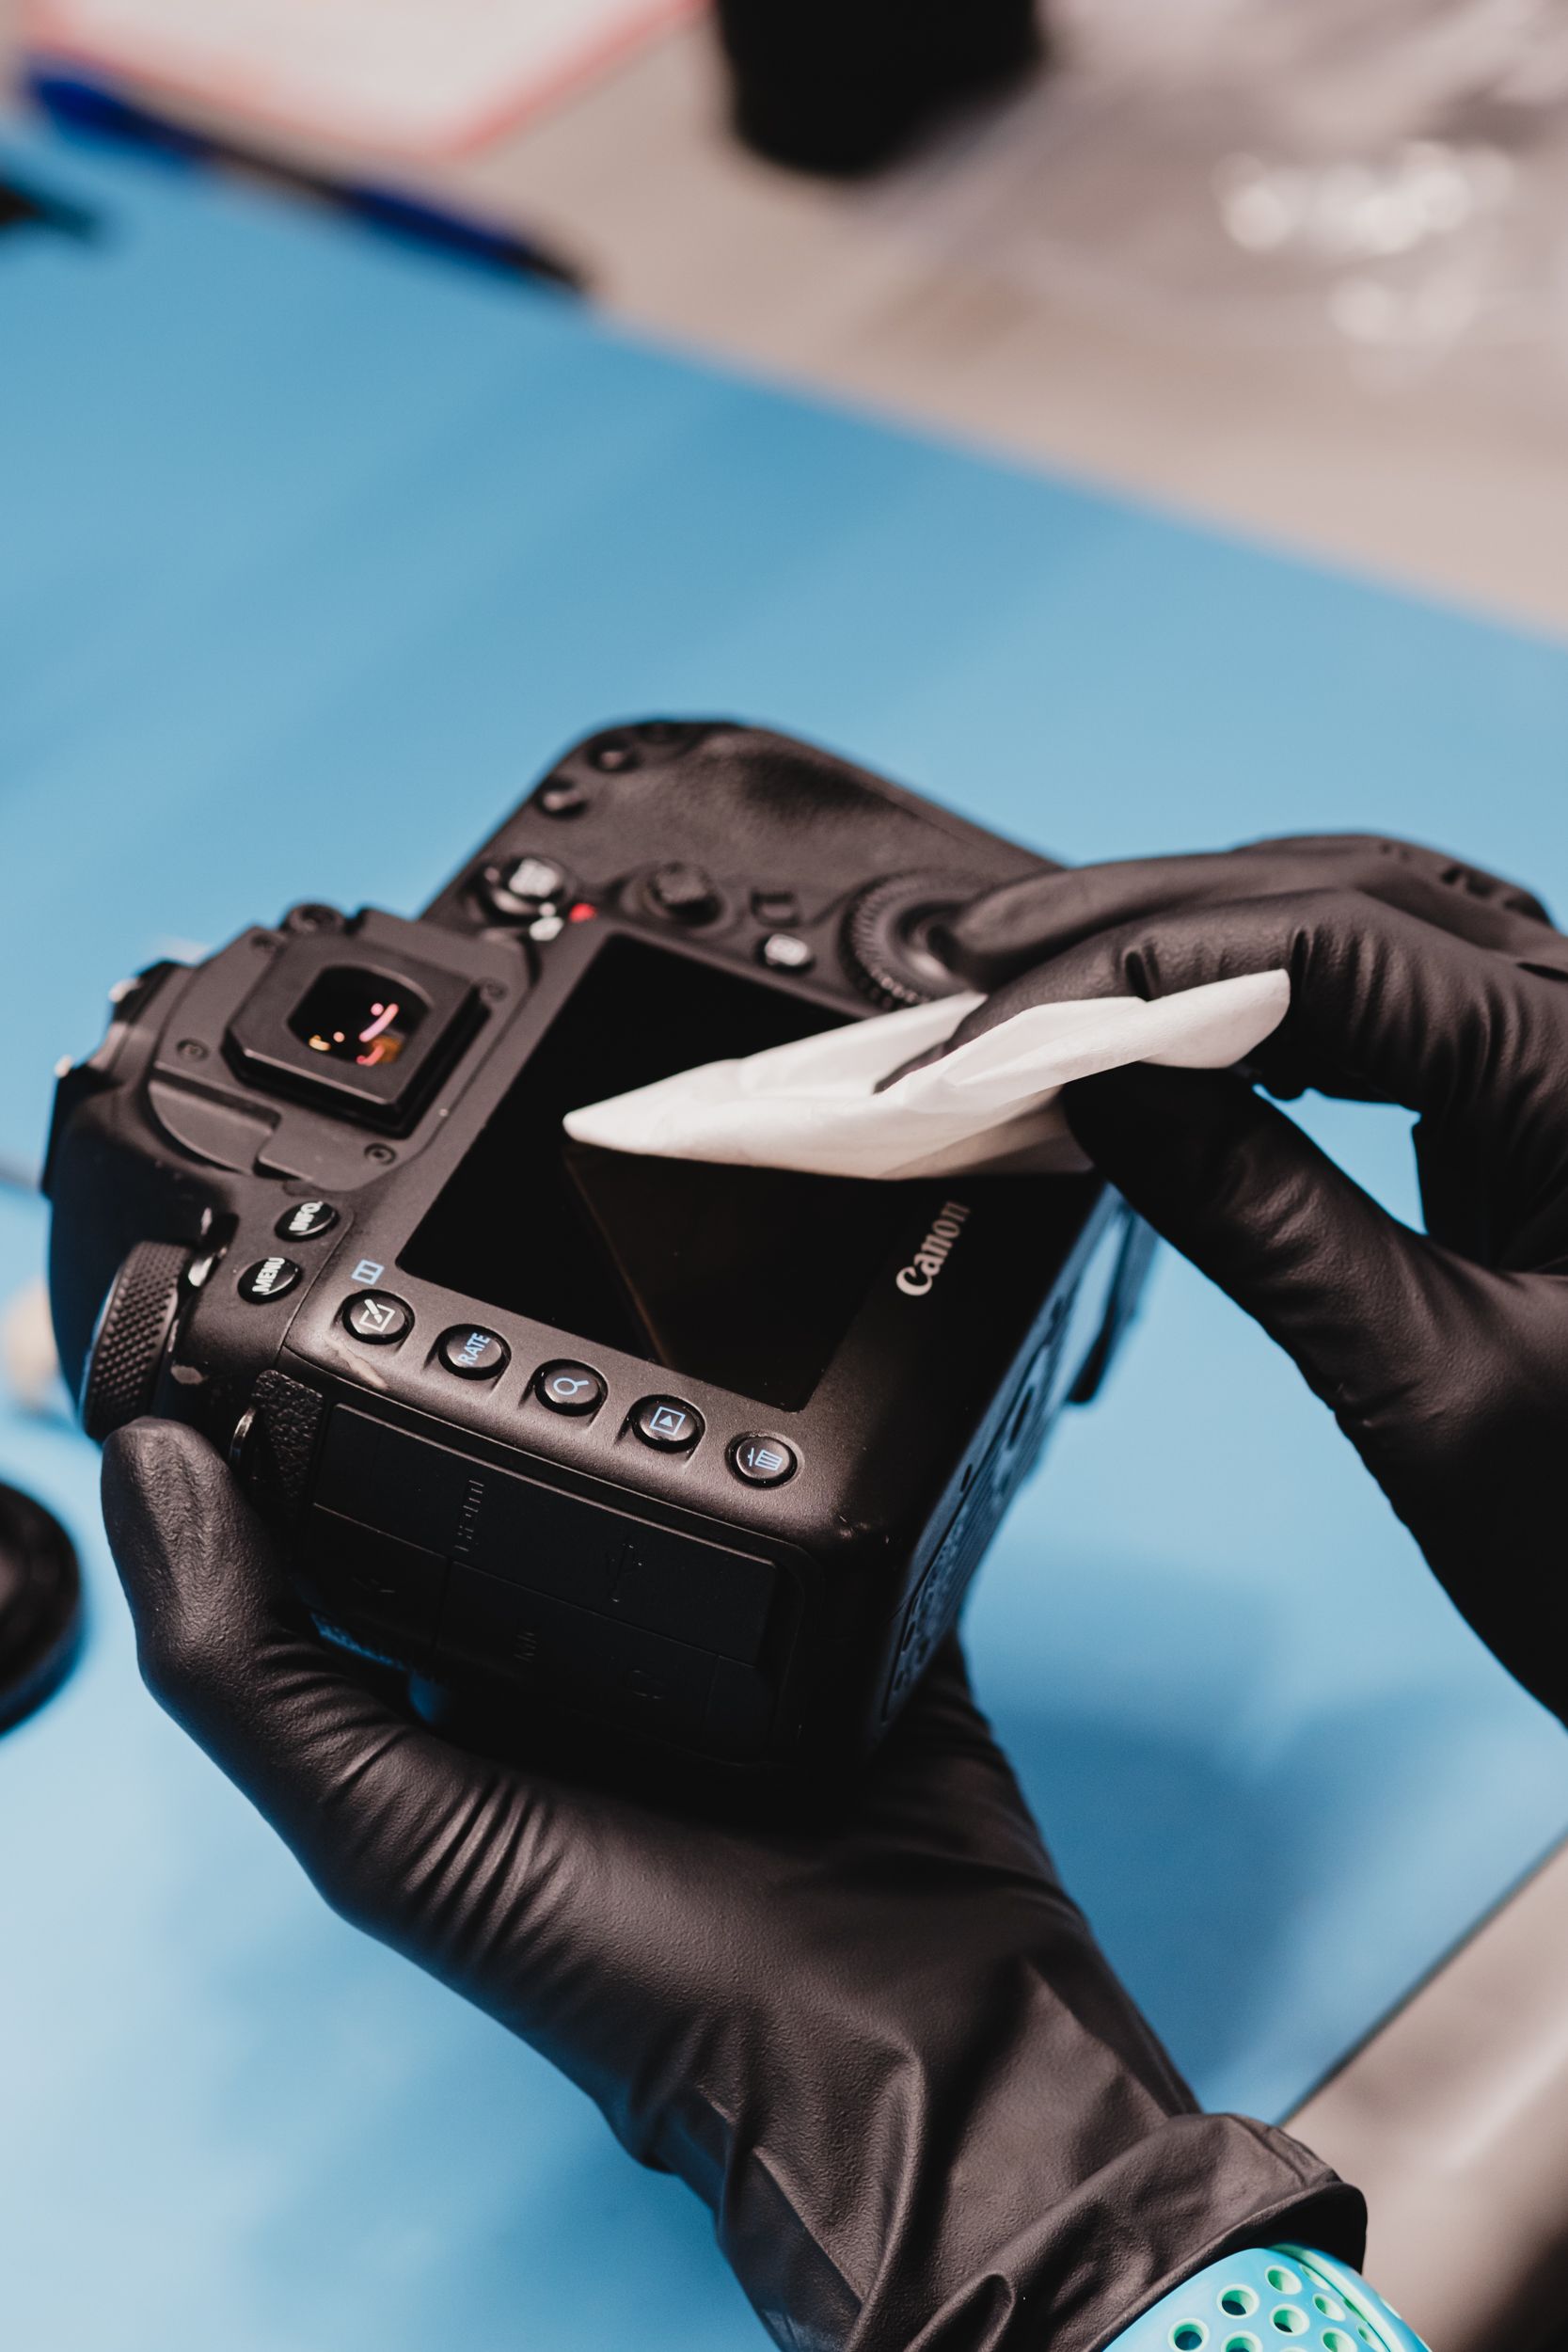
Start by making sure the spot is actually from the sensor area. Dust on the front or rear lens element, a filter, or even your viewfinder can look suspicious, but it may not affect the final image the same way. Sensor dust usually becomes more visible at narrow apertures, especially against bright, plain backgrounds.
Try this simple check:
If the same dark spots appear in the same place across multiple images, you’re likely dealing with camera sensor dust. If the spots move when you change lenses or filters, inspect those accessories first. The safest sensor dust removal is the one you don’t need to do.
A proper camera cleaning kit keeps you from improvising with risky household items. Look for tools specifically made for camera sensor cleaning, not general electronics cleaning. The goal is controlled, gentle dust removal from the protective filter or surface.
Your basic kit may include:
Sensor cleaning mode is a camera setting that locks the mirror up on many DSLRs or prepares the camera for manual cleaning so the sensor area is accessible and the camera does not shut down mid-cleaning. On mirrorless cameras, the menu option may still exist, but the process can differ by brand and model. Always check your manual first, because camera maintenance instructions can vary.
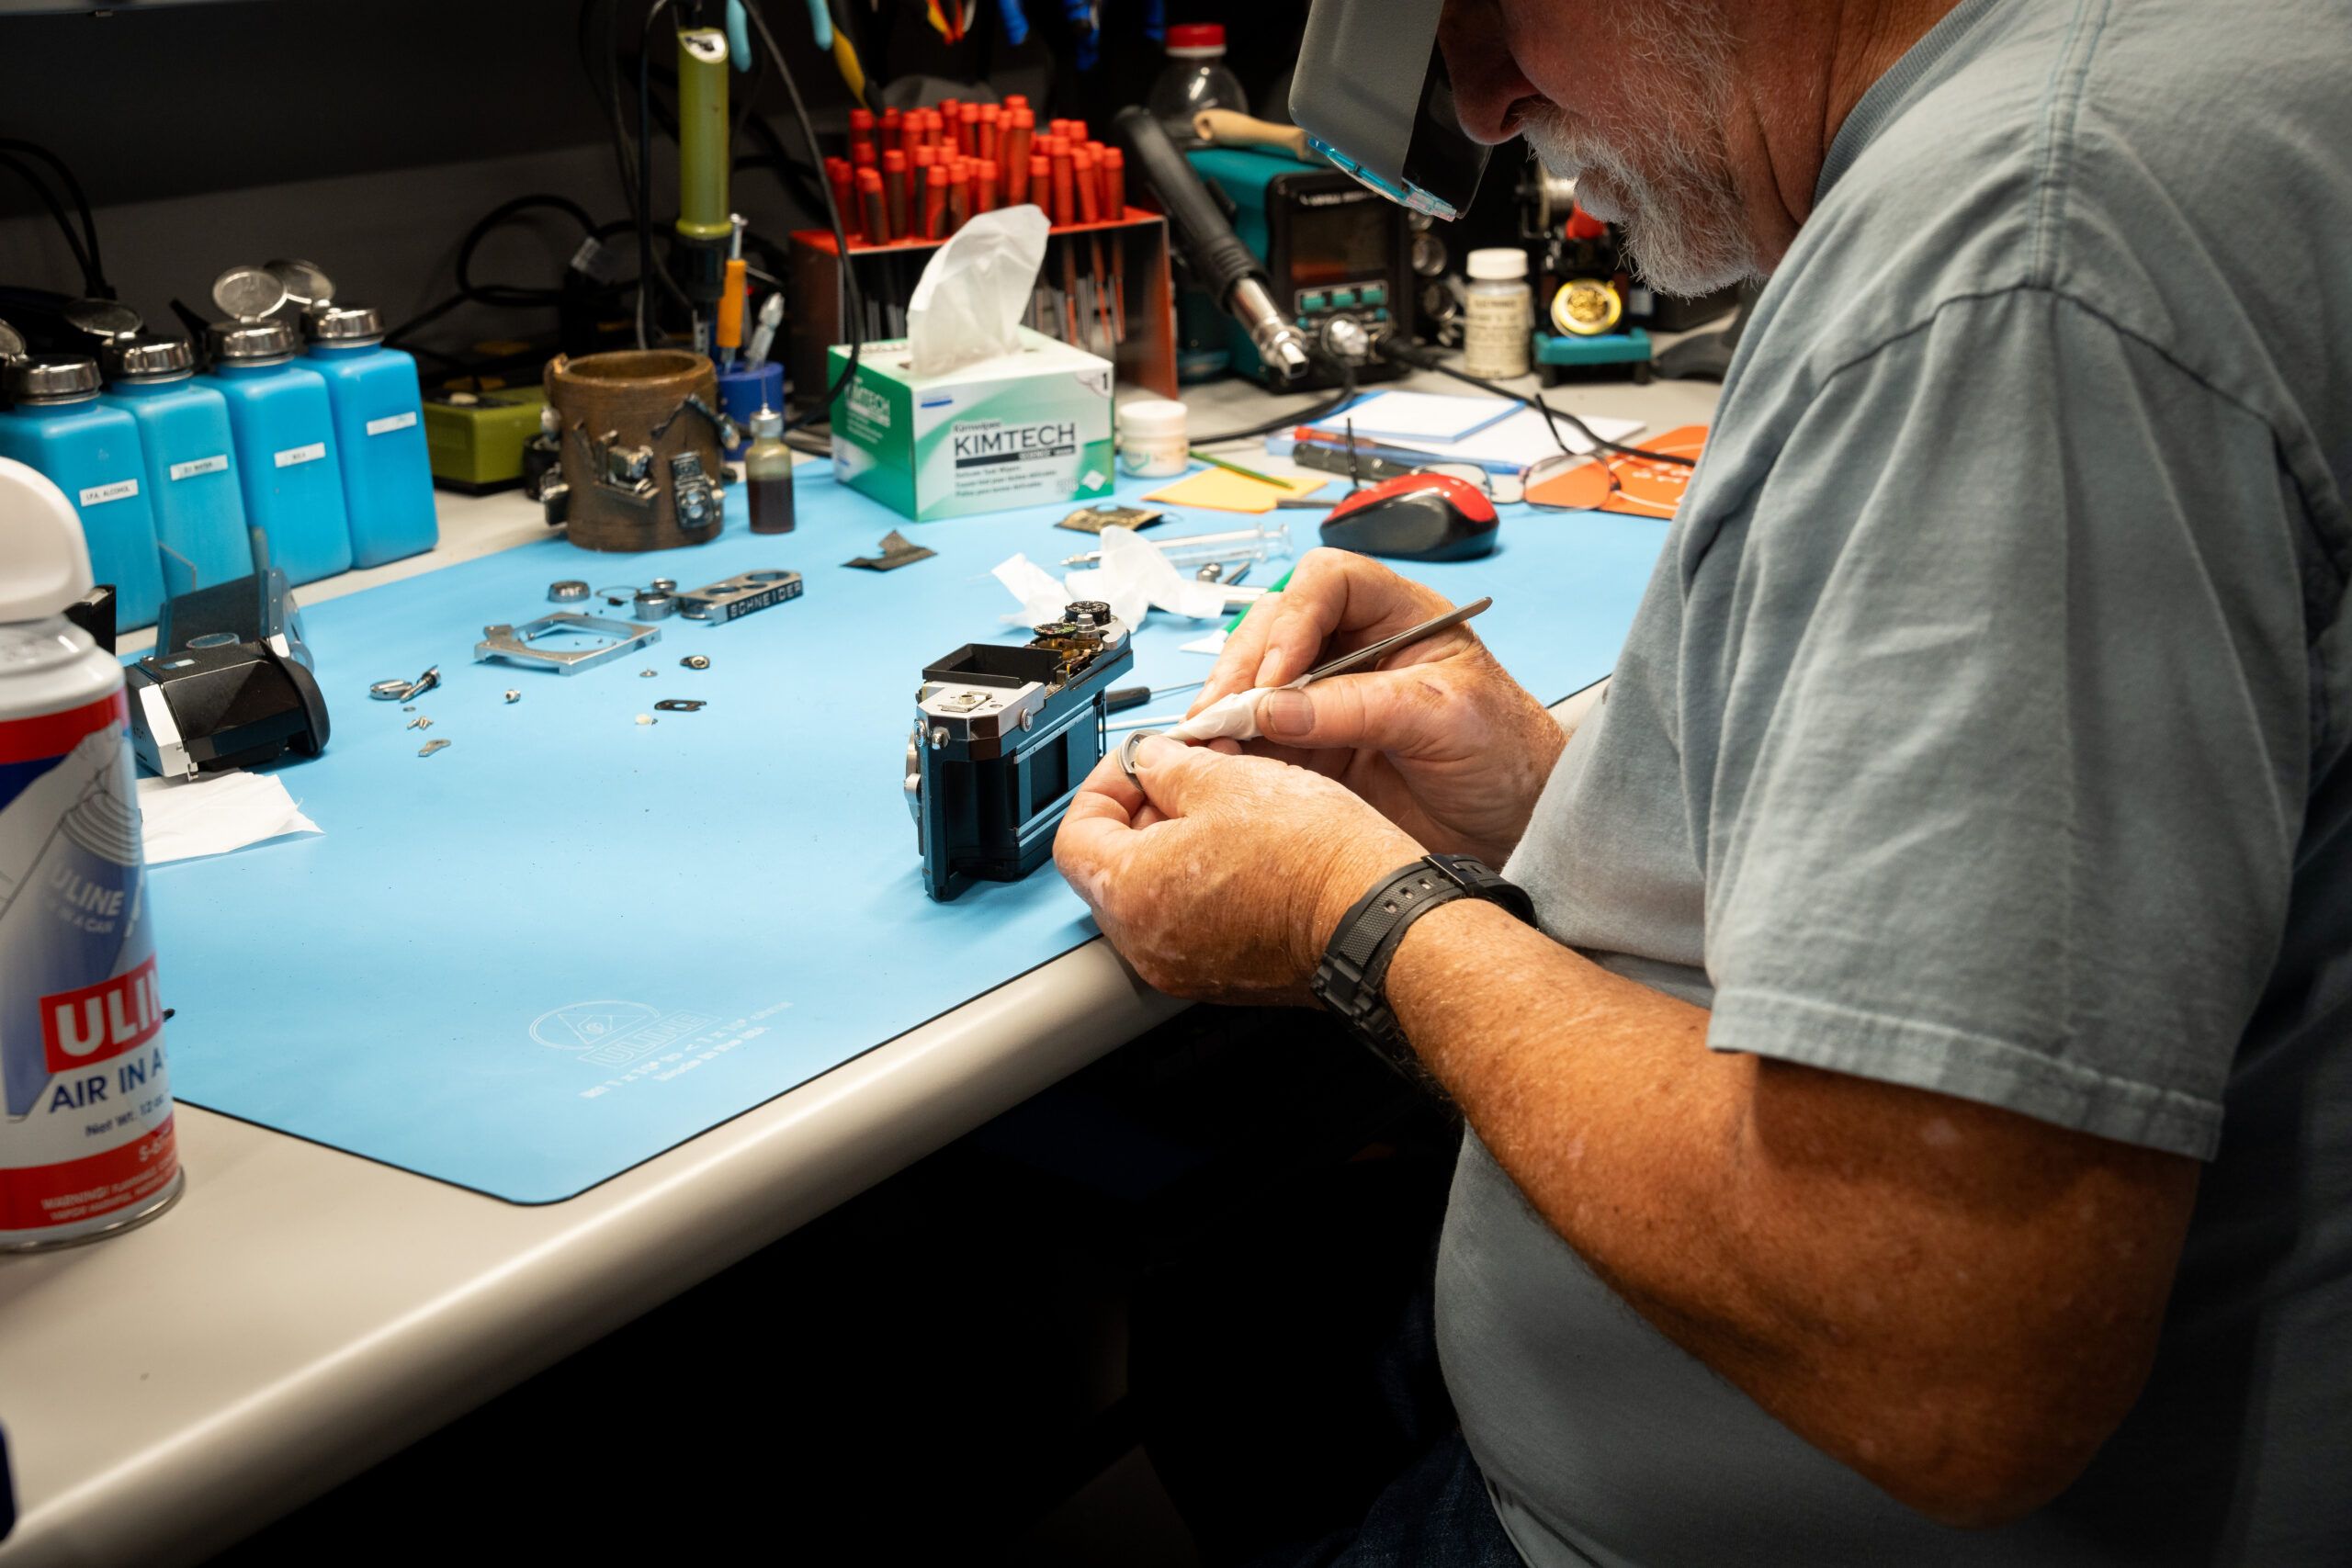
This is the part where KEH puts on the “please don’t make your future self sad” hat. The sensor area is not the place to experiment. Using the wrong item can leave residue, create static, push debris deeper into the camera, or damage the protective surface.
Do not use:
If a tool is not designed for cleaning camera sensors, keep it away from the mount. Your camera deserves better than a bathroom-counter solution.
The best sensor cleaning how-to is simple: start with the least invasive method, check the results, and only continue if needed. Work slowly. If you feel nervous, stop before you begin and consider professional help.
Charge your battery fully before you begin. If the camera powers down during cleaning, moving parts could shift unexpectedly, especially on some DSLRs. Choose a clean, still room without fans, open windows, pet hair, or kitchen steam.
Remove the lens with the camera mount facing slightly downward. This position helps loose particles fall away rather than drift inside. Keep your tools nearby so the camera body is open for the shortest practical time.
Run your camera’s built-in sensor cleaning mode if your model has one. Many cameras vibrate the protective filter to shake off loose dust. This is usually the safest first step because nothing touches the sensor surface.
After the cycle finishes, take another test photo using the same settings you used earlier. Compare the spot pattern. If the dust is gone or reduced enough for your real-world photography, you can stop here.
If built-in cleaning does not solve the issue, use a manual camera blower. Hold the camera with the mount facing downward and place the blower tip near the opening, without inserting it deep into the camera. Give a few controlled puffs of air.
Never let the blower tip touch the protective filter, shutter, mirror, or mount interior. Afterward, put the lens or body cap back on and take another test image. Checking results after each step keeps you from doing more cleaning than necessary.
Some camera cleaning kits include sensor-safe dry tools, such as static brushes or dust-lifting tools. Use these only if they are made specifically for sensors and match your camera type. Follow the tool instructions closely, because technique matters.
Dry tools are meant for loose dust, not smears, oil, or sticky residue. If you see streaking or anything that looks like liquid, pause and reassess. Guessing is not a camera care strategy.
Wet cleaning is a sensor-cleaning method that uses a sensor-sized swab and a small amount of sensor-safe fluid to clean the protective filter or the surface in front of the imaging sensor. It is more involved than a blower, so save it for dust or residue that does not respond to safer methods. Use the correct swab size for full-frame, APS-C, Micro Four Thirds, or your specific sensor format.
Apply only the amount of fluid recommended by the cleaning kit instructions. Move the swab across the protective surface in one smooth pass, then use the opposite side for a return pass if directed. Do not reuse dirty swabs, and do not keep going repeatedly in the same session if the result is not improving.
Take another small-aperture test photo and compare it to your first image. Some photographers chase every microscopic speck, but that can lead to unnecessary risk. If spots no longer appear in normal shooting, your camera is probably ready to get back to work.
A perfect test frame at f/22 is not always necessary for everyday photography. The practical goal is clean images, not a spotless laboratory result. When in doubt, stop.
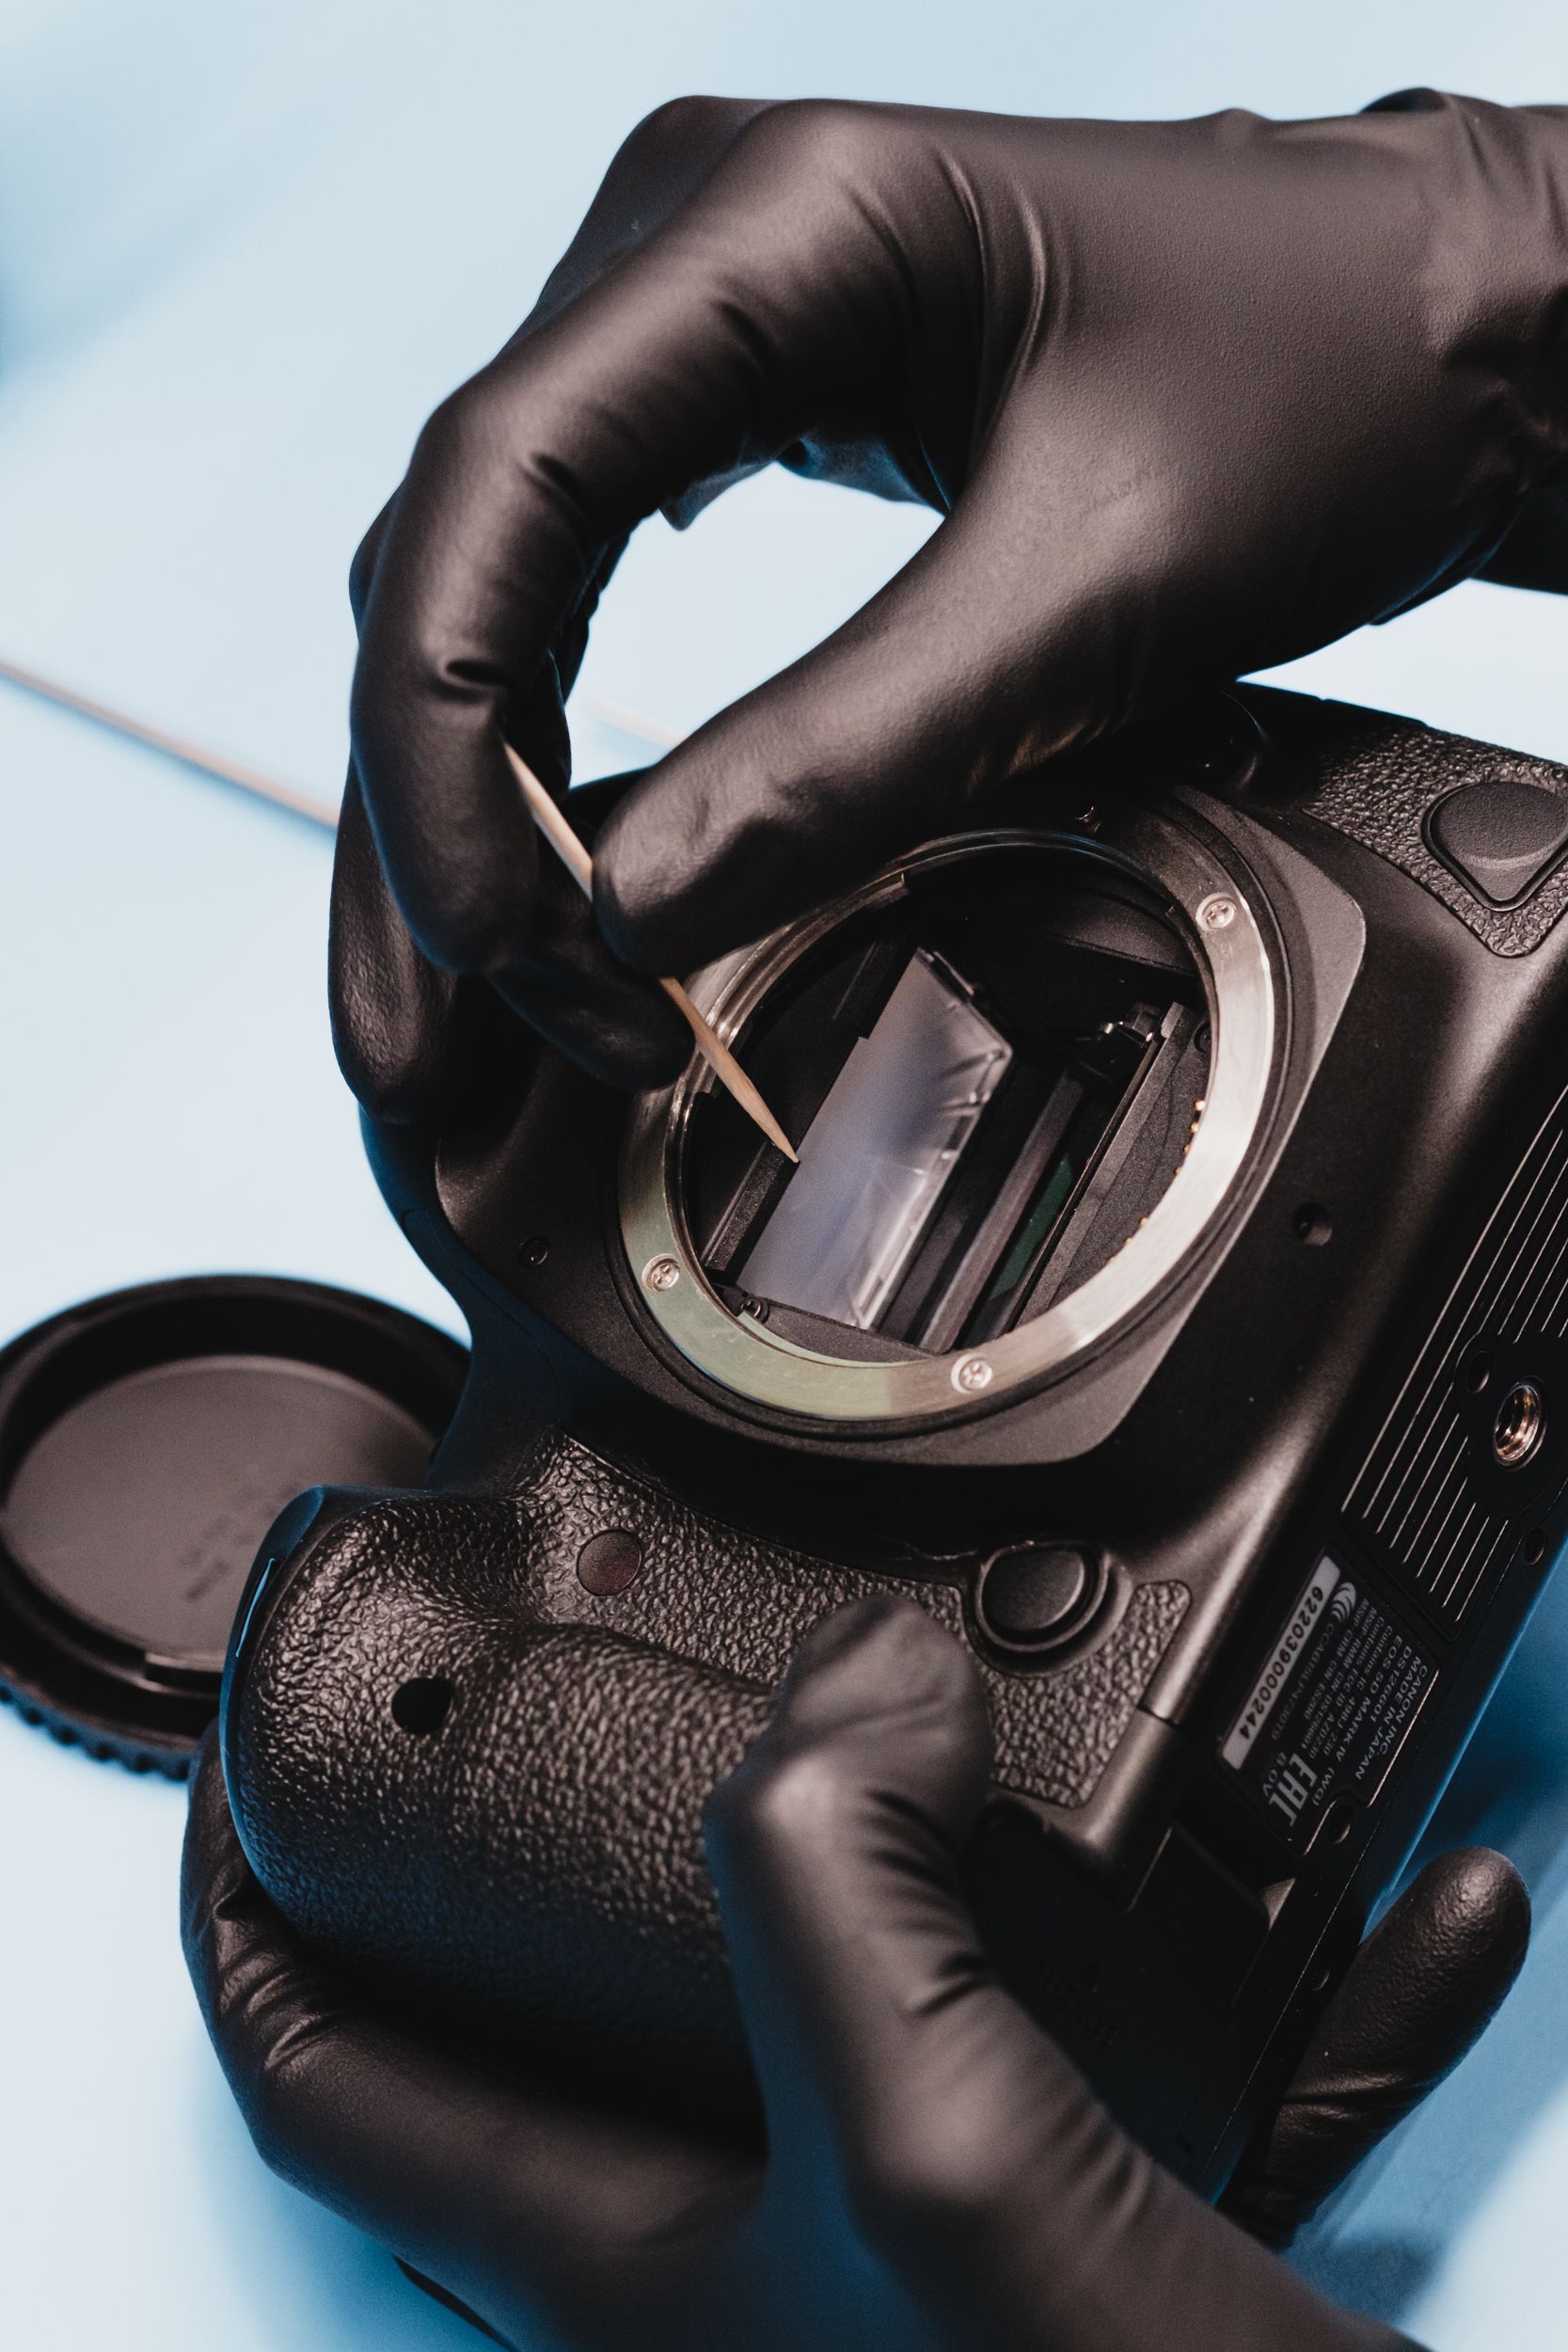
DSLR sensor cleaning and mirrorless sensor cleaning share the same basic safety principles, but the access points and internal parts can differ. On a DSLR, the mirror and shutter sit between you and the sensor area, so the camera may need to lock the mirror up during cleaning. That makes battery charge and manufacturer instructions especially important.
With mirrorless cameras, the sensor area is often more directly exposed when the lens is removed. Some mirrorless bodies also have in-body image stabilization mechanisms, protective shutter options, or menu settings that affect cleaning. None of this means one type is easier to clean than the other; it simply means you should understand your specific camera before you start.
For both systems, keep the camera opening pointed downward when possible, use tools designed for sensors, and avoid unnecessary touch. Clean mirrorless and DSLR sensor surfaces with the same mindset: gentle, minimal, and only when needed.
This section matters. If a speck will not move after the built-in cleaning cycle and a careful blower attempt, you do not have to “win” at home. A stubborn mark may be oil, residue, bonded debris, or something that requires professional service.
Stop immediately if you notice:
There is no shame in handing the job to a camera repair professional. In fact, knowing when to stop is one of the best camera maintenance tips we can offer.
DIY camera sensor cleaning at home may not be the right choice if the camera is rare, high-value, recently purchased, or already showing mechanical issues. It may also be a poor fit if you are preparing for a paid shoot, travel assignment, or important event and cannot risk downtime. Professional cleaning gives you a more controlled path when the stakes are high.
Skip the DIY approach if you suspect sand, salt spray, liquid, fungus, impact damage, or sticky contamination. Home methods are best for ordinary dust, not every possible problem inside a camera body. If you are unsure, ask for service advice before trying multiple cleaning rounds.
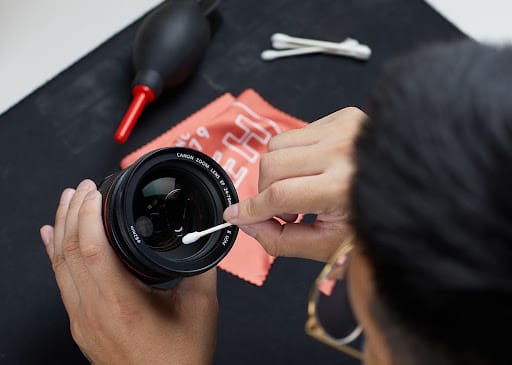
You cannot avoid every particle, but smart habits reduce how often you need sensor cleaning. Most dust enters during lens changes, so your routine matters. A few seconds of care can save a lot of spotting later.
Try these prevention habits:
Good camera care is not about being fussy. It is about making your gear easier to trust when the light gets good.
Sensor cleaning is only one part of camera maintenance. Lenses, batteries, mounts, contacts, screens, straps, and bags all affect the way your kit performs in the real world. A tidy setup also makes problems easier to spot before they interrupt a shoot.
Build a simple routine:
Think of this as low-drama camera maintenance. A little attention now helps your gear stay ready for the next “wait, the light is perfect” moment.
KEH knows camera gear from every angle: buying, selling, trading, and repair support. If your camera needs more than basic sensor dust removal, or if you are deciding whether to repair, replace, or trade your body, KEH can help you think through the next step. You do not have to diagnose everything alone.
That is especially helpful when sensor cleaning reveals a larger issue. Maybe the camera needs professional attention. Maybe you are ready to trade into a different body. Either way, KEH is a practical resource for keeping your kit moving forward.
Learn more about KEH repair services.
Photograph a plain bright surface at a small aperture, then look for dark spots that stay in the same place across images. If the marks are consistent, they may be on the protective surface in front of the sensor.
Yes, a manual camera blower is often the best first physical step after built-in cleaning. Use a blower made for camera cleaning, keep the tip from touching internal parts, and avoid canned air.
Wet cleaning can be done at home with the right tools, but it requires care and confidence. Beginners should read the camera manual, follow the cleaning kit instructions exactly, and stop if anything feels uncertain.
Only clean it when dust affects your images. Routine test shots are fine, but unnecessary cleaning adds risk without much benefit.
No. Some debris, oil, residue, or damage may require professional camera repair or cleaning. If safe first steps do not work, it is better to stop than to keep trying.
If your camera just needs a little care, the right tools and a patient approach can go a long way. And if the issue feels bigger than a home clean, KEH is here to help with trusted options to buy, sell, trade, or repair your gear so you can get back to making photos you love.