You
have no items in your shopping cart.
KEH U: The Ultimate Student Photography Guide
August 17, 2026
1 min read

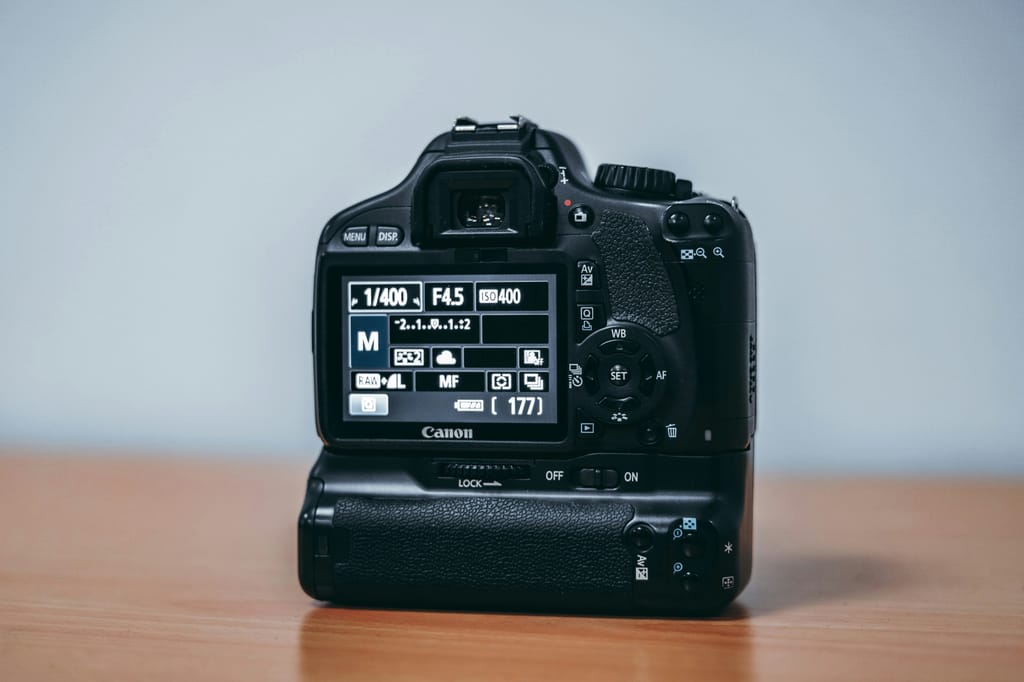
School is expensive enough without your camera gear adding to the stress. Between tuition, textbooks, and everything else competing for your budget, spending full price on new equipment doesn’t always make sense—especially when quality pre-owned gear can get you the same results for a fraction of the cost.
Whether you just declared your major or you’re finishing your senior thesis project, this guide is built to meet you where you are. We’ll walk through choosing the right camera, building out a kit that fits your specific coursework, sharpening your skills faster, and turning your work into a portfolio that actually gets you hired. Along the way, we’ll point out where buying smarter — with KEH Certified™ pre-owned gear — can stretch your budget further without cutting corners on quality.
Here’s What You’ll Learn:
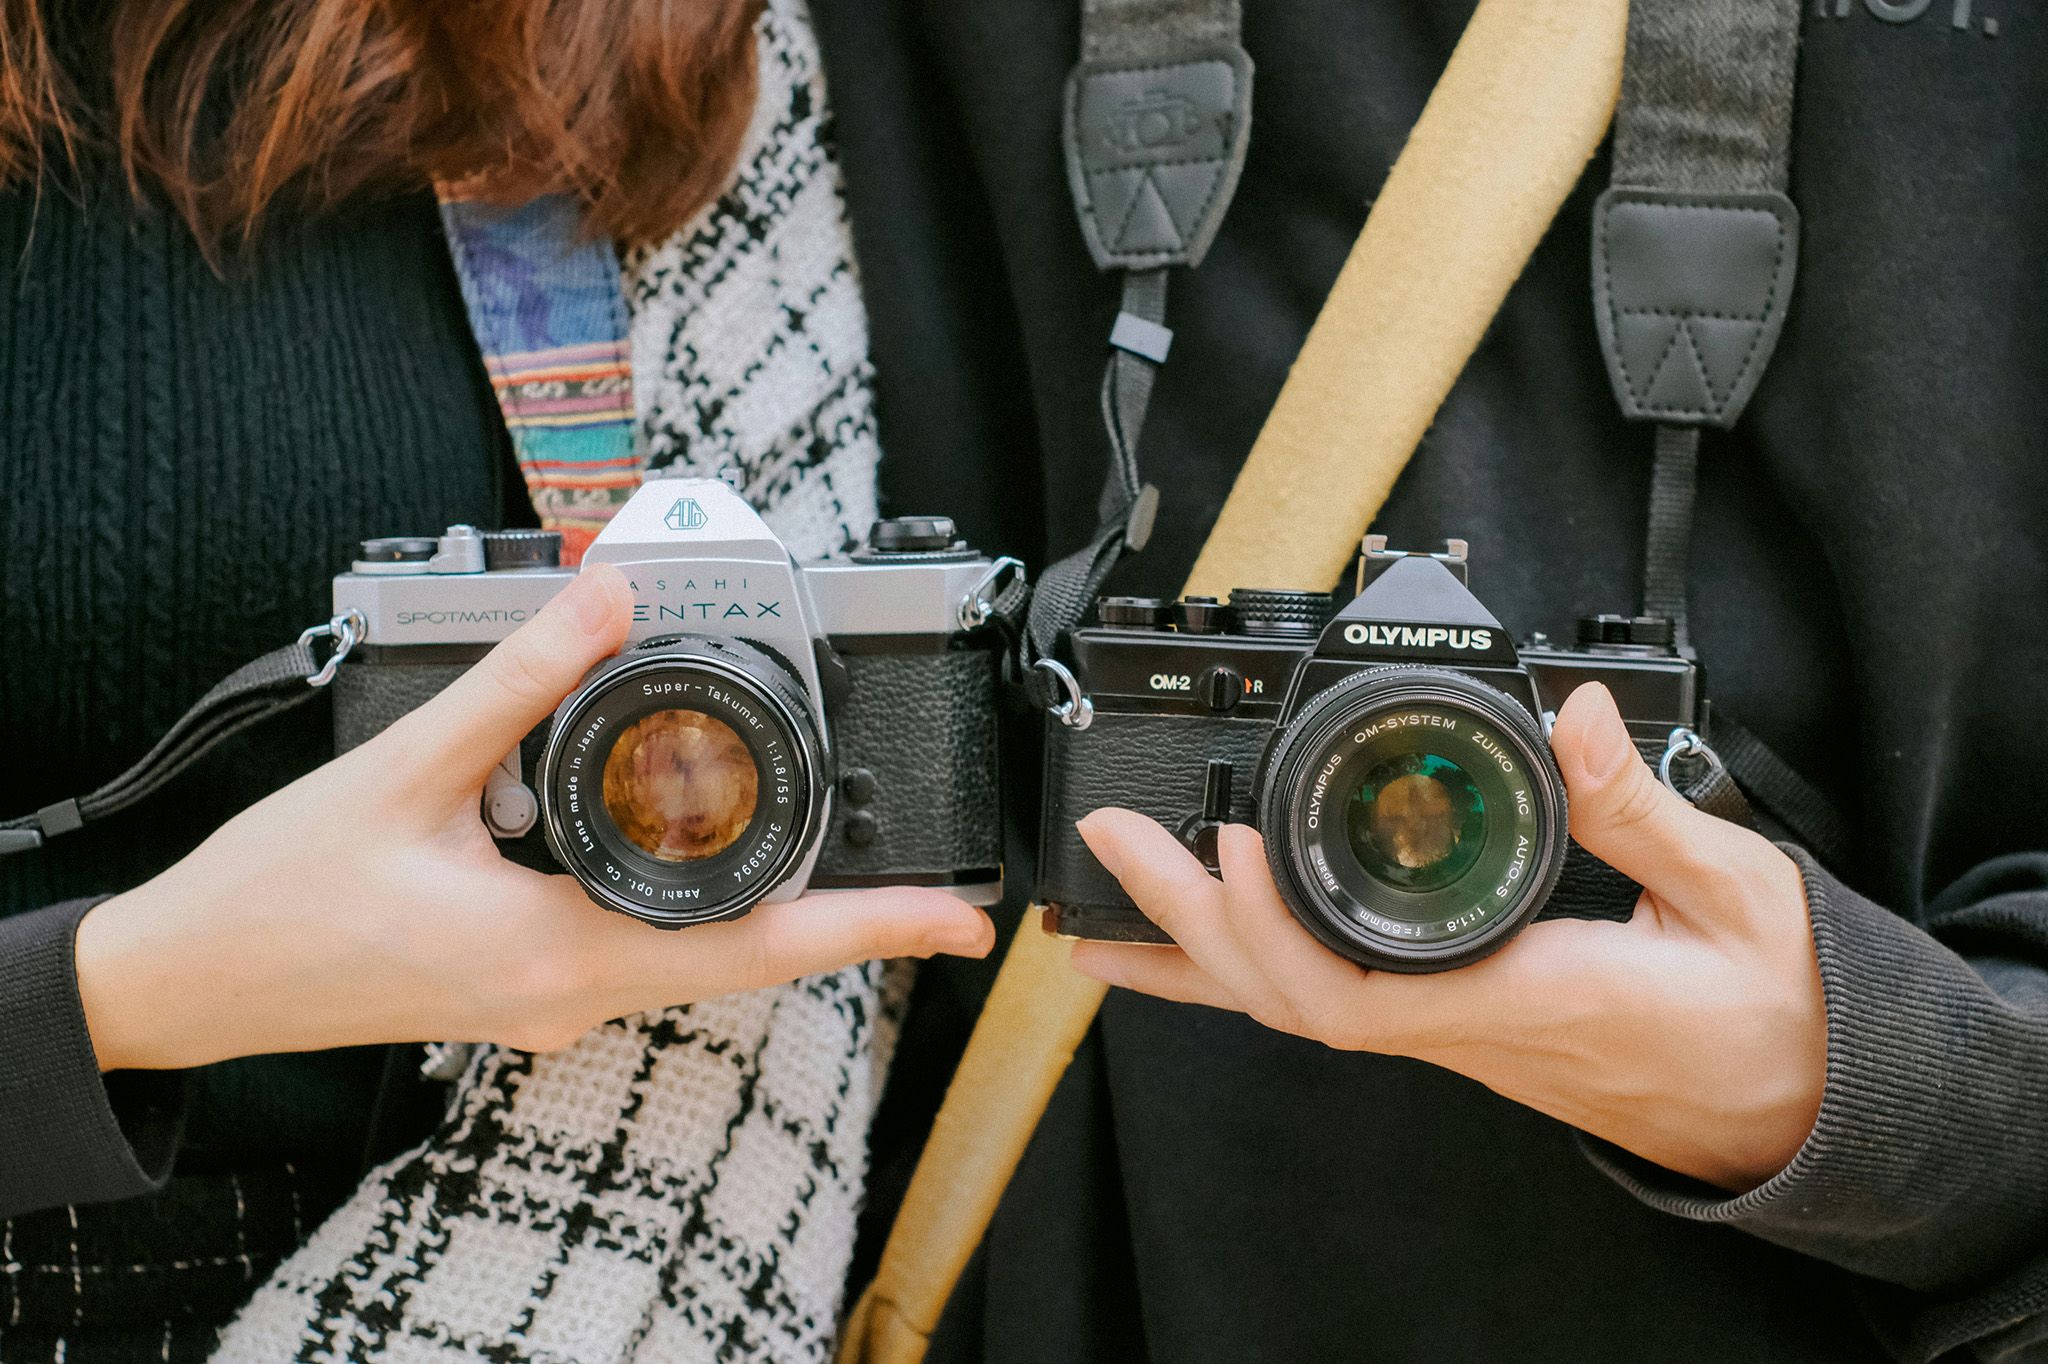
Finding the right camera doesn’t have to be overwhelming. The best choice depends on what you want to create, where you are in your photography journey, and how much room you want to grow. Instead of searching for the “perfect” camera, focus on finding one that fits your current skills while giving you opportunities to experiment and improve.
Great for: First photography classes, learning the fundamentals, and everyday shooting
If you’re brand new to photography, look for a camera that makes learning feel approachable. A beginner-friendly camera should have helpful automatic modes, an intuitive menu system, and enough manual controls to grow with you as you build your skills.
The Nikon Z50 II is a great starting point, offering fast autofocus, a comfortable design, and performance that gives beginners room to grow. The Canon EOS R50 is another excellent option, with guided shooting modes that help new photographers understand settings while they learn the basics.
Pair either camera with an affordable kit zoom lens, and you’ll have a flexible setup ready for assignments, personal projects, and exploring different styles of photography.
Great for: Students balancing photography, video projects, and social content
If your coursework includes both still photography and video, a hybrid camera gives you the flexibility to create without needing separate systems.
The Fujifilm X-S20 delivers strong image quality, impressive video capabilities, and reliable battery life in a compact body. The Sony ZV-E10 II is designed with creators in mind, offering excellent autofocus tracking, a fully articulating screen, and video features that make it a strong choice for YouTube, TikTok, and other social platforms.
Great for: Students ready to level up and invest in a camera they can continue using after graduation
Once you’ve mastered the basics, look for features that help you take on more creative challenges. Advanced student photographers should prioritize stronger autofocus, better low-light performance, more physical controls, and access to a wider range of lenses.
The Sony a6700 offers AI-powered autofocus, in-body image stabilization, and impressive performance in a compact package. The Fujifilm X-T5 delivers outstanding image quality, classic manual controls, and Fujifilm’s signature color profiles straight out of the camera.

Different majors come with different demands on your gear. Rather than chasing a single “best” camera, it helps to consider the features and accessories that best support your coursework.
Photography Majors
Look for a camera with strong manual controls, reliable metering, and compatibility with a wide range of lenses — you’ll want the flexibility to experiment across genres as your coursework evolves.
Film & Cinema Majors
Prioritize video-specific features: log profiles for greater flexibility in color grading, reliable autofocus in video mode, and a clean HDMI output when working with external monitors or recorders.
Fashion Majors
Look for fast, accurate autofocus (especially eye-detection) and a camera that performs well in mixed studio and location lighting.
Fine Art Majors
Resolution and dynamic range matter more here, especially if your work involves large prints or detailed post-processing.
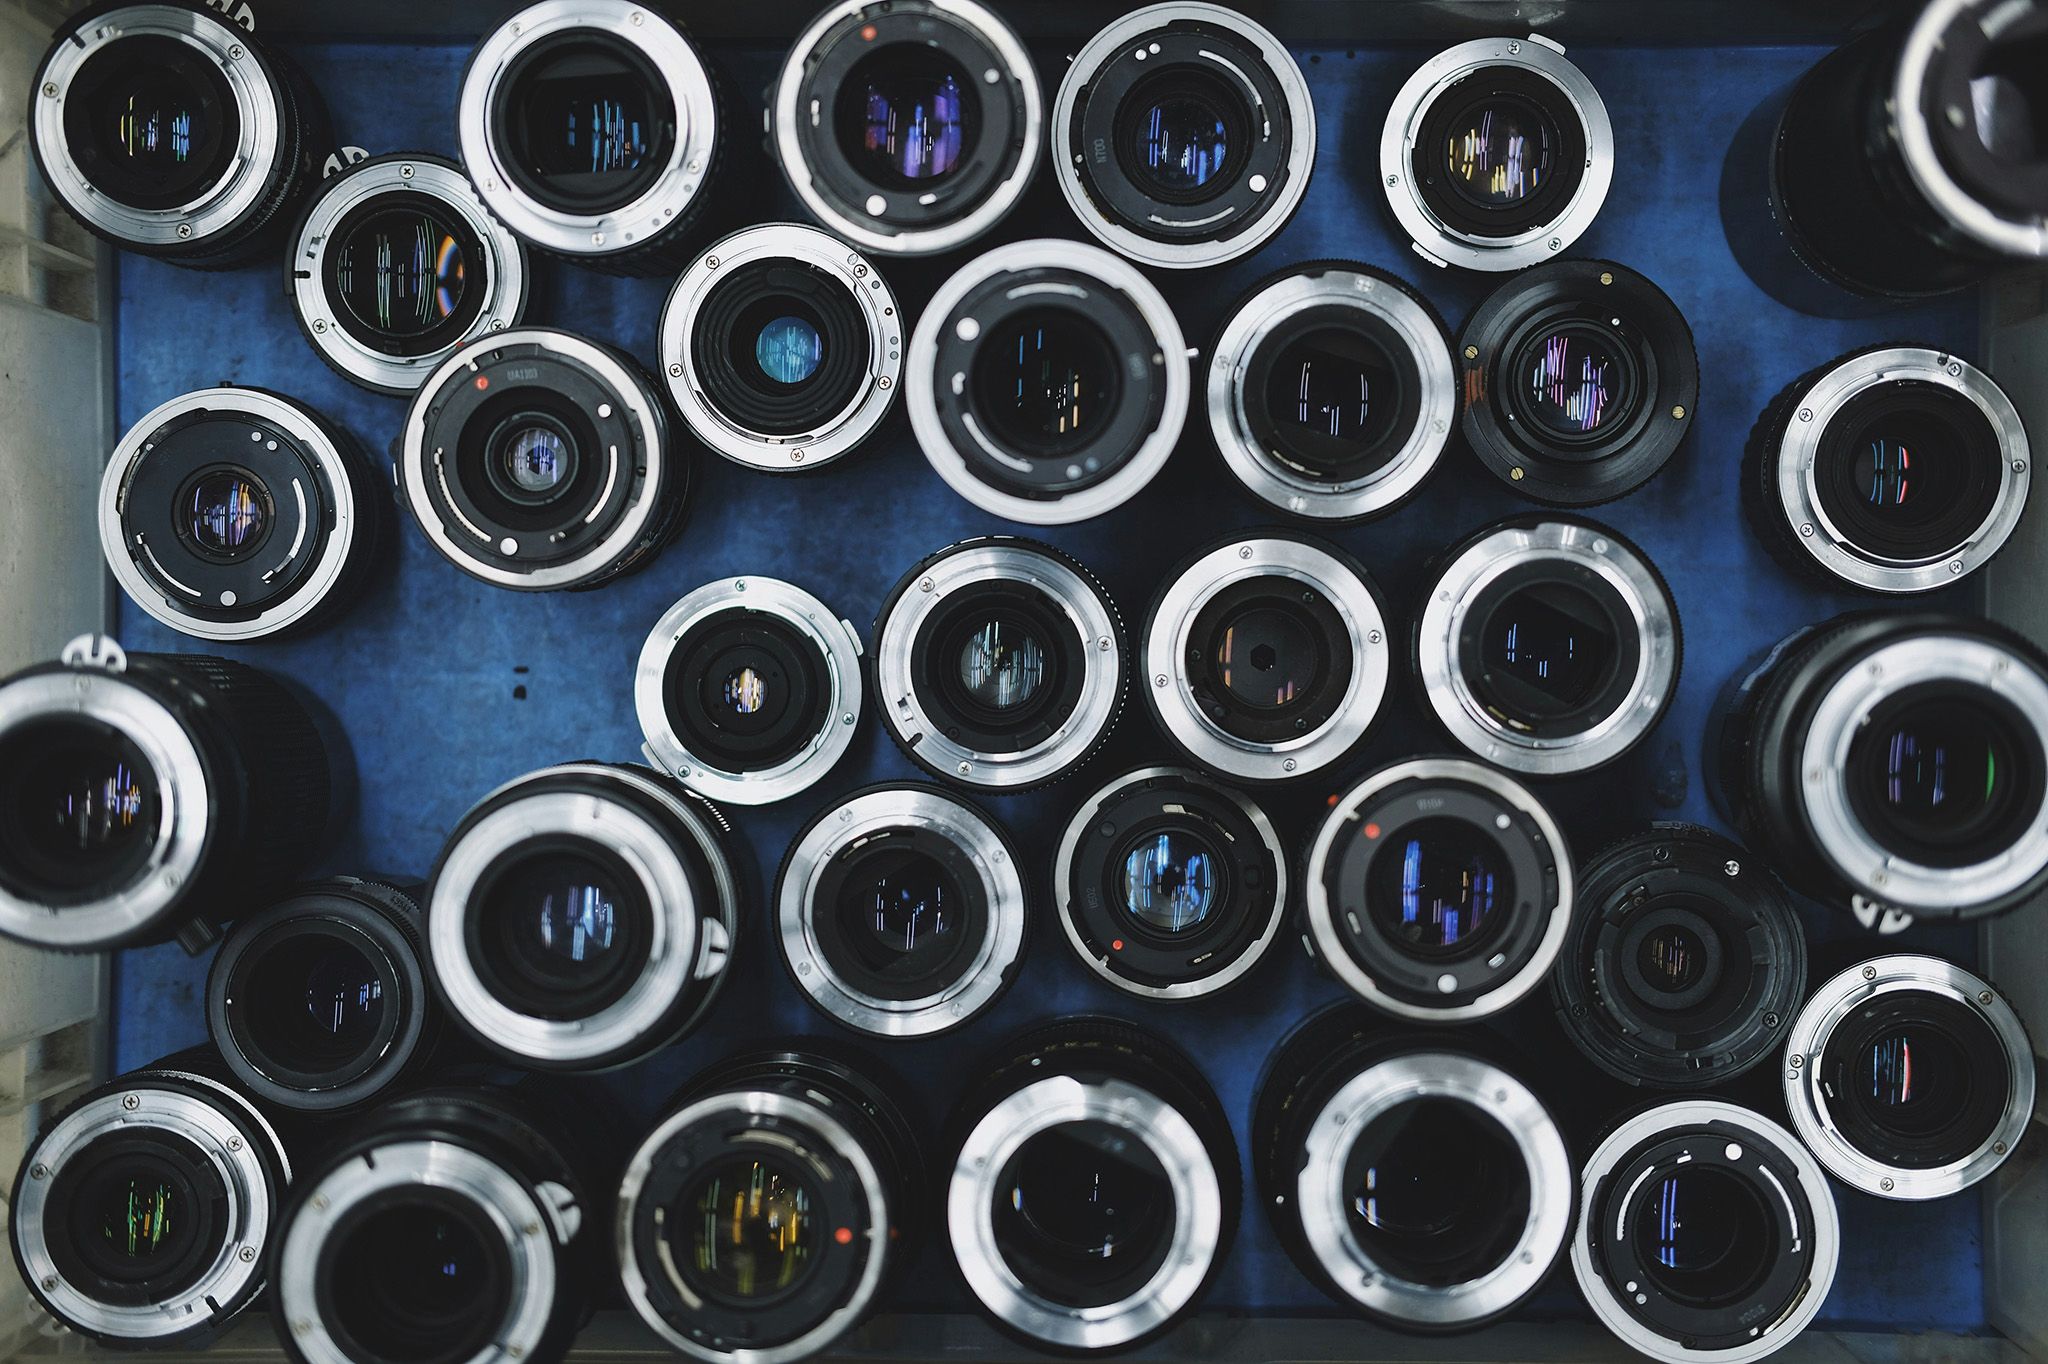
Your camera body matters, but your lens choice shapes your images just as much. For a student, having a workhorse lens that can cover all your bases is essential–especially if you’re working with a limited budget. If you can only buy one lens, a versatile mid-range zoom like an 18-135mm (or full-frame equivalent 24-105mm), or a fast 35mm prime such as the Sigma 30mm f/1.4, will cover the widest range of everyday shooting situations.
Want to learn more about lenses? Read 5 Essential Lenses Every Photographer Should Own and Prime vs. Zoom Lenses: Buyer’s Guide
It’s easy to spend your whole budget on a camera and lens and forget the accessories that make shooting actually work day-to-day.
Must-Haves
Nice to Have
Upgrade Later
Why Buy Pre-Owned?
Camera gear depreciates the moment it leaves the store, which means well-maintained used equipment can deliver the same image quality as new gear at a meaningfully lower price. For students working with a fixed budget, that difference can mean the gap between a beginner camera and one that actually grows with you through graduation.
Borrow or Rent Before You Buy
Before committing to a purchase, see what you can access for free or at low cost. Check your school’s equipment checkout program — many photography, film, and journalism departments loan out cameras, lenses, and lighting gear to enrolled students. University and public libraries increasingly maintain their own camera-lending programs, separate from departmental equipment rooms. Media labs and campus maker spaces are also worth checking, especially if you need something specialized for a single project.
How KEH Grading Works
Every piece of KEH Certified™ gear we sell is inspected and assigned a condition grade, so you know exactly what you’re getting before you buy — no guessing based on a photo listing.
180-Day Warranty
Every purchase is backed by a 180-day warranty, giving you real peace of mind on a pre-owned purchase.
As your skills grow and your needs change, you can trade in gear you’ve outgrown toward your next upgrade — a much more sustainable way to build your kit over four years than buying and reselling on your own.
Gear takes a beating on campus. Having a reliable repair option on hand keeps a small issue from turning into a reason to replace an entire camera. As the only reseller with manufacturer-approved repair capabilities, you can rest easy knowing that your gear is in good hands.
On top of already-lower pre-owned pricing, students and educators can stack additional savings — worth checking before any gear purchase.
Skills Every Student Should Master
Fast-Track Skills Checklist
Ready to put these to the test? Take on our photography challenge for a hands-on way to practice.
The camera captures the moment—editing is where you refine it. Learning post-production is one of the most valuable skills you can develop as a photographer or filmmaker. Every creative field, from journalism to commercial advertising, relies on editing software to organize, enhance, color-correct, and deliver professional work.
A Beginner Workflow
Recommended Software
Adobe Lightroom
Best for: Photo organization, editing, and color correction
Lightroom is often the first editing program photographers learn because it’s built around an efficient workflow. Import thousands of images, organize them, edit quickly, and export in multiple formats—all without permanently altering your original files.
Adobe Photoshop
Best for: Advanced photo editing and graphic design
Photoshop goes beyond photo correction. It’s designed for detailed retouching, compositing, graphic design, and creating images that combine multiple photographs or digital artwork.
Capture One
Best for: Professional image quality and tethered shooting
Capture One is known for exceptional color rendering and is widely used in commercial studios where photographers shoot directly into a computer during a session.
DaVinci Resolve
Best for: Video editing, color grading, and filmmaking
DaVinci Resolve combines professional video editing, motion graphics, visual effects, audio editing, and Hollywood-level color grading into one application. The free version is remarkably capable.
Darktable
Best for: Free RAW photo editing
Darktable is an open-source alternative to Lightroom that gives photographers professional editing tools without a subscription.
GIMP
Best for: Free image editing and graphic design
GIMP provides many of the image editing tools found in Photoshop while remaining completely free.
Photopea
Best for: Quick edits from any browser
Photopea runs entirely in your web browser, making it perfect when you’re working on campus computers or don’t have editing software installed.
Quick Editing Tips
A strong portfolio isn’t about showing everything you’ve ever shot — it’s about showing your best, most focused work.
How many photos should you include? Less than you think. A tight, consistent set makes a stronger impression than a long scroll of inconsistent work.
Develop your niche. Even a broad portfolio benefits from a clear point of view — a consistent style, subject matter, or approach that makes your work recognizable.
Trust your instincts. You know which images are your strongest work, even when it’s tempting to include a shot because of how hard you worked on it rather than how it turned out.
Share your process. Behind-the-scenes context — how a shot came together — can make your portfolio more memorable, especially for freelance or collaborative work.
Keep it updated. A portfolio is never really finished. Revisit it every semester and cut anything that no longer represents your best work.
Where to Host Your Portfolio
Common Mistakes to Avoid
You don’t need to wait until you graduate to start building real-world experience. Consider:
Photography
Video
Business
Funding is out there if you know where to look. Student grants, photography scholarships, and film grants can help offset the cost of gear and travel for projects. Campus funding opportunities are often underused simply because students don’t know they exist.
Portfolio reviews can connect you with working professionals who provide pointed feedback. Additionally, student contests can add a meaningful line to your resume and build visibility for your work. Artist residencies offer dedicated time and space to focus on a body of work — worth exploring even as an undergraduate.
Every photographer starts somewhere. The best investment isn’t the newest gear on the market — it’s the gear you’ll actually pick up and use. With KEH Certified™ pre-owned equipment, students can spend less on equipment and put more toward what actually matters: creating, learning, and growing.
Do I need a full-frame camera as a student?
No. APS-C bodies are lighter, cheaper, and plenty sharp for coursework, freelance work, and most portfolios. Save full-frame for when a specific job actually demands it.
Is pre-owned gear reliable enough for daily use?
Yes — as long as it’s graded and warrantied. That’s the difference between a random online listing and buying through a system built to catch issues before they reach you.
DSLR or mirrorless?
Either can work well for a student. Mirrorless is where most new lenses and autofocus tech are being developed, but a used DSLR often costs less and still handles coursework fine — the right call comes down to your budget and which lens ecosystem you want to grow into.
How many lenses do I actually need?
Two, max, to start: one versatile zoom or prime for everyday use, and one specialty lens once you know what you shoot most. More lenses don’t make you a better photographer.
Should I buy new gear “just in case” I need it later? No. Buy for the projects in front of you now. Trade in and upgrade as your coursework and style get more specific — that’s cheaper than guessing upfront.
What’s the single best beginner investment? Not the camera — the nifty fifty. A 50mm f/1.8 lens will teach you more about composition and light than any body upgrade.
Can I really build a career on used gear? Yes. Clients and employers care about your images, not your camera’s serial number. Plenty of working photographers shoot pre-owned bodies every day.