You
have no items in your shopping cart.
Tripods, Timers, and Remotes: How to Photograph Your Family and Be in the Shot
November 12, 2026
1 min read

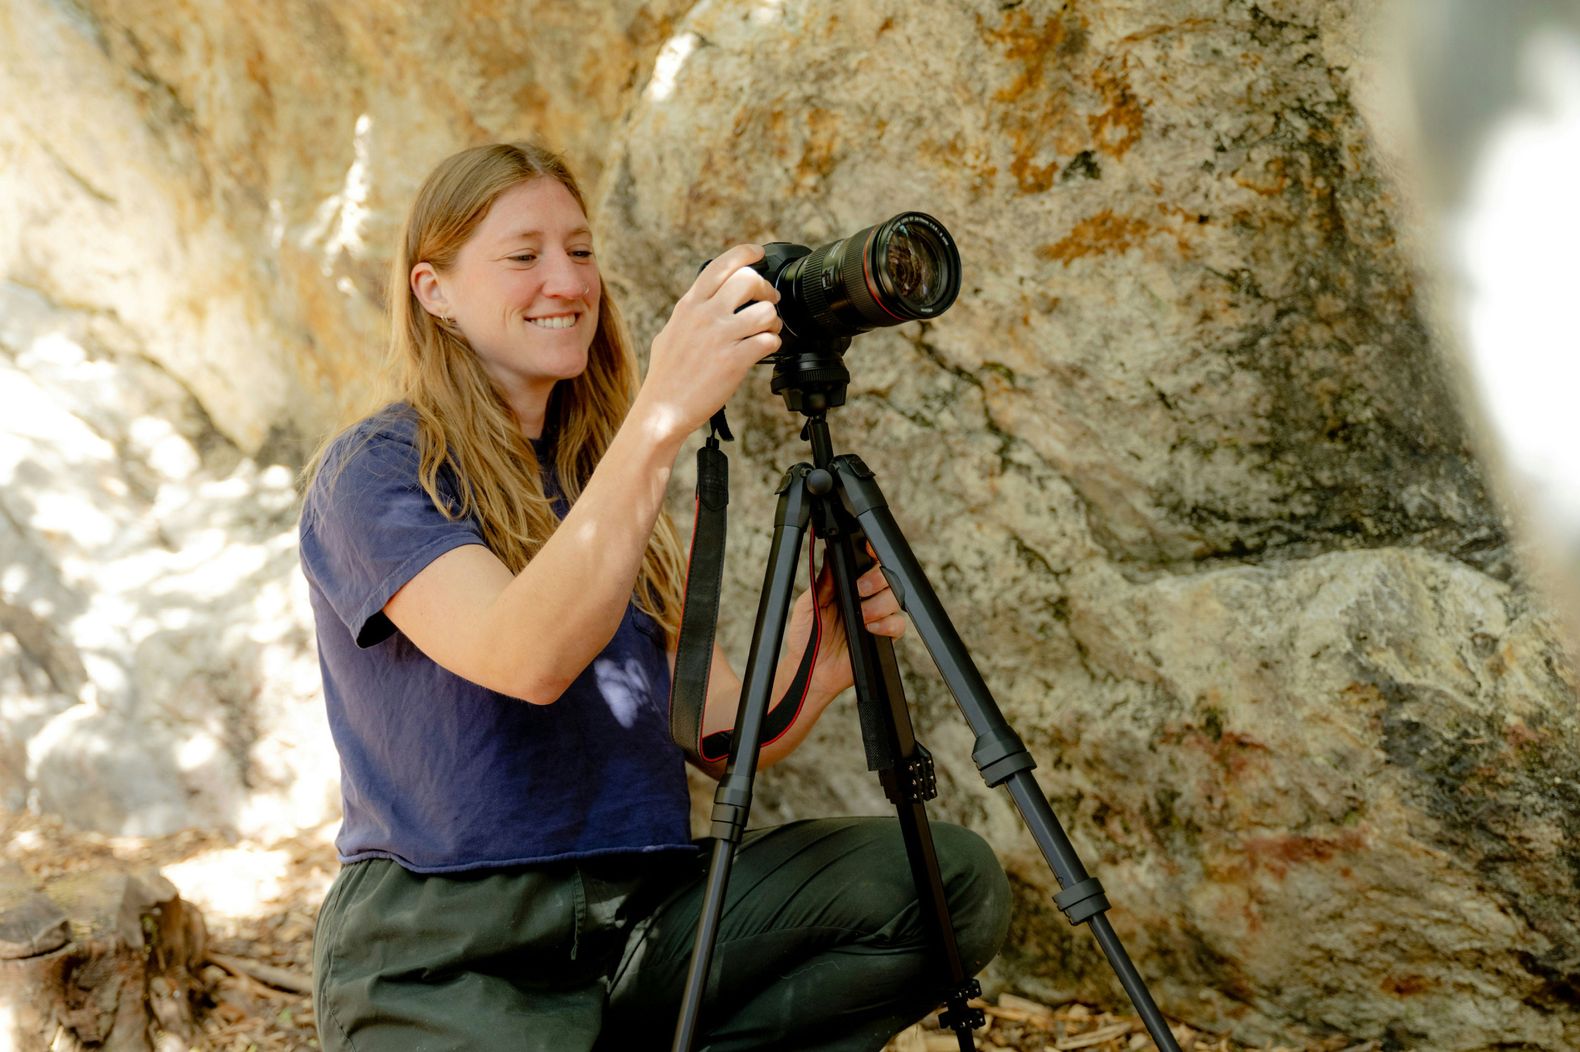
You shouldn’t have to choose between taking the family photo and actually being in it. With a tripod, a self-timer, or a compatible remote, you can get everyone in the frame without asking someone to sit out or handing your camera to the nearest willing relative. A little preparation goes a long way toward getting a photo you’ll actually want to frame.
Whether you’re photographing a holiday gathering, a family vacation, or an afternoon with the kids and pets, this guide covers the equipment, camera settings, and setup techniques that make it easier to get everyone in the picture.
You don’t need an elaborate setup to take a good family photo. Start with three things: a camera, a stable tripod, and a way to release the shutter without standing behind the camera.
Your camera’s built-in self-timer is enough to get started. A compatible remote or smartphone app gives you more control, letting you trigger the shutter while staying with everyone else.
If you don’t already own a tripod, look for one that can safely support your camera and lens combination. A standard tripod is usually the most versatile choice for family portraits, but the right option depends on where you plan to shoot and how much equipment you need to carry.
A few specifications are worth checking before buying:
You can browse KEH’s selection of tripods to find options for everything from lightweight travel setups to more substantial camera support.
Before gathering the family, charge your battery, check your memory card, and test your chosen shutter-release method. If you’re using a remote or app, check compatibility with your specific camera model. Not every camera supports every connection or feature.
Take a test photo before bringing everyone into position. A remote that says it’s connected doesn’t necessarily mean it’s ready to fire the shutter.
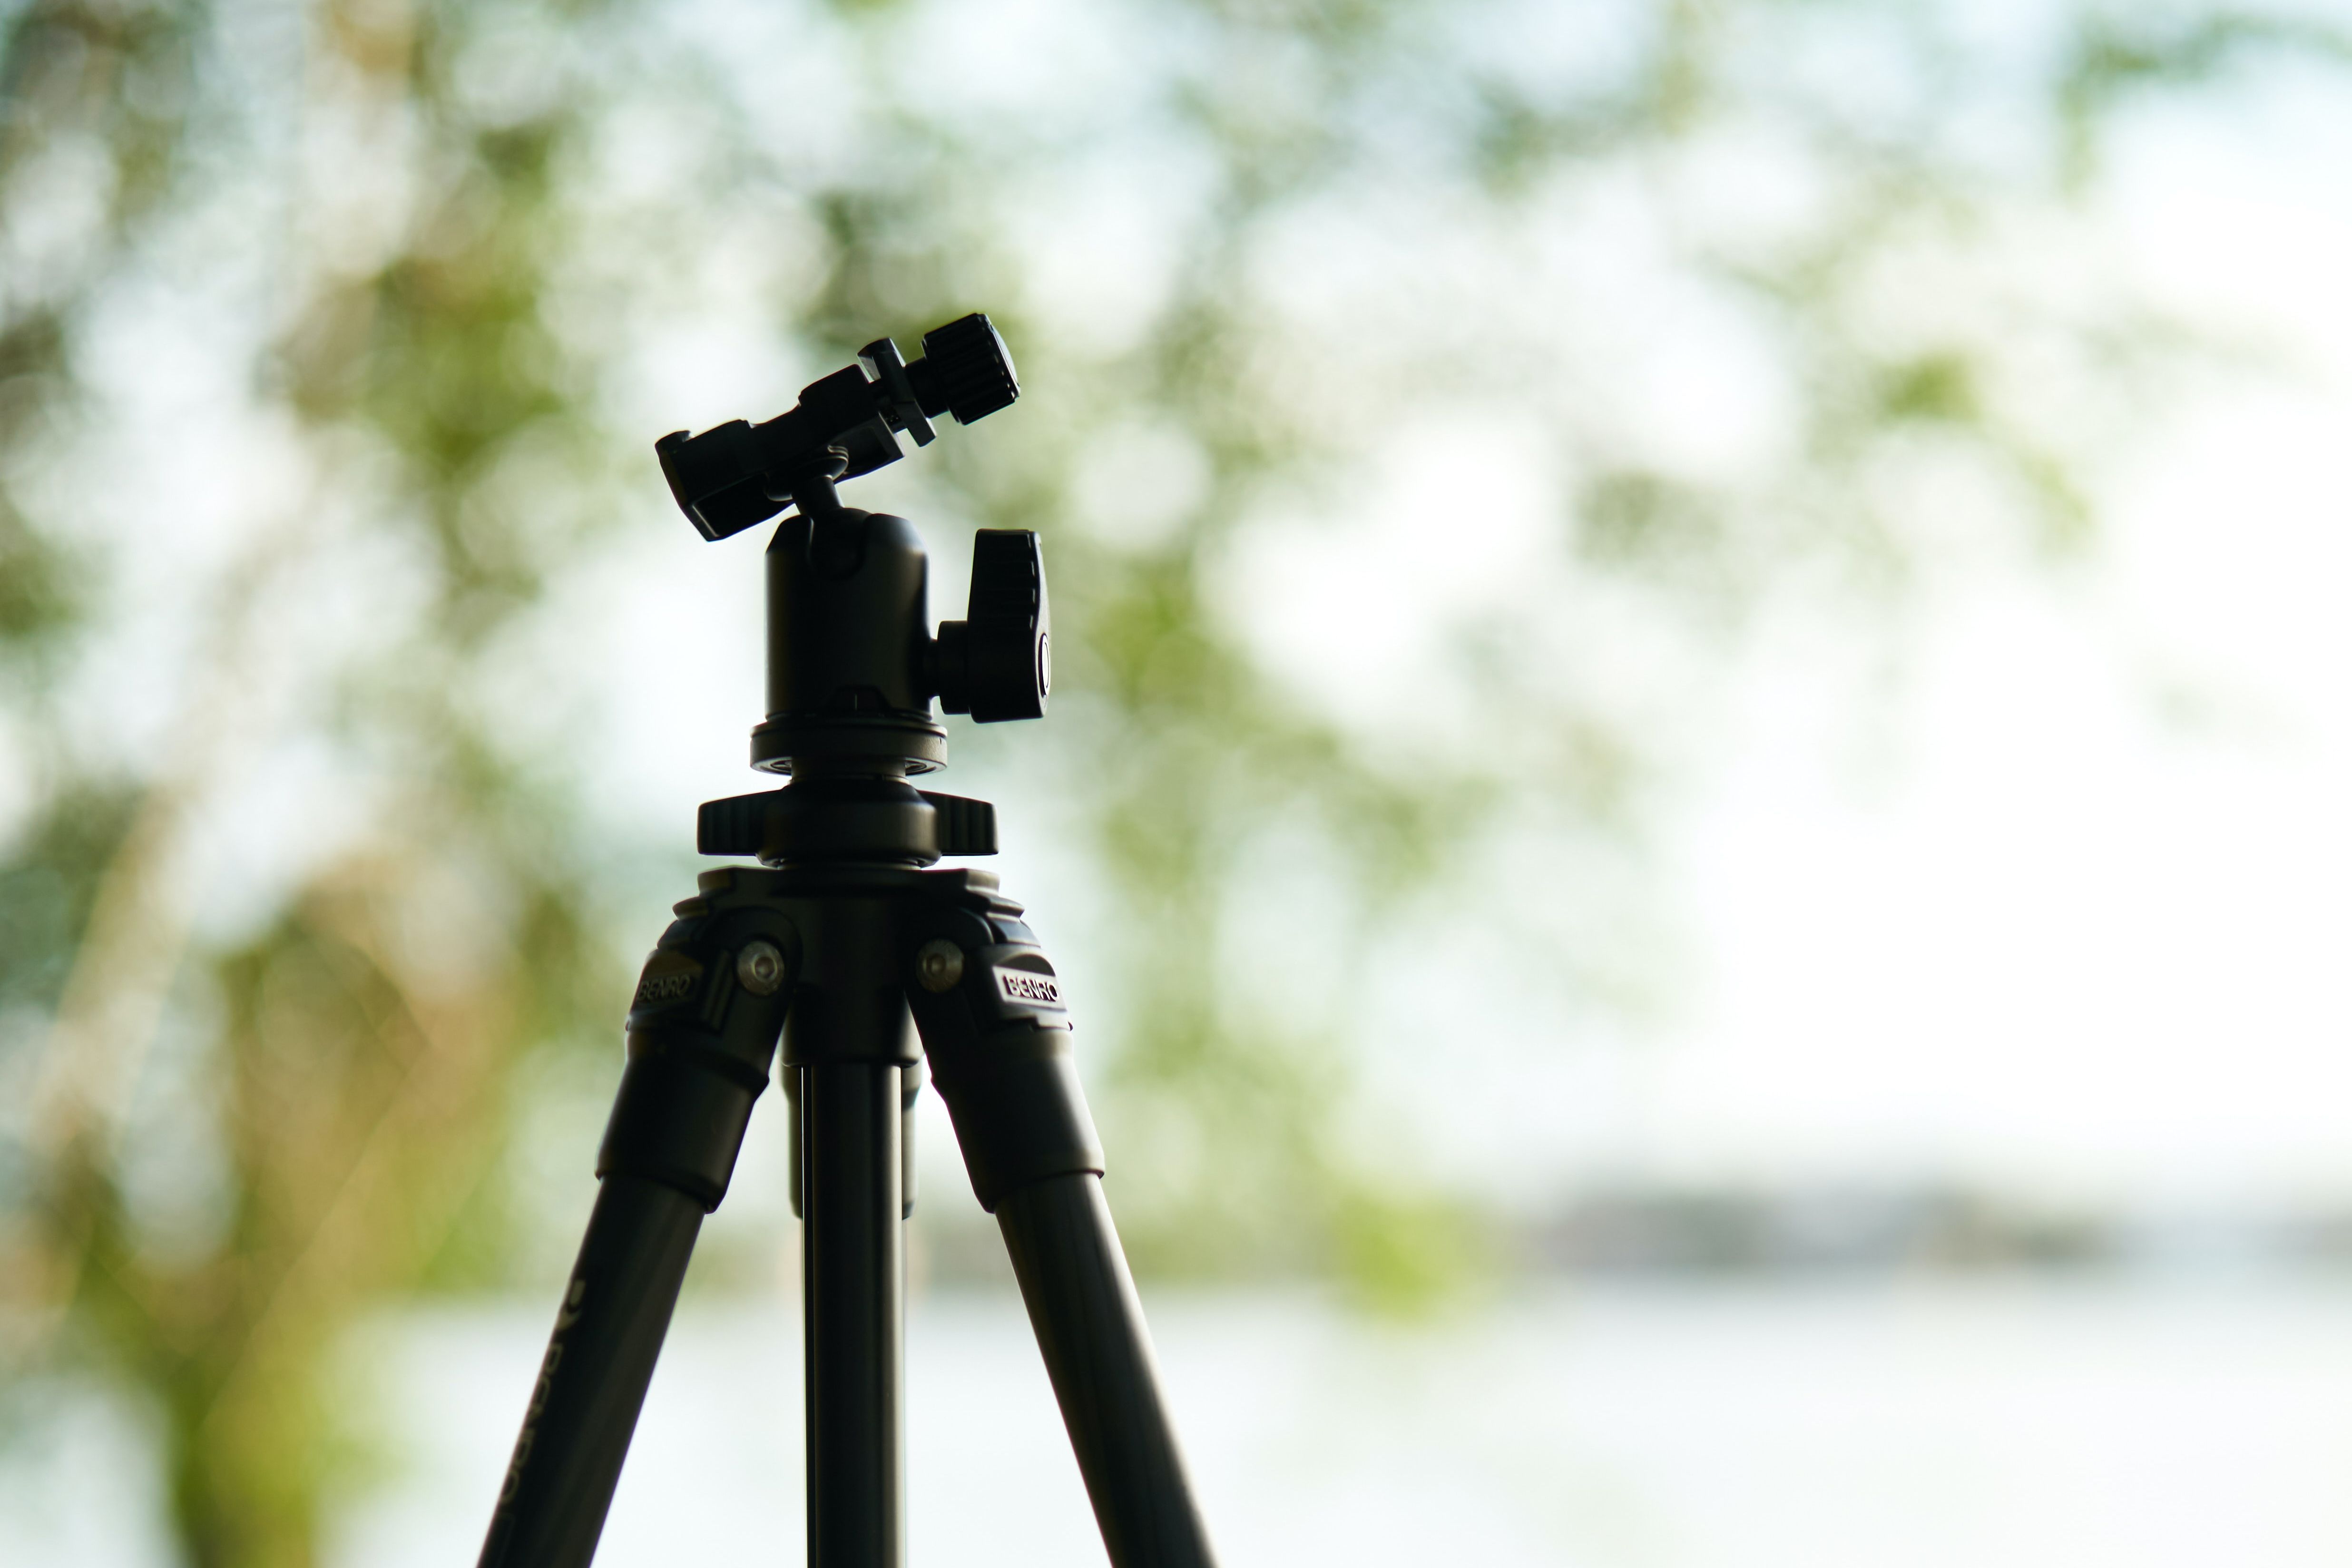
Start by placing your tripod on firm, level ground. Open the legs fully, lock their extensions, and make sure the camera plate and head are secure. Extend the legs before raising the center column, which is better reserved for smaller height adjustments.
Give the camera a gentle check before stepping away. You don’t want to return to find that it has shifted out of position.
Think about where everyone will be standing or sitting, too. Keep the tripod away from running children, pet leashes, and busy walkways. For most family portraits, start around eye level with the group. If everyone is seated, lower the camera rather than shooting down at them from a standing position.
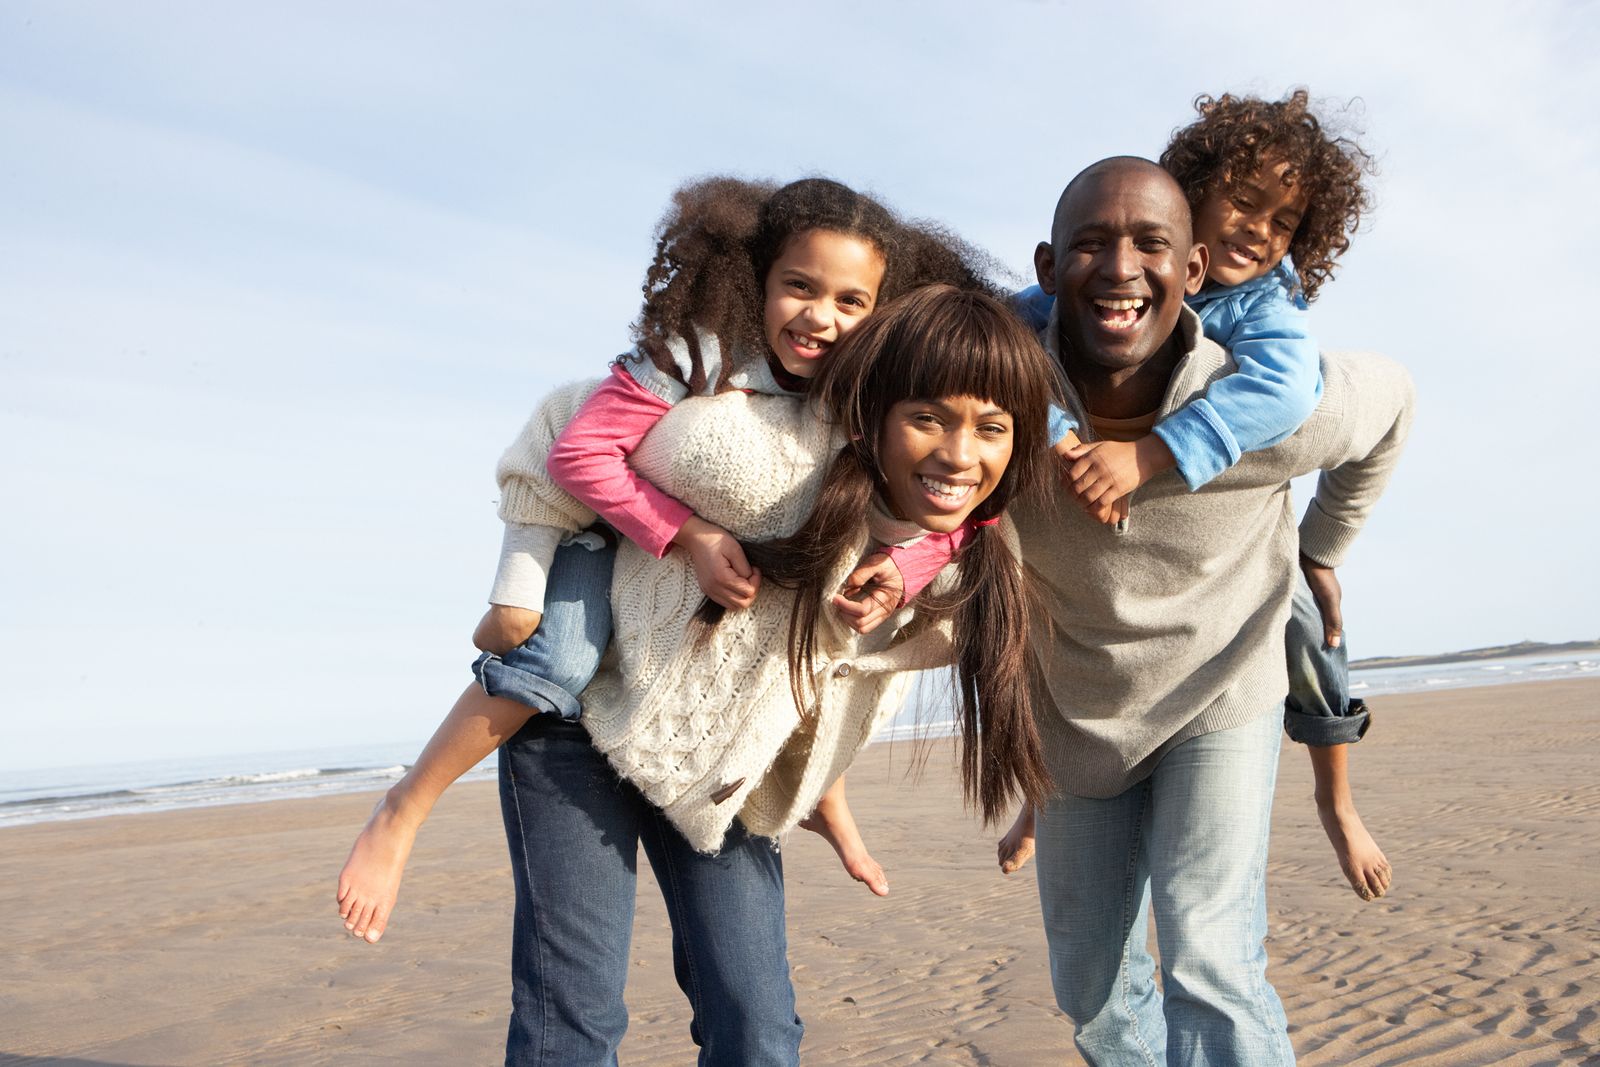
Arrange everyone before starting the countdown. Leave an obvious gap for yourself, then check the entire frame for distracting objects, awkward crops, or branches and other objects appearing behind people’s heads.
Give everyone a little breathing room. It’s easy to underestimate how much space a group needs, especially when people start leaning together or moving around.
For larger groups, mix seated and standing positions to create different heights instead of lining everyone up shoulder to shoulder. Keep the front and back rows relatively close together, too. This makes it easier to keep everyone in focus.
Before you step into the frame, take one more look at the background. A stray branch, distracting object, or cluttered setting can pull attention away from an otherwise great photo.
If everyone doesn’t fit in the frame, resist the urge to switch immediately to an ultra-wide lens and move closer. Shooting people from close range with a wide-angle lens can exaggerate facial features, while people positioned near the edges may appear stretched.
When space allows, step back and try the middle of your zoom range. A standard zoom lens is particularly useful here because you can adjust your framing without moving the tripod. A lens in the 24–70mm equivalent range is a versatile starting point for many family portraits, although the ideal focal length depends on your camera’s sensor size and available space.
If you’re shopping for a standard zoom, check compatibility with your camera’s lens mount and sensor format. KEH’s selection of pre-owned zoom lenses offers an opportunity to find a versatile lens without paying full retail.
Your settings will depend on the available light, the number of people, and how much everyone is moving. These are good starting points:
Remember that a tripod only stabilizes the camera. It won’t freeze a moving child, a shifting pet, or someone laughing halfway through the countdown. Review a test shot at magnification before committing to a full sequence.
Getting everyone sharp is one of the trickier parts of photographing yourself with a tripod. You can’t stand behind the camera to adjust focus once the countdown begins, so take care of it beforehand.
For a mostly stationary group, focus on a person’s eye near the center of the front row. Once you’ve locked focus, you can switch to manual focus without touching the focus ring. Join the group at approximately the same distance from the camera.
If anyone moves significantly closer or farther away, or you adjust the camera’s position or zoom, refocus before taking another picture.
For moving subjects, continuous autofocus and face or eye detection may help. However, don’t assume these features will keep working throughout a timer countdown or interval sequence. Autofocus behavior varies by camera and shooting mode, so check your camera manual and test the setup before relying on it.
The best way to trigger your camera is the one that lets you get into position comfortably and reliably. You have a few options, depending on your camera and how much control you want.
If you’re looking for a remote, start by identifying your camera model and the connection it supports. Some remotes are brand-specific, while others work with multiple camera systems but require the correct cable or receiver. Check the compatibility information before purchasing. A remote is a relatively small addition to your kit that can make self-portraits and group photos considerably easier.
A camera interval timer is another option if you want to capture a series of photos without repeatedly returning to the camera. Where supported, set a starting delay and choose an interval that gives everyone time to settle between shots. Check that your camera saves individual still photographs and understand how focusing works in that mode.
Whatever method you choose, test it from the spot where you’ll be standing. It’s much easier to troubleshoot a remote before the entire family is waiting for you.
Once the technical setup is taken care of, don’t overthink the posing. A little direction helps, but asking everyone to hold the exact same smile for ten seconds usually doesn’t produce the most natural-looking photo.
Start with a straightforward everyone-looking-at-the-camera shot. Then try a few simple prompts:
One instruction at a time is usually enough. If you’re photographing younger kids or pets, have someone nearby help get their attention while you stay in position.
For pets, try bringing everyone down to their level rather than expecting them to sit still in an awkward position. And if the kids are losing interest, take a break. You can always try again.
You don’t need a studio or professional lighting setup to take a good family photo. A little attention to your surroundings can make a big difference.
A living room window can provide all the light you need. Arrange everyone so the window illuminates their faces, then position your tripod across the room.
Clear away distracting background clutter and make sure everyone fits comfortably in the frame. If the room is dim, raise your ISO to maintain a shutter speed fast enough to handle movement, especially with younger children.
Bright sunlight can create harsh shadows and make everyone squint. Look for an area of open shade where the light is relatively even across the group.
Before inviting everyone into position, check that no one is standing in direct sunlight while someone else is in shadow. Keep the rows close together and take a test photo to check exposure and focus.
Not every family photo needs to look like a traditional portrait. Try framing an activity, like reading together on the couch, playing in the yard, or cuddling with the family dog.
An interval sequence can be especially helpful here. Set up the camera, test the focus, and let it capture a series of frames while everyone interacts naturally.
Keep the shutter speed fast enough to handle movement, and give everyone room to move within the frame. Some of the best family photos happen between the posed shots.
Learn more about pet photography.
Even with a solid setup, your first attempt might not go exactly as planned. Before changing everything, take a look at the photo and figure out what went wrong. Was it motion blur, missed focus, or a remote that didn’t fire?
Here are a few common problems and how to fix them:
Once you’ve got a sharp, well-framed shot, put the camera down and enjoy the moment. You can always take another photo, but you don’t want to spend the entire family gathering behind the camera.
Start with 10 seconds. That usually gives you enough time to walk into position, especially if you’re arranging children or getting a pet settled. If your camera allows a longer delay, use it when you need extra time. Some cameras also offer a two-second timer, which is useful when you’re already in position and want to avoid camera shake from pressing the shutter.
Focus on a person’s eye near the center of the front row, then keep everyone on roughly the same plane. If you’re photographing multiple rows, try a smaller aperture (around f/5.6–f/8 is a good starting point) to increase depth of field. Take a test shot and check faces in both the front and back rows before continuing.
Often, yes. A remote lets you wait for the right moment instead of racing a countdown. You can trigger the shutter when everyone is looking, smiling, or interacting naturally. Just make sure your remote is compatible with your camera and test it from your shooting position first.
A standard tripod with adjustable legs and a secure head is a good choice for most family portraits. Look for sufficient load capacity for your camera and lens, a maximum height that lets you shoot comfortably without fully extending the center column, and a mounting plate compatible with your camera. If you plan to travel with it, consider a lighter model that folds down easily without sacrificing too much stability.
A standard zoom is a practical choice for most family photos because it gives you flexibility when framing different group sizes. A moderate wide-angle lens can also work well, especially in smaller spaces. Avoid extremely wide focal lengths when shooting from close range, as they can distort faces near the edges of the frame.
Take a short sequence rather than relying on one perfect frame. Start with a simple posed photo, then give everyone something to do. Encourage conversation and interaction, and let a few candid moments happen within the frame. You might find that the photos between poses are the ones you like best.