You
have no items in your shopping cart.
Golden Hour in Autumn: Timing Your Shots for the Best Fall Light
October 30, 2026
1 min read

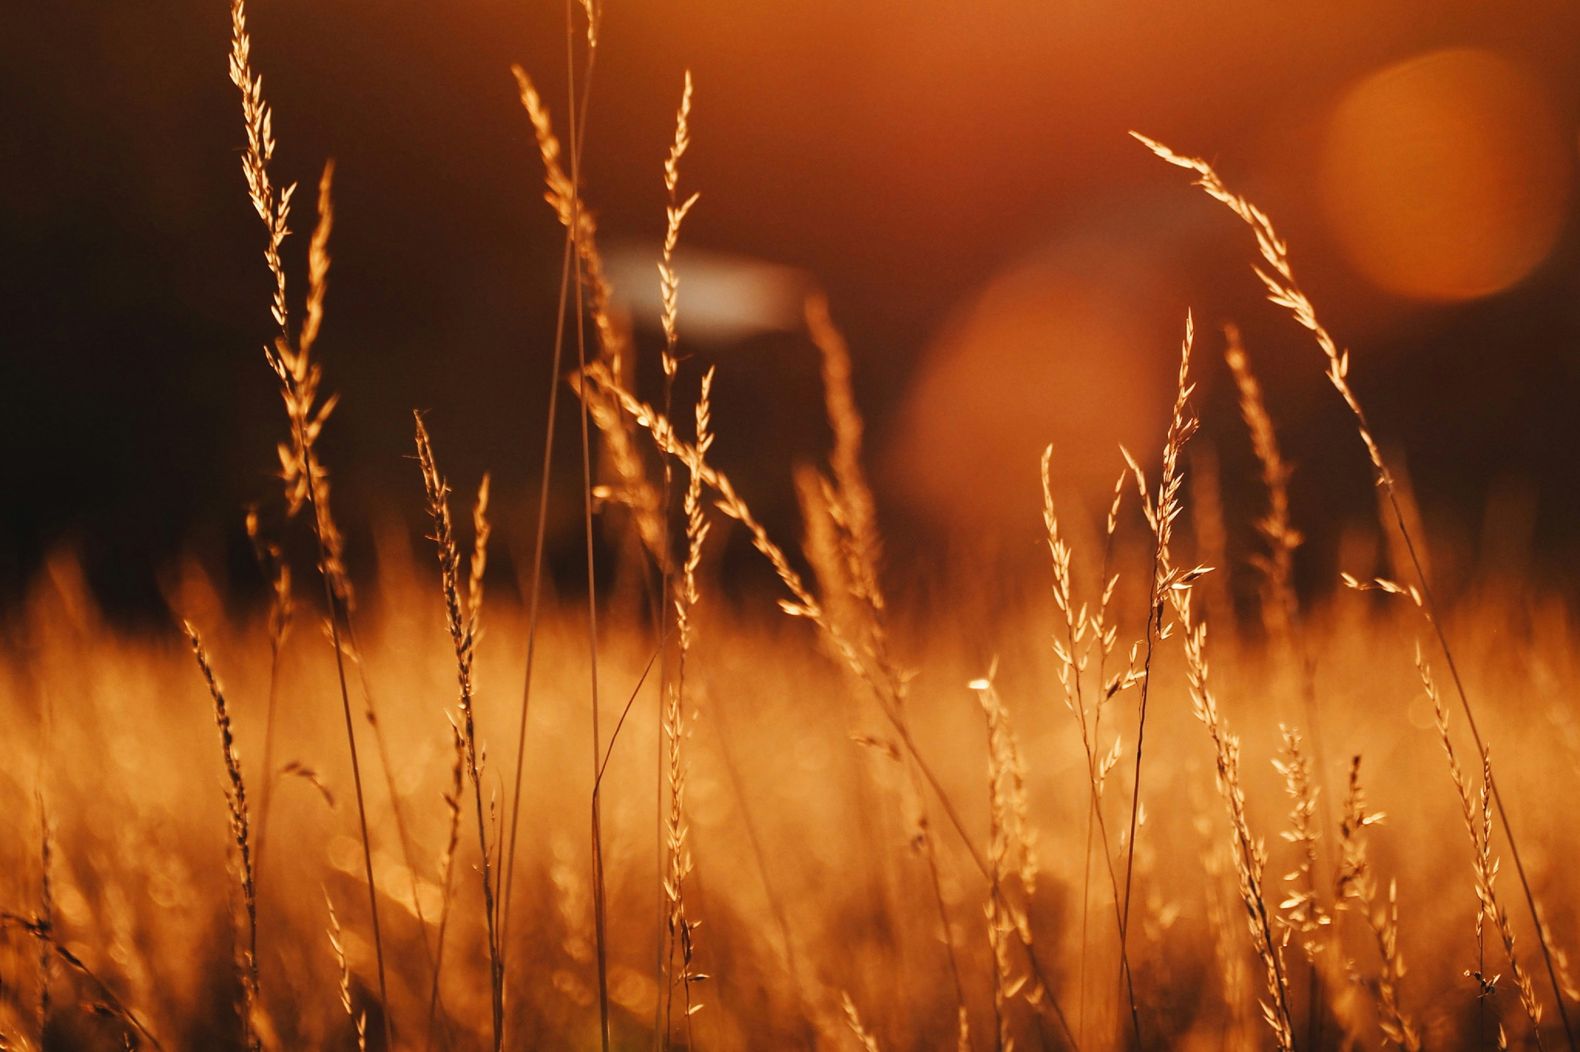
Golden hour in autumn brings warm, low-angle sunlight that can turn leaves translucent, give landscapes depth, and create flattering portraits. The key is planning around your location, then adapting your exposure and shooting position as the light changes. This KEH Camera article combines practical fall photography tips with settings and scouting advice you can use with the gear you already own.
The best time to take fall photos depends on the look you want: choose the low sunlight shortly after sunrise or before sunset for warm, directional illumination, or overcast conditions for soft, even foliage color. Golden hour describes that low-sun period, not a guaranteed sixty-minute window. Its timing and duration vary with your location and the season, so there is no universal golden hour time.
Autumn changes your shooting schedule in three important ways:
Check local sunrise and sunset times for your exact shooting date, then check the sun’s direction. A sunset time alone cannot tell you whether your chosen hillside will receive light or sit behind an obstruction. Use that information as a starting point, not a promise of glowing leaves.
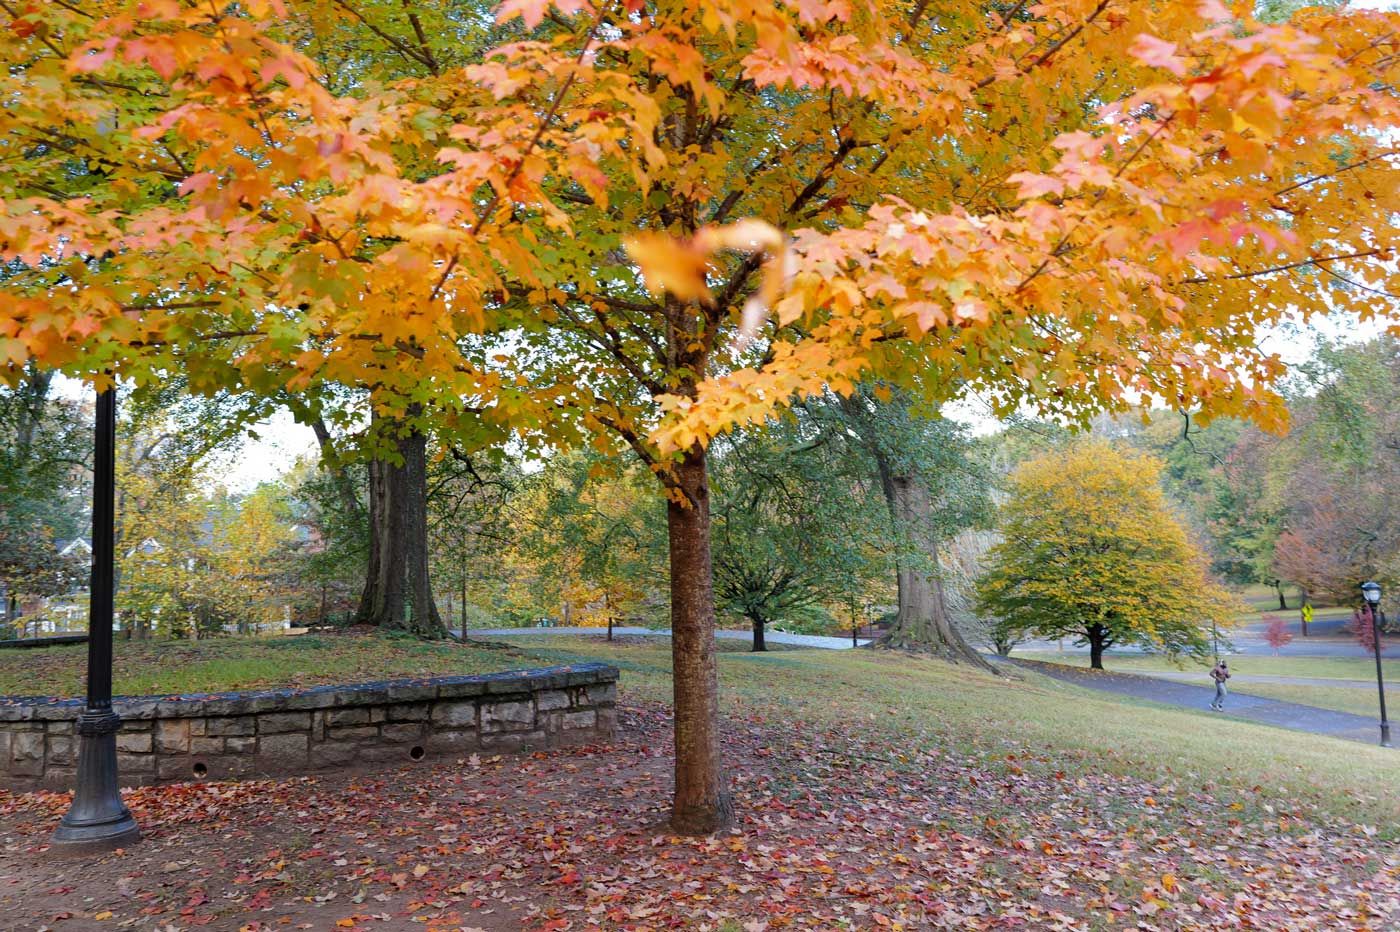
Arrive early enough to walk the location, choose compositions, and set up without rushing. For sunrise, that means scouting before dawn or visiting beforehand in daylight. For sunset, leave room in your schedule to test several angles before the light becomes warm.
Build your scouting notes around decisions you can act on:
A useful plan might pair an open overlook with a nearby woodland. Shoot the overlook if sunlight reaches the landscape; switch to intimate woodland compositions if clouds create even illumination. That turns uncertain autumn lighting into a choice rather than a disappointment.
Moving around your subject can change the photograph more dramatically than changing a setting. Front, side, and backlighting each reveal something different, whether you are photographing fall foliage or making portraits. Try more than one direction before deciding which best serves the scene.
With the sun behind you, light falls onto the front of your subject. Foliage colors are easy to see, making this useful for a colorful hillside or a straightforward environmental portrait. The trade-off is flatter-looking depth because fewer shadows are visible.
For portraits, turn your subject slightly rather than asking them to stare toward uncomfortable sunlight. Watch for squinting and your own shadow entering the frame. If the light remains too strong, move into open shade instead of forcing the setup.
Side lighting creates alternating highlights and shadows across trunks, leaves, and the ground. Those differences reveal texture and help a landscape feel three-dimensional. For portraits, turn the person until the shadowed side of the face still holds the detail you want; a white reflector can soften the contrast.
Place the sun behind leaves to let light pass through them, revealing luminous color and delicate structure. Look for an isolated leaf against a darker background, then shift your position until distracting branches disappear. Keep the sun outside the frame when you want cleaner contrast.
For golden hour portraits, backlighting can create a bright outline around hair and clothing while leaving the face shaded. Expose with the face in mind, but check whether the background becomes excessively bright. A reflector or gentle fill flash can reduce that contrast without sacrificing the backlit effect.
Useful fall photography settings start with your subject: use a smaller aperture for broad landscape sharpness, a wider aperture for isolated details, and a shutter speed that matches movement. Begin with a low ISO when conditions allow, but raise it when necessary to prevent blur. Treat these suggestions as starting points, not fixed recipes.
| Subject | Suggested Starting Point | What To Watch |
| Wide landscape | Aperture priority, f/8f/11, low ISO | Check foreground and background sharpness; watch for moving leaves. |
| Isolated leaf or branch | f/2.8f/4 if available | Focus carefully; stop down if the important detail is not all sharp. |
| Environmental portrait | Choose aperture for the person and surroundings | Keep enough depth of field for the features you want sharp |
| Windblown foliage | Prioritize a faster shutter speed | Raise ISO rather than accepting unintended subject blur. |
Shutter speed: Review a magnified test shot, especially when using a longer lens. A speed that works for a still branch may fail as soon as the wind picks up. A tripod steadies the camera, but it cannot stop leaves or people moving.
ISO: Keep it low for a calm, tripod-mounted landscape when shutter speed is flexible. Increase it when handholding or photographing movement requires a faster exposure. A sharp image with some noise is usually more useful than a clean but unintentionally blurred one.
White balance: Start with Daylight to assess the scene’s warmth, then compare Cloudy if the result feels too cool. Avoid pushing warmth until yellow leaves become orange or skin looks unnatural. A consistent preset can also help a sequence feel cohesive.
Exposure compensation: In an automatic exposure mode, use negative compensation when important bright areas lose detail, or positive compensation when your subject is too dark. Recheck after each change rather than applying one correction throughout the shoot.
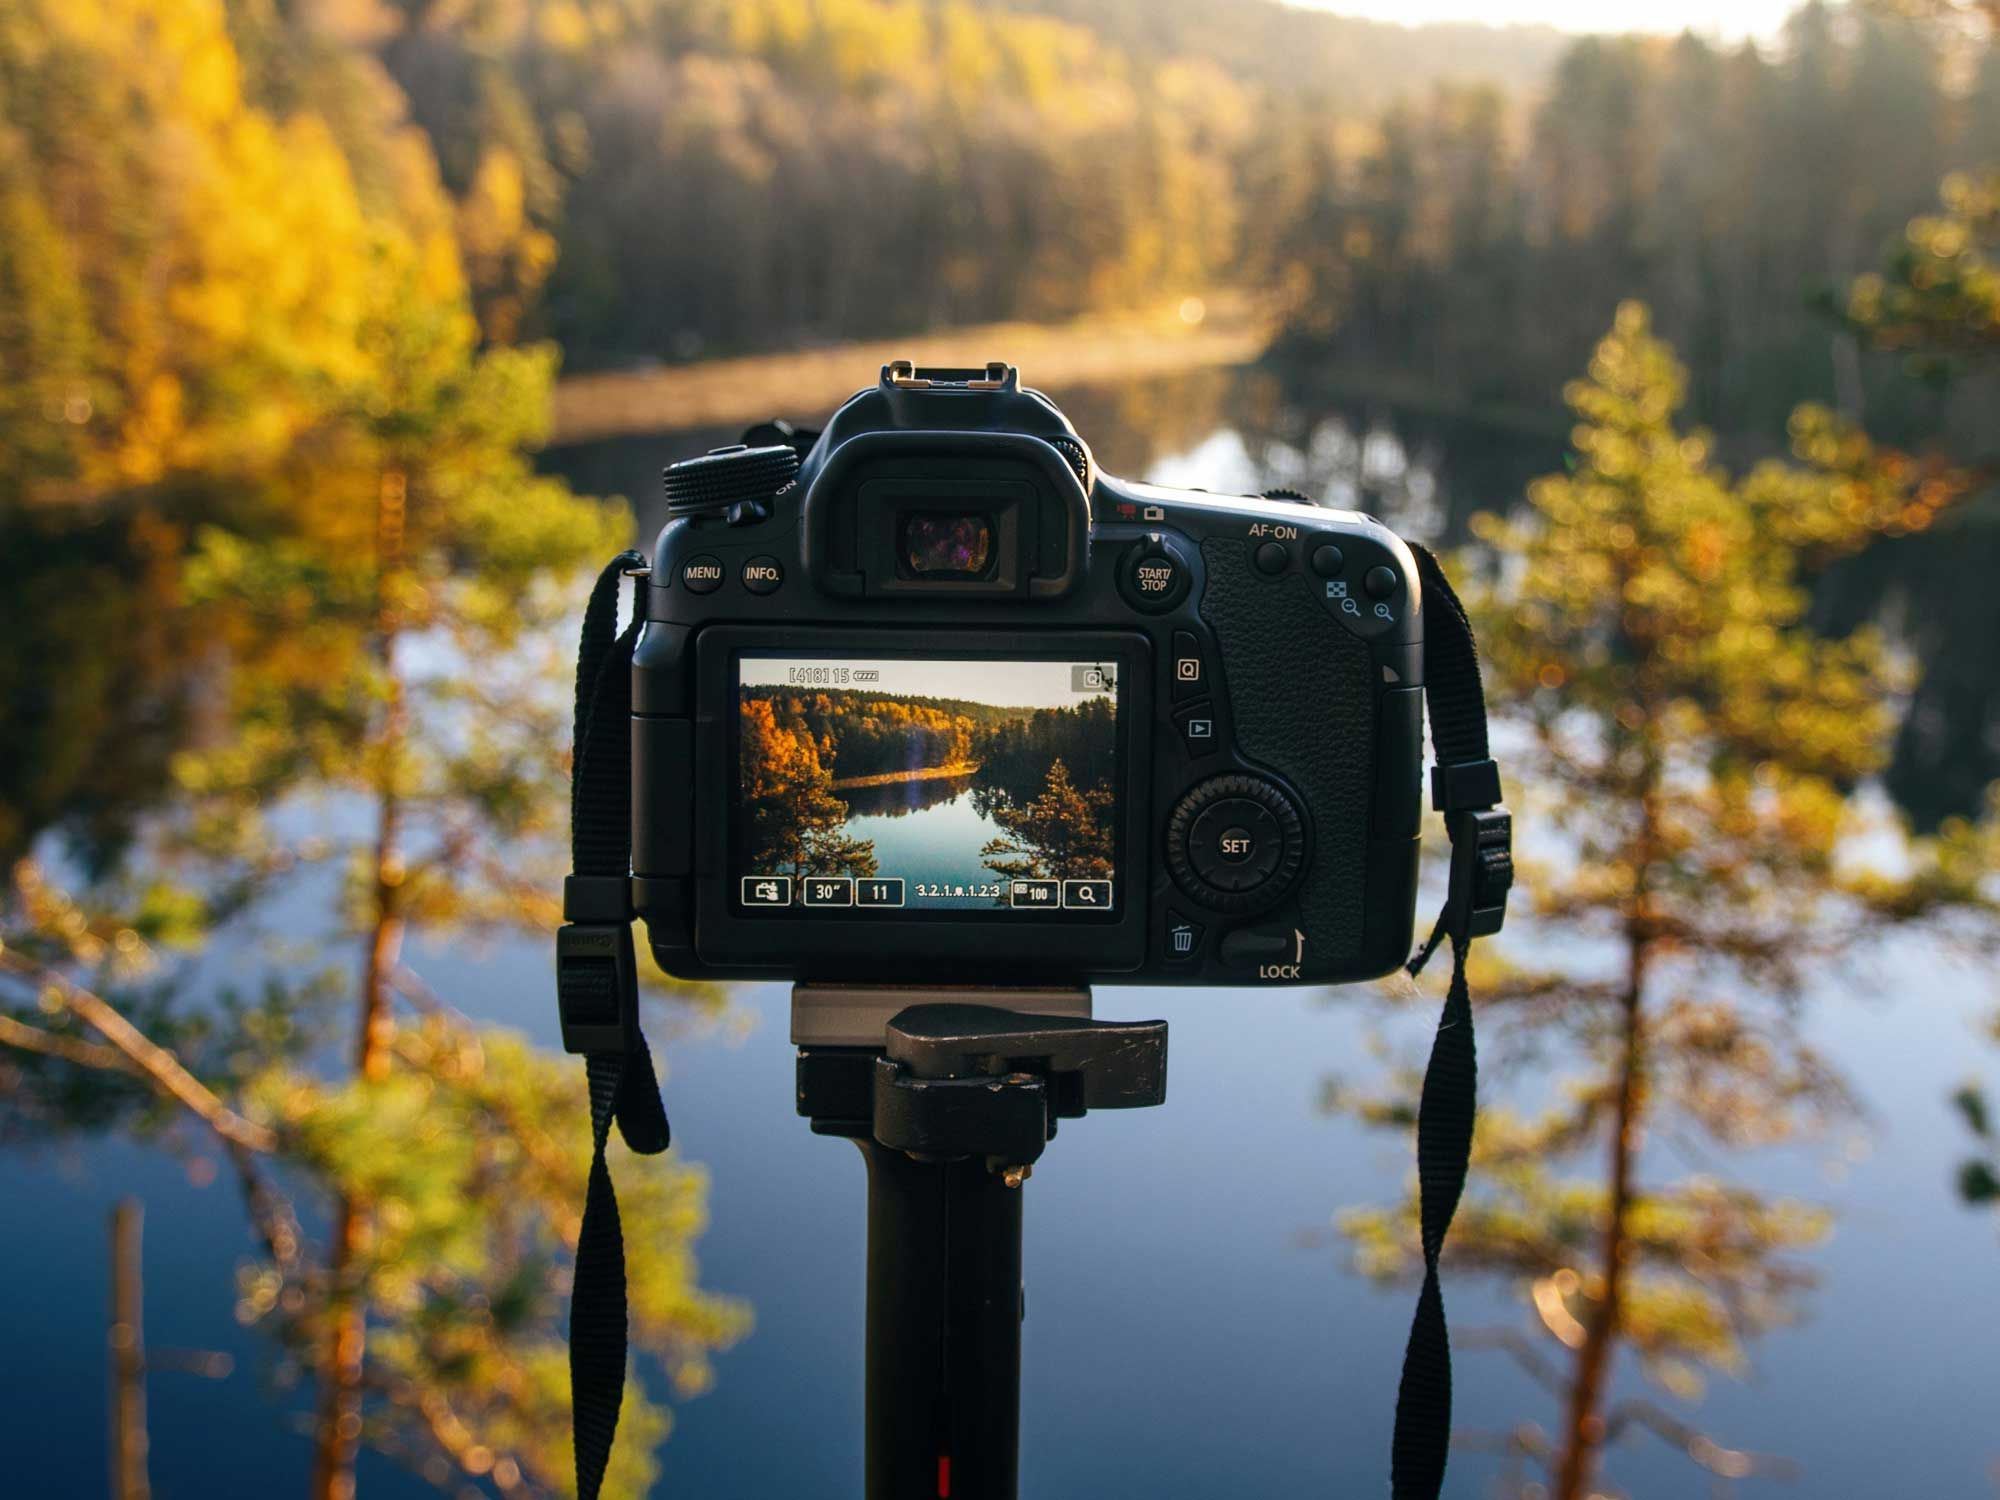
Bright leaves against a shaded woodland can challenge your camera’s ability to record the whole scene. Check the histogram and highlight warnings instead of judging exposure only from screen brightness. The histogram’s right side represents highlights; clipping there can indicate lost bright-area detail.
Try this exposure routine:
Shoot RAW when possible for more flexibility in adjusting brightness and color afterward. That flexibility is not permission to ignore exposure: aim to record useful detail in both important highlights and shadows. Deeply darkening every frame just to protect a tiny bright reflection can compromise the main subject.
For a stationary landscape, bracket exposures if one frame cannot hold the range you need. Keep the framing consistent, ideally on a tripod, and capture lighter and darker versions for potential blending. Windblown leaves complicate merging, so consider whether a simpler composition would work better.
Strong fall landscape photography needs more than attractive leaves. Use a foreground element, a distinct middle-distance subject, and a background to guide the eye through the frame. A low viewpoint can make fallen leaves or a stream feel like an entrance into the scene.
Try placing a leaf-covered rock near the bottom of a wide composition, with a tree farther away as the main subject. Move until those elements separate rather than overlap awkwardly. Check the edges for bright distractions before pressing the shutter.
A longer lens offers another approach: isolate overlapping trees or patches of light without including an uninteresting sky. Wide-angle views show the setting; tighter frames help organize a busy woodland. Make both before assuming the widest view is the strongest.
Overcast weather is not failed golden hour photography. Soft, even illumination can make foliage color easier to record without strong highlight-shadow contrast. Favor woodland details, wet leaves, and compositions that exclude large areas of blank sky.
Harsh midday light calls for a different approach. Move portraits into even shade, or seek smaller foliage subjects sheltered from direct sun. When shooting in sunlight, use the stronger contrast deliberately rather than expecting the same gentle look as golden hour.
One of the most useful sunset photography tips is to keep watching after direct sunlight disappears. The cooler light afterward offers a different mood, not a lesser version of the previous scene. Have a second composition ready instead of immediately packing your bag.
You can make excellent autumn photography with your existing equipment. Practice timing, positioning, and exposure before assuming a new camera will improve the result. If you identify a genuine gap, KEH Certified™ pre-owned gear offers an option for building your kit thoughtfully.
Consider these categories according to the photographs you want:
Accessories deserve the same purposeful approach. Tripods support careful framing and longer exposures in still conditions. Circular polarizers reduce reflections on leaves and water; rotate one while watching the effect, and remove it when its light reduction becomes unhelpful. Lens hoods help control flare from stray light, especially when shooting toward the sun.
How many locations should I schedule for one golden hour?
For a first attempt, choose one main location with several compositions nearby. That keeps travel from competing with shooting time. Add another location only when you understand how the light behaves at both.
What should I practice before leaving home?
Practice changing exposure compensation, displaying the histogram, and magnifying image playback. Make those controls familiar enough that you can use them without searching menus. Prepare your camera before departure so setup does not consume your attention on location.
What should I photograph first when the light starts changing?
Start with the composition that depends most on direct sunlight, such as a backlit leaf or rim-lit portrait. Save flexible subjects for afterward. A short priority list helps you spend the best light making photographs rather than deciding what to shoot.