You
have no items in your shopping cart.
Master Framing: Elevate Your Photography Skills
March 13, 2026
1 min read


A great photo isn’t just about what’s in the frame—it’s about how it’s framed. Framing is one of the most powerful tools in photography, yet it’s often overlooked. It directs attention, adds depth, and transforms a simple snapshot into a story. Whether you’re shooting street scenes, landscapes, portraits, or film, mastering framing can elevate your work immediately—no exotic location required.
At KEH, we believe photography isn’t just about gear. It’s about seeing differently. Used cameras and pre-owned lenses are perfect tools to explore creative composition without breaking the bank. Here’s how to use framing intentionally to create stronger, more compelling images.
What framing in photography means and why it’s one of the most powerful composition techniques
How to use natural frames like doorways, windows, and foreground objects to add depth to your photos
How light, shadow, and contrast can guide the viewer’s eye and highlight your subject
Why changing perspective and camera angle can dramatically improve composition
How to use people, movement, and environmental elements to create dynamic frames
When to simplify a scene using shallow depth of field and lens choice
How different focal lengths (wide, standard, and telephoto lenses) influence framing and storytelling
A simple practice exercise to train your eye to see strong compositions everywhere
Framing means using elements within your scene to create a visual “frame” around your subject. This can be literal, like a doorway or window, or more subtle—light, shadow, color, or composition that guides the viewer’s eye.
The goal? Direct attention exactly where you want it.
Strong framing:
When executed well, framing makes a photo feel deliberate, not accidental.
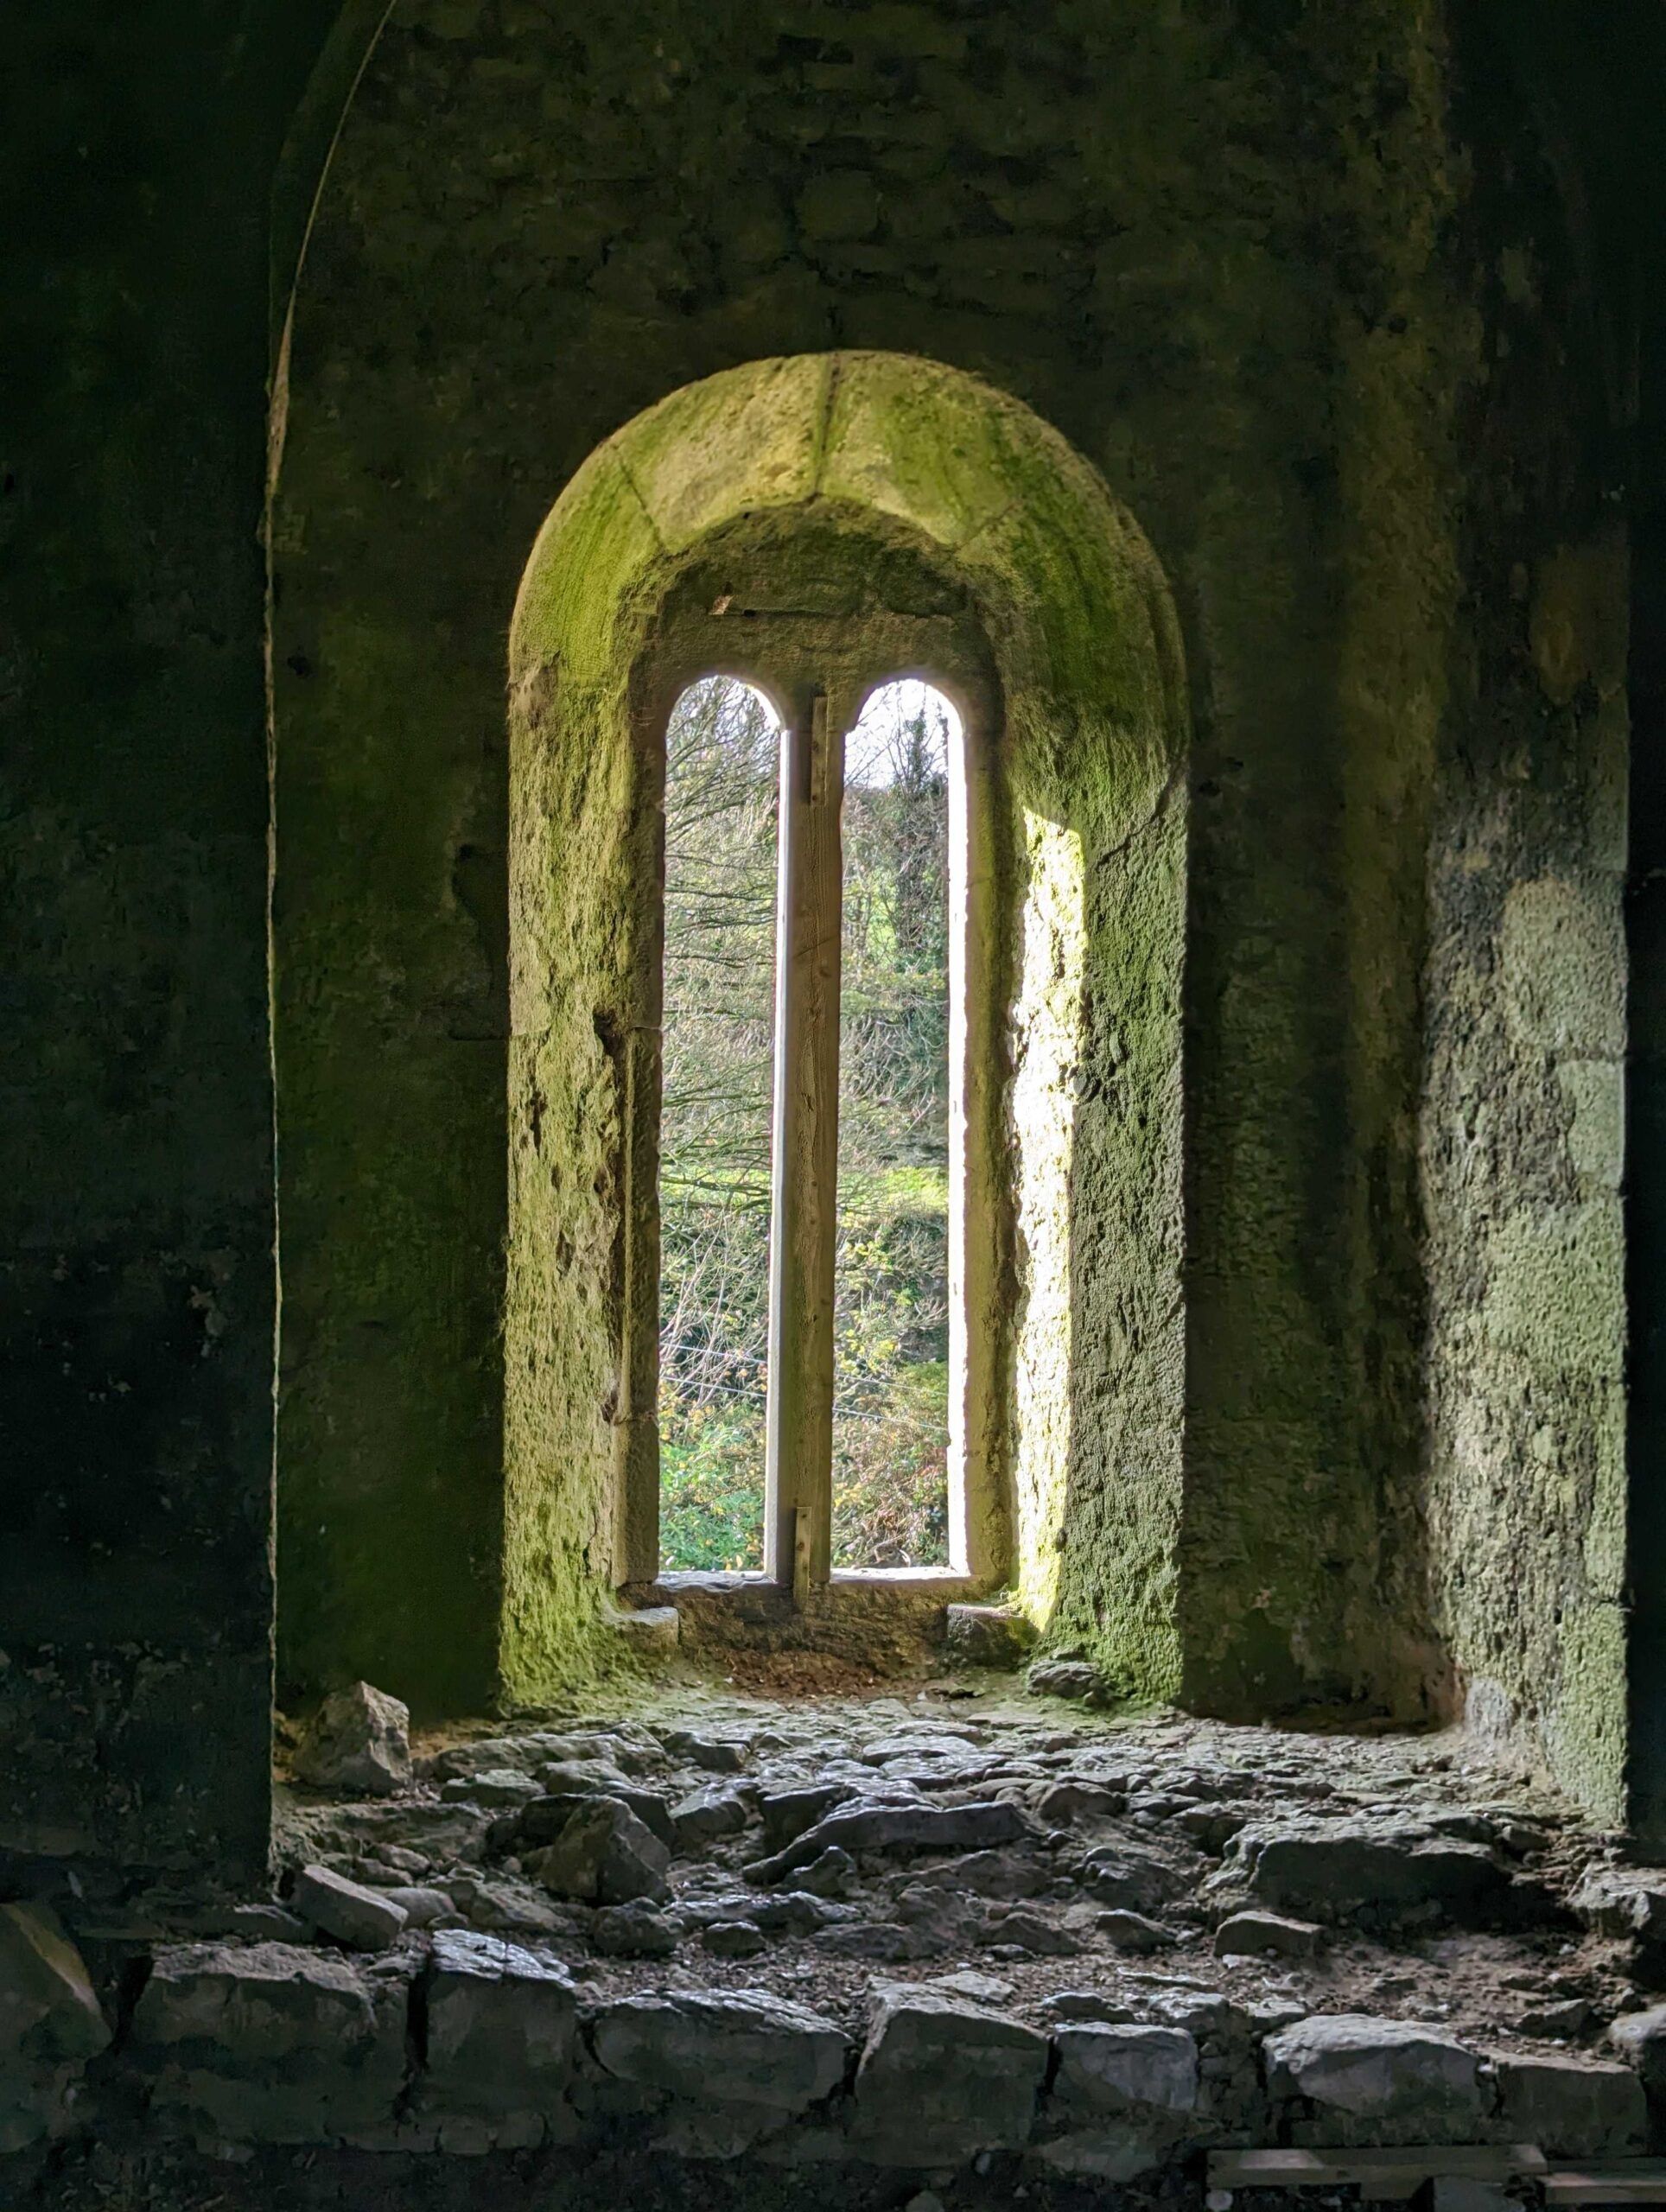
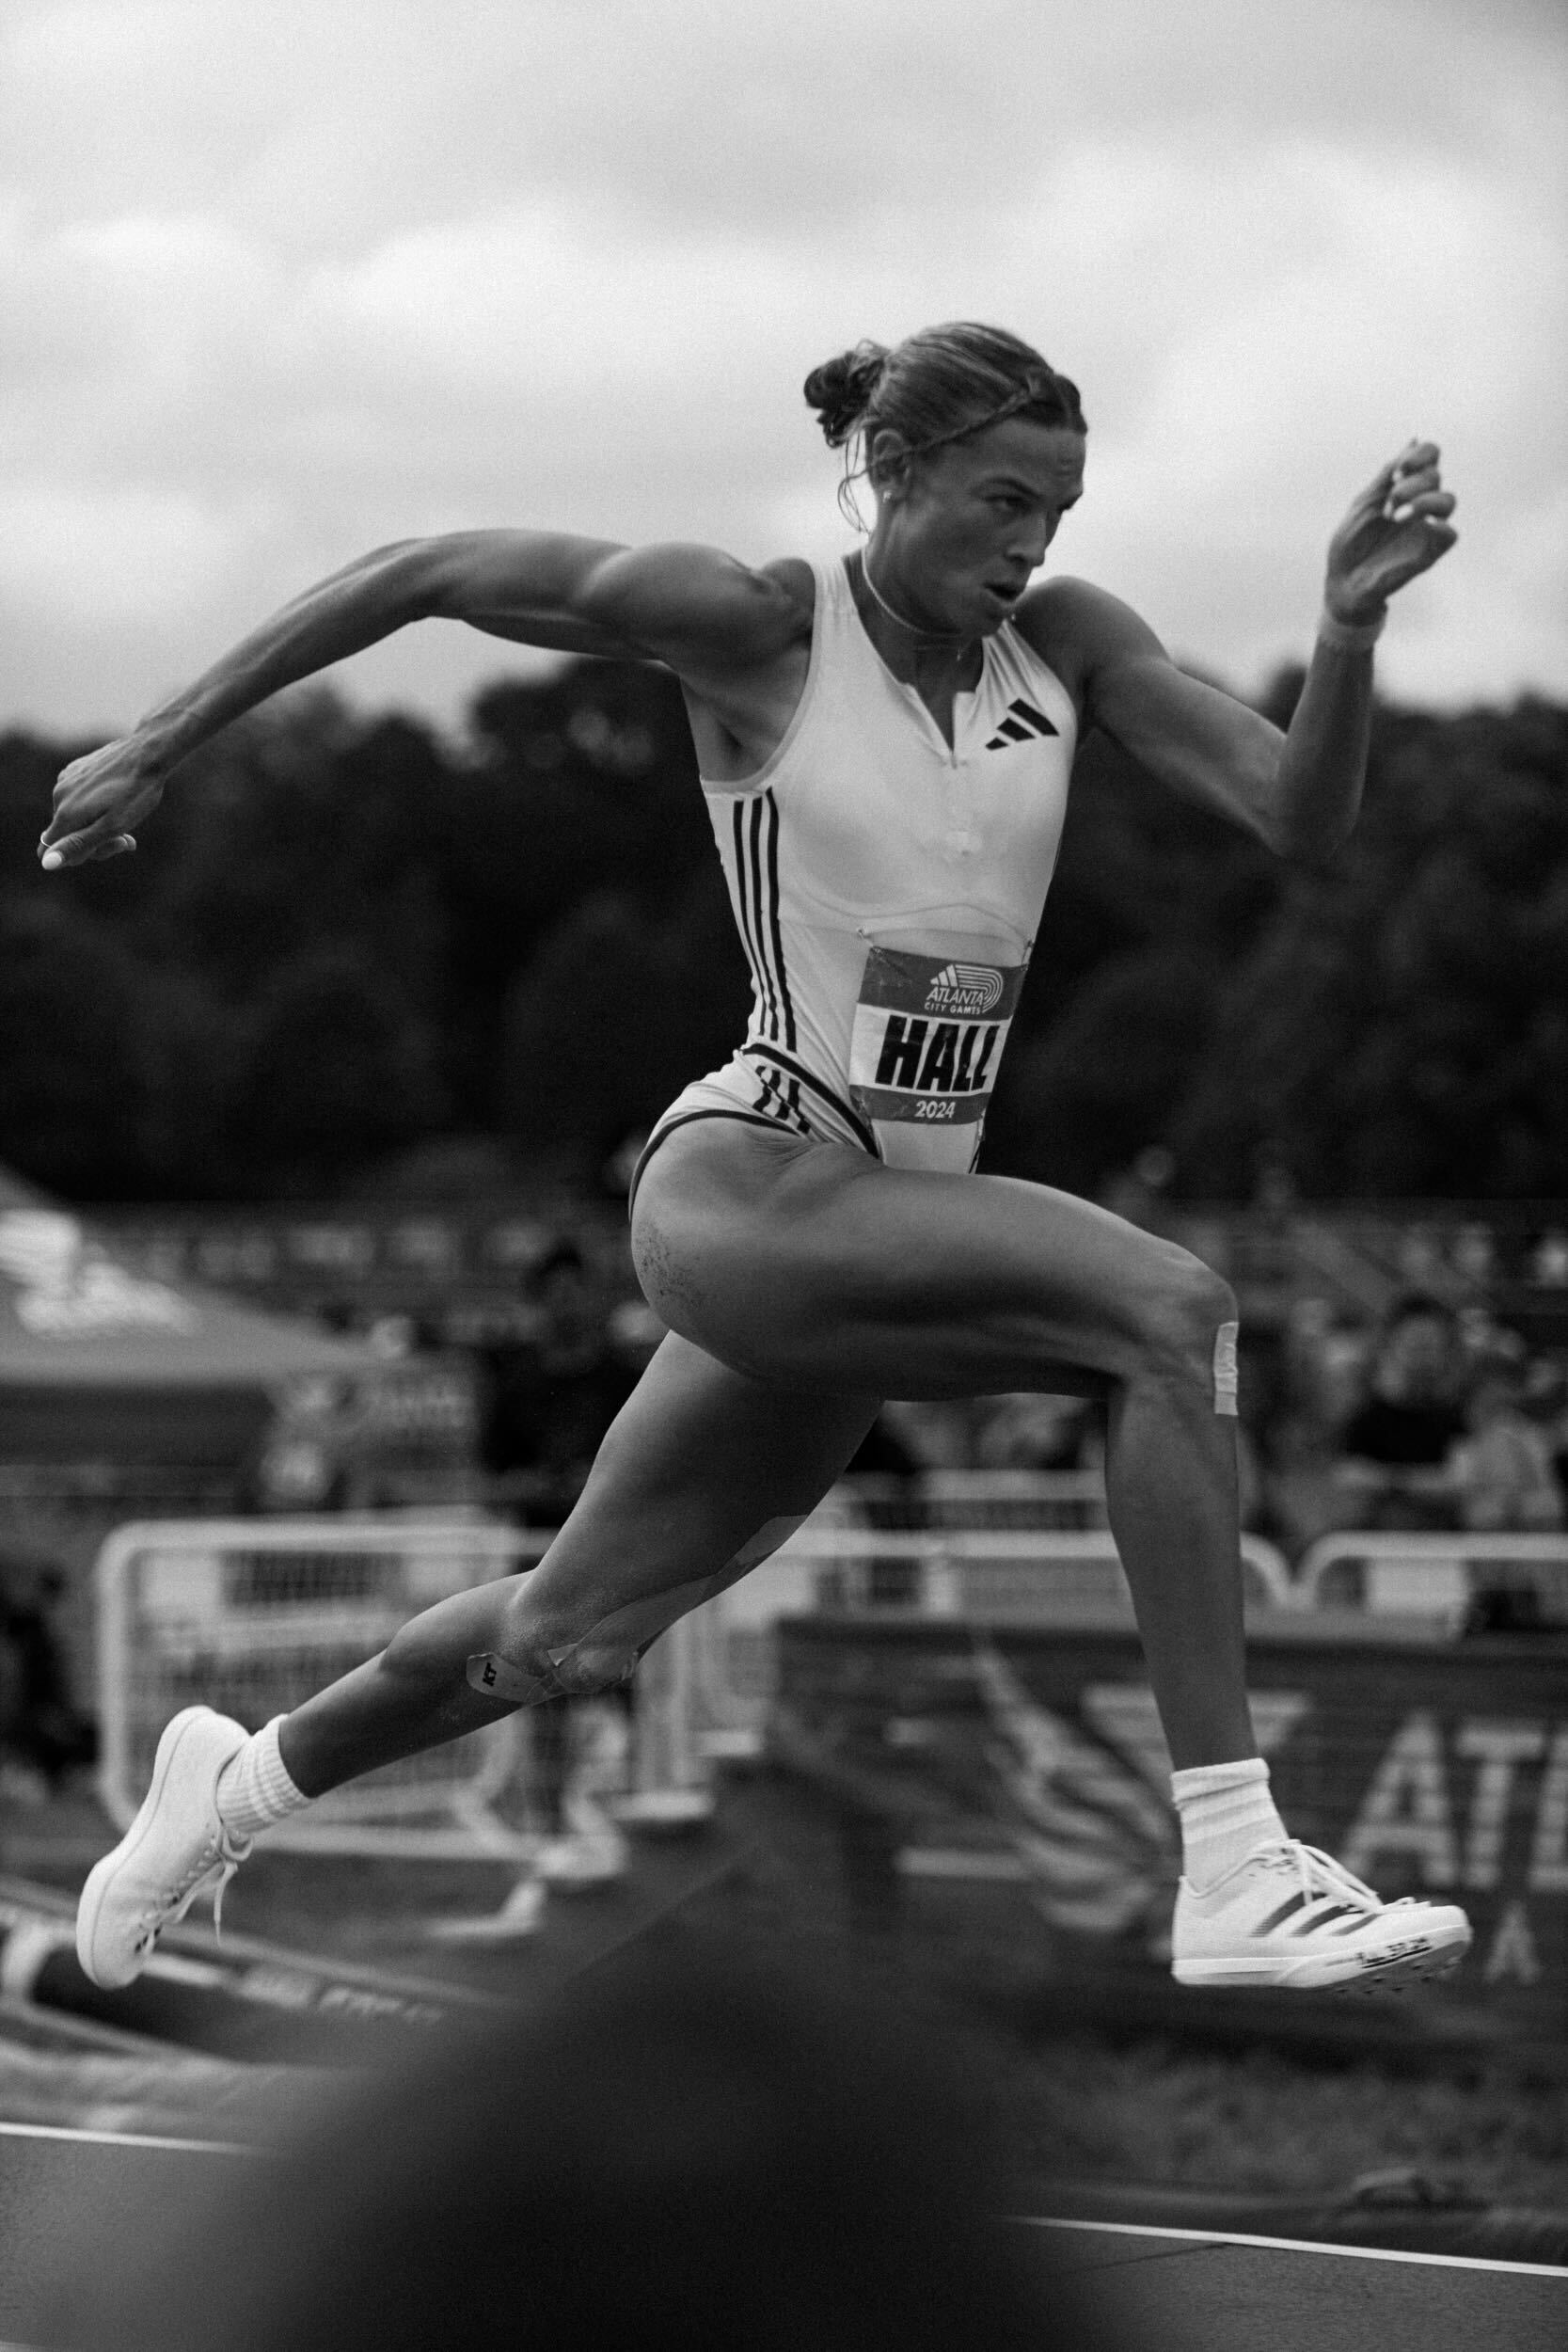
Photos by TK O’Brian and Andre Buchanan
Some of the simplest, most effective frames are already around you. Look for:
Shooting through these elements instantly adds layers—foreground, midground, and background. That layered look creates dimension and makes a photo feel immersive rather than flat.
Try this: Next time you’re downtown or on a hike, pause. Don’t just shoot what’s in front of you—look for something to shoot through.
Gear Tip: A wide-angle lens like the Canon EF 16–35mm f/4L on a Canon EOS 5D Mark IV captures layered streetscapes beautifully. For film shooters, the Mamiya 7 with a 43mm lens offers similar immersive framing.
Framing doesn’t have to be physical. Light can isolate and highlight a subject as effectively as any doorway. A single beam of sunlight, or shadows that fall across a scene, can naturally “frame” your subject.
This works especially well in:
Cameras with high dynamic range or lenses with strong contrast can enhance this effect—but the real skill is spotting the light first.
Gear Tip: A fast lens like the Nikon Z 50mm f/1.8 S on a Nikon Z6 II or a Leica M6 with 50mm Summicron helps isolate subjects in tricky lighting conditions.
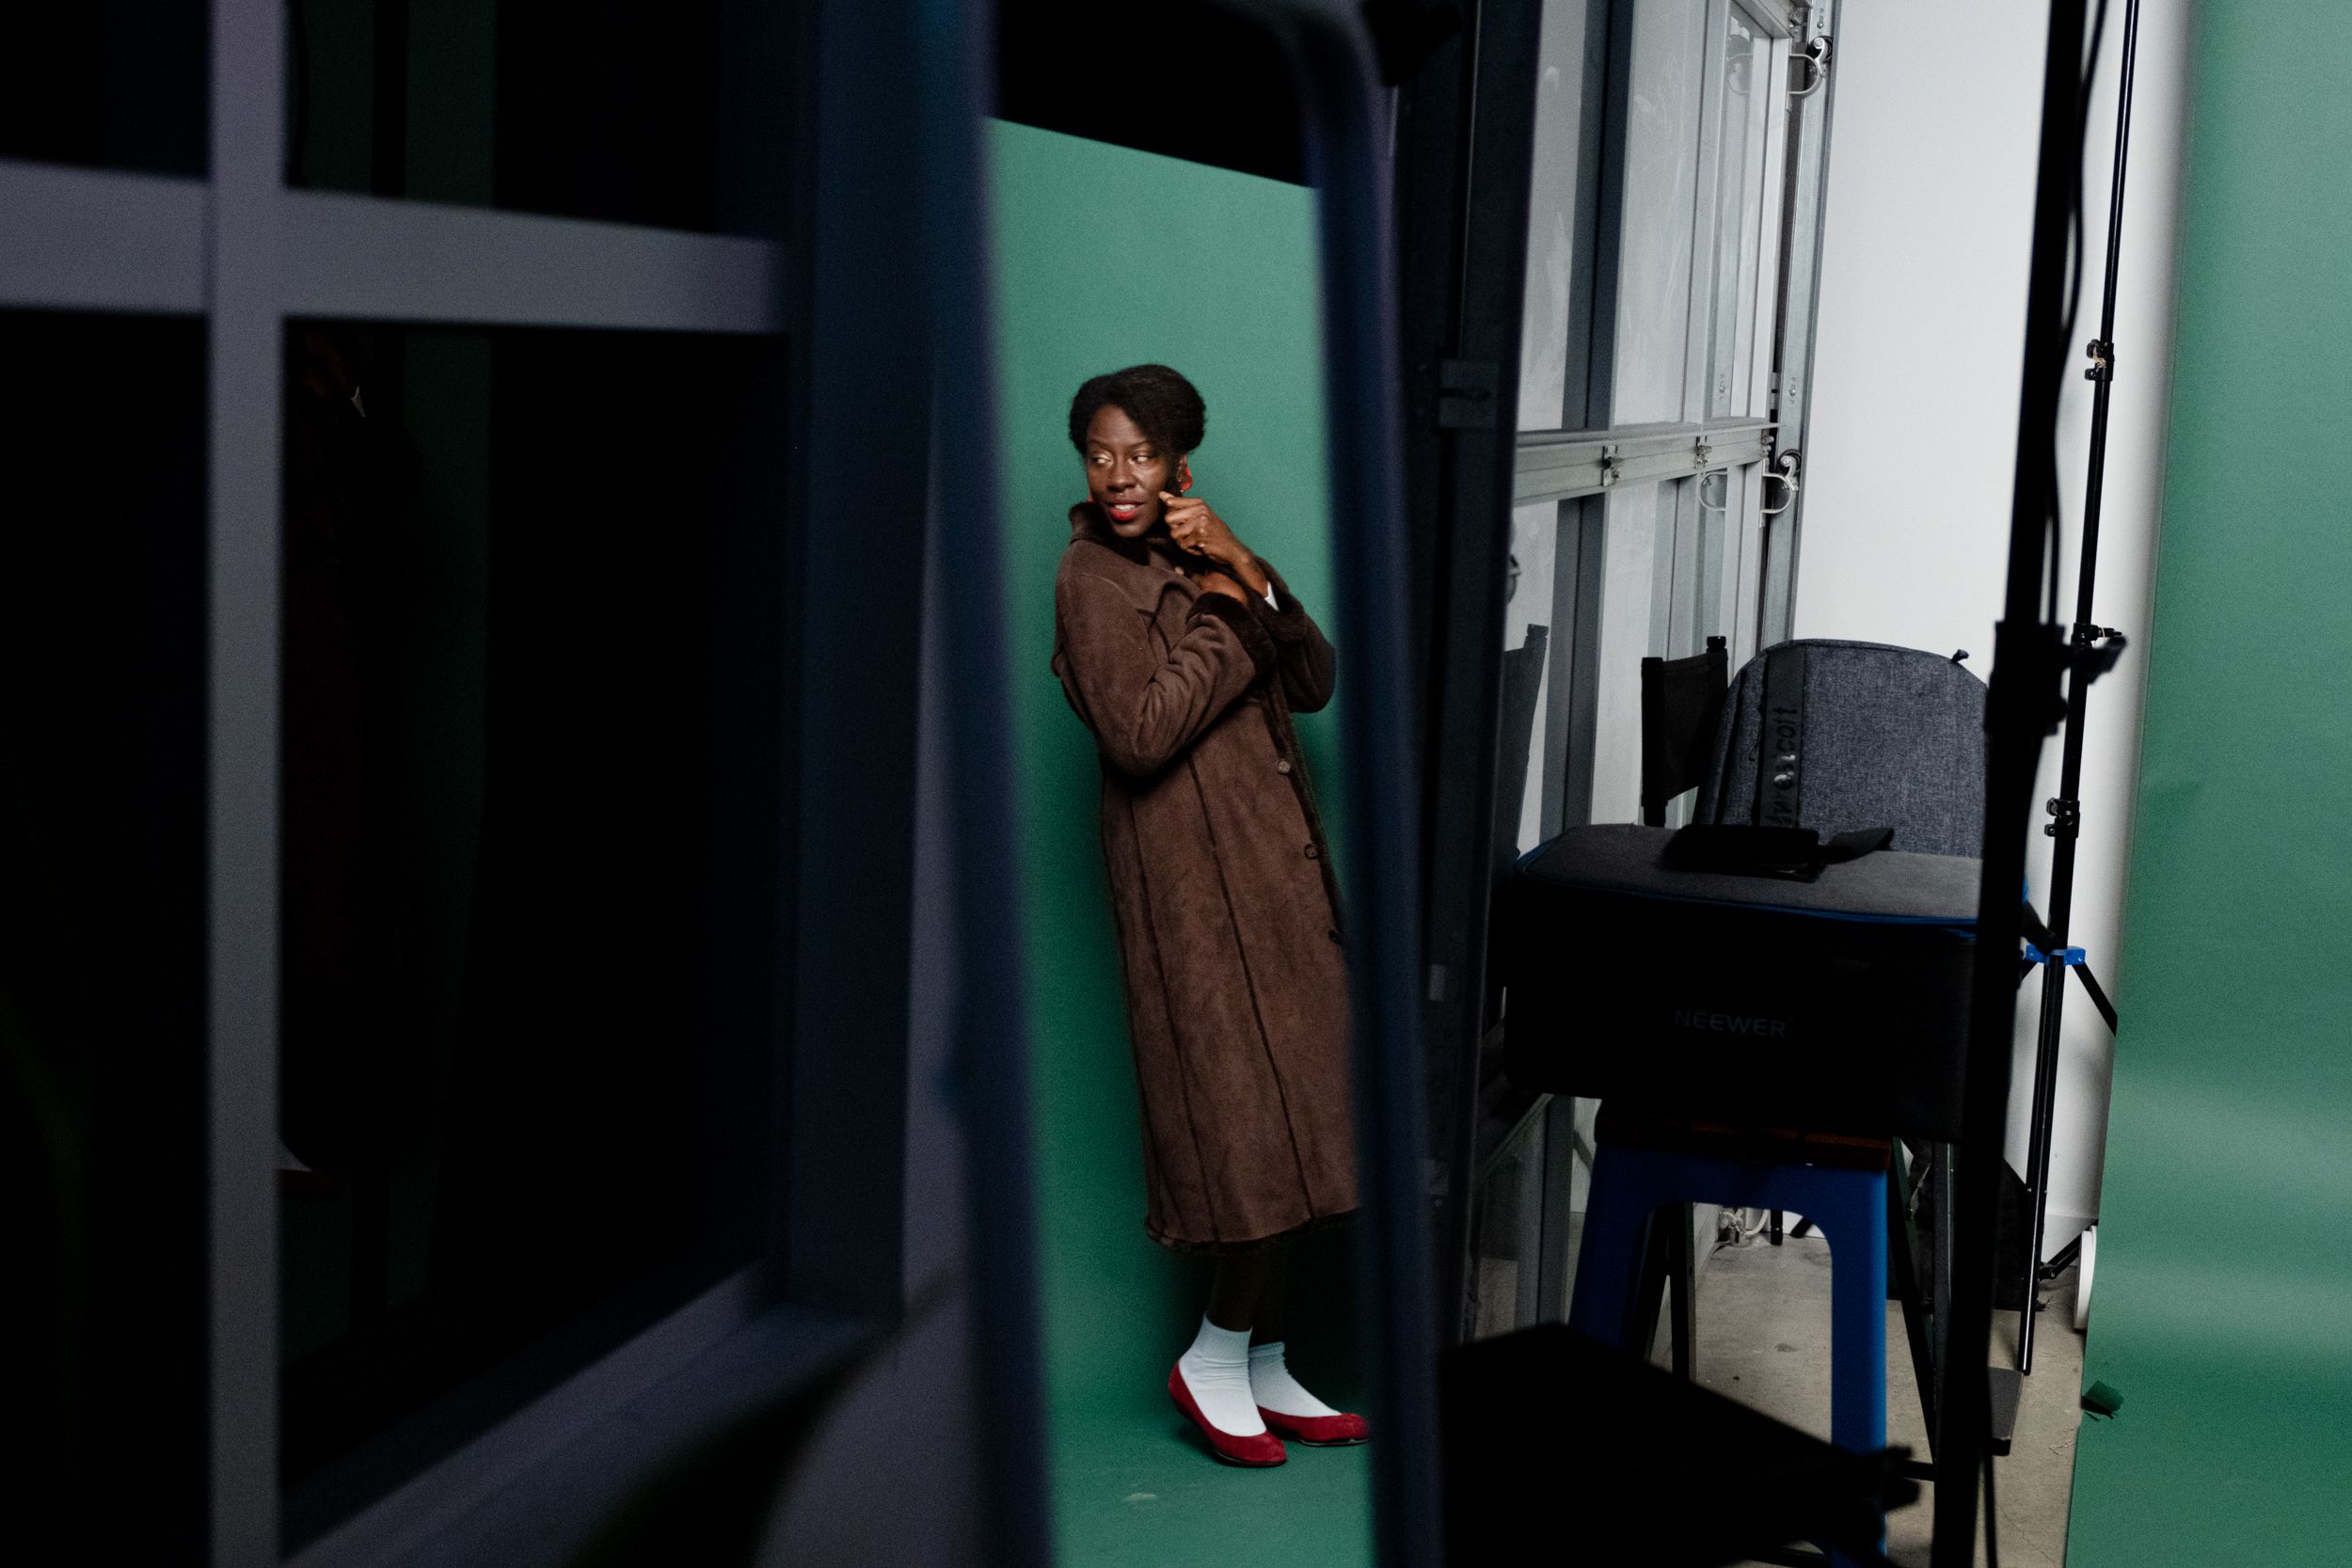
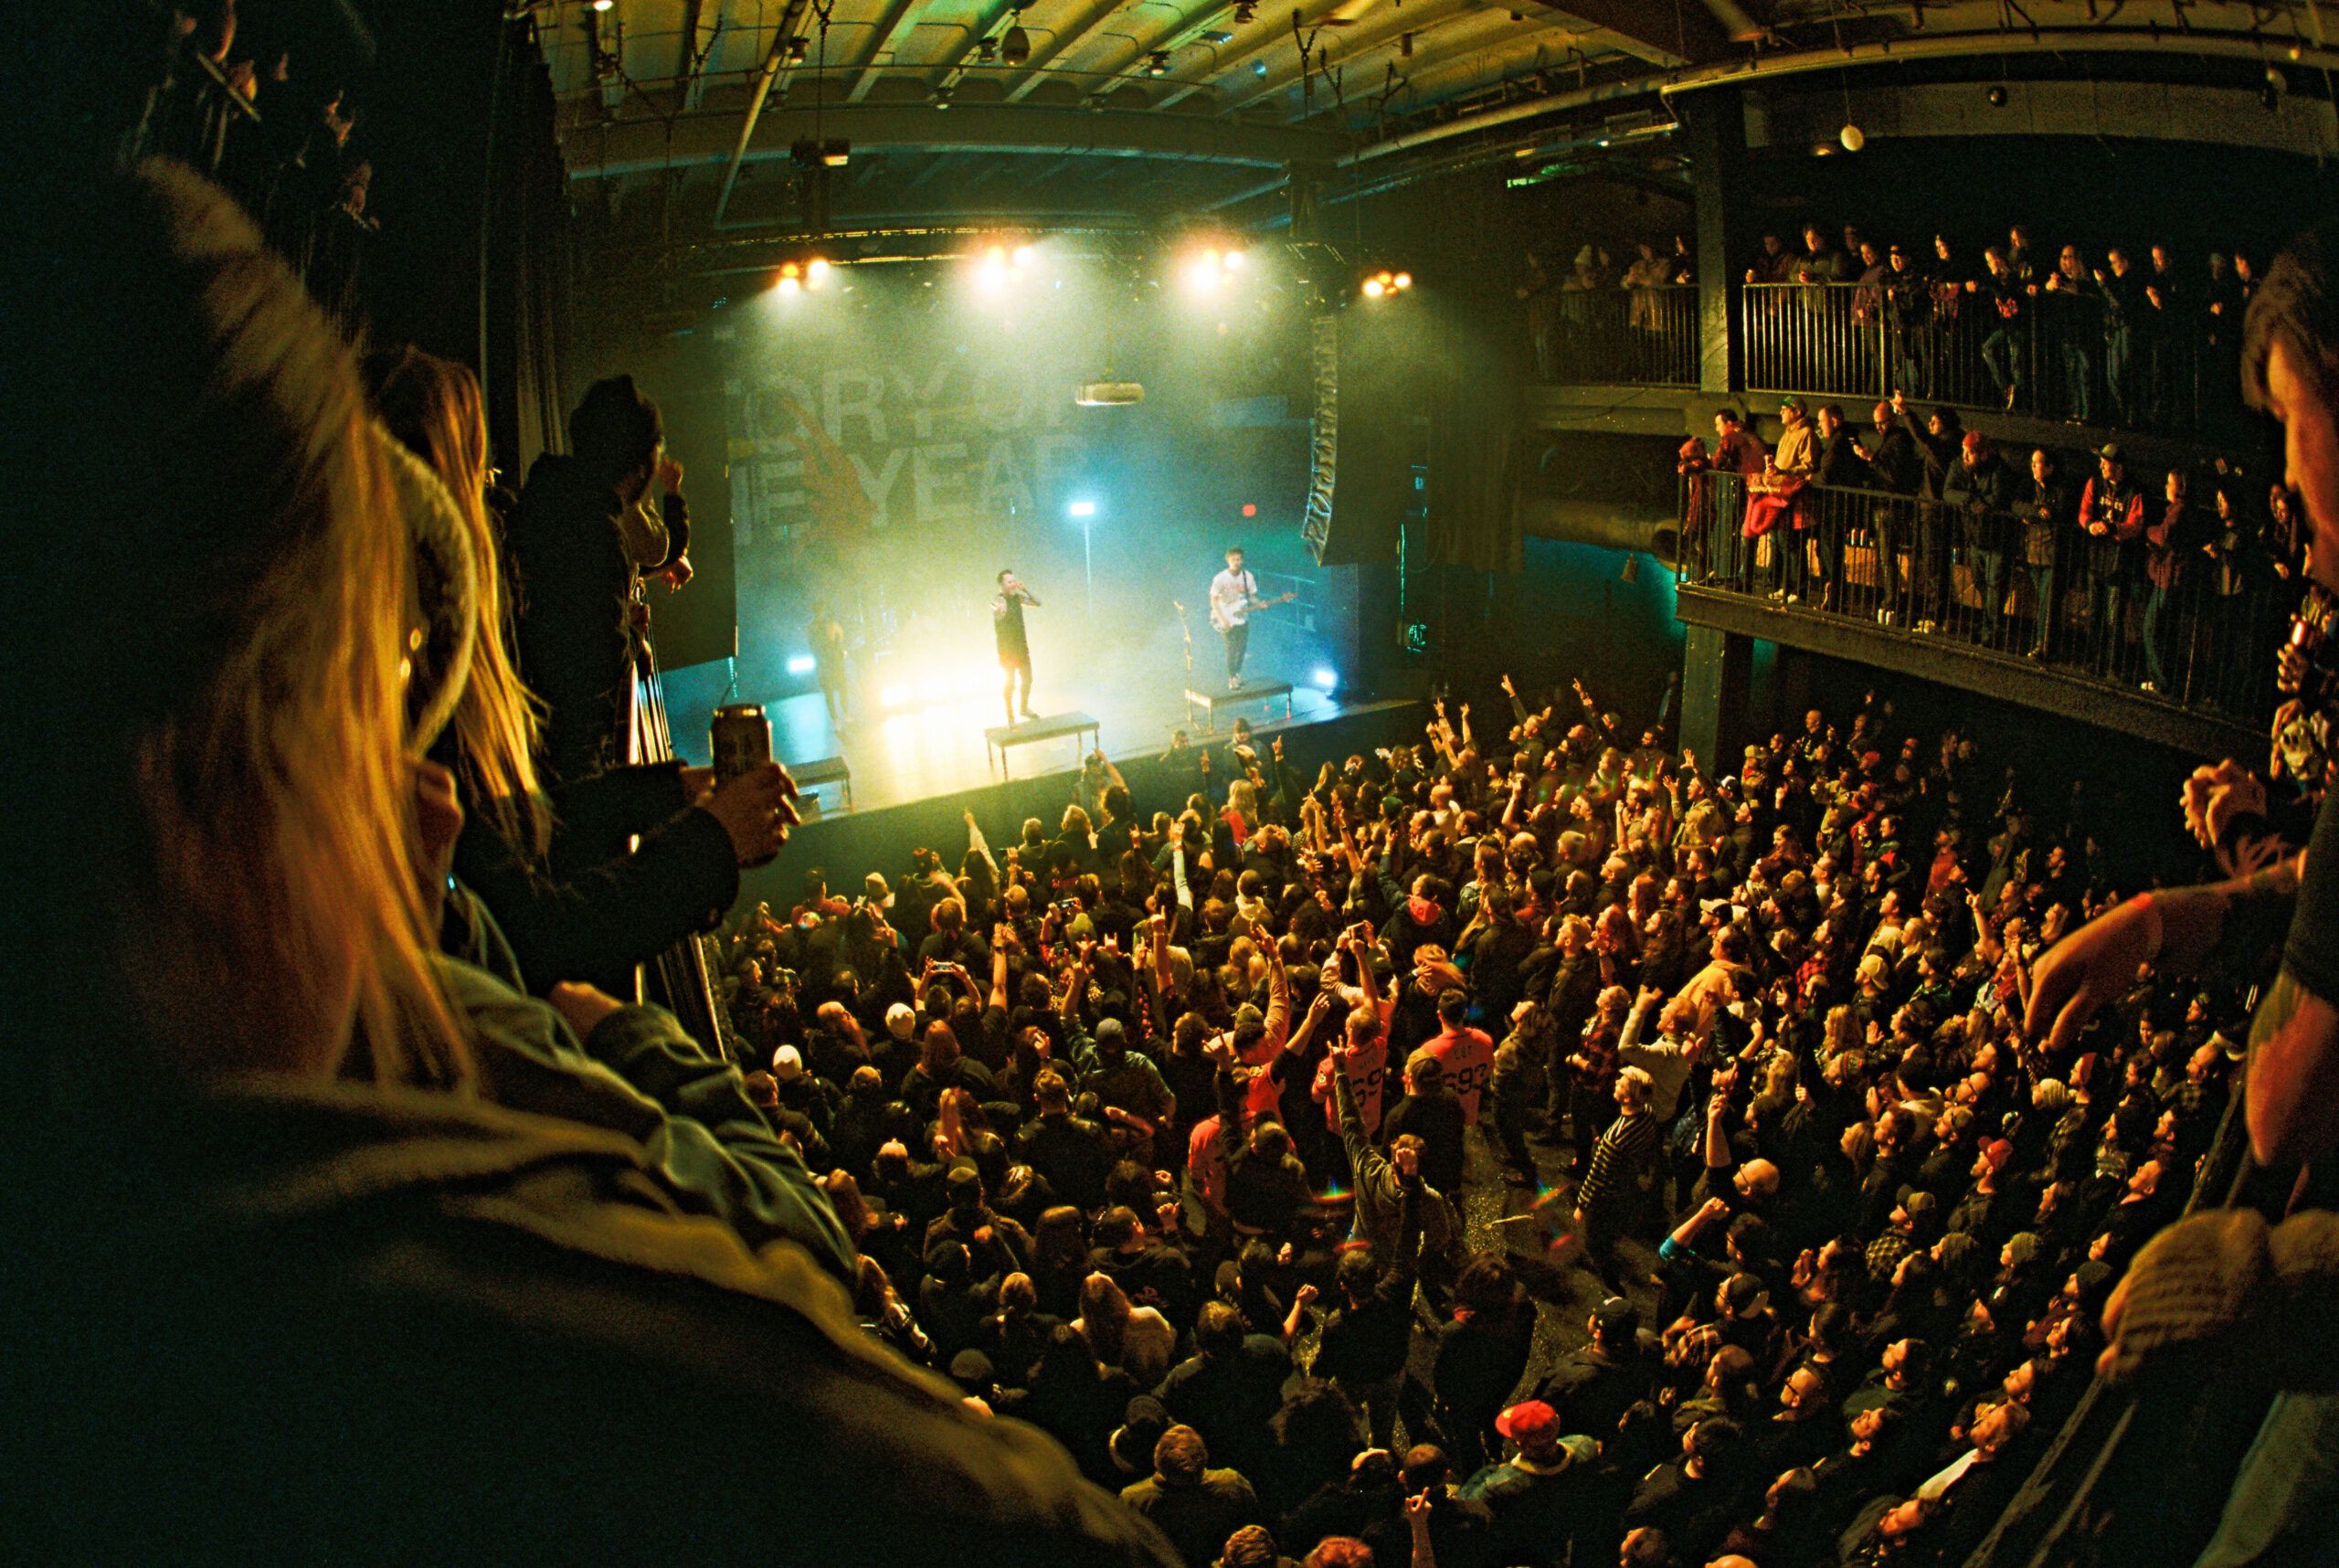

Photos by Calvin Hawkins and Andre Buchanan
Sometimes the best frame is created by repositioning yourself. Eye-level shots are comfortable, but often predictable.
Try:
Wide-angle lenses exaggerate foreground frames, making images feel immersive. Telephoto lenses compress layers, subtly framing a subject against distant elements. The key? Move. See differently.
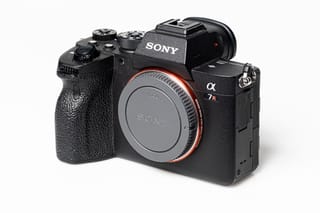
Gear Tip: Mirrorless cameras like the Sony a7 IV with a compact 24mm f/2.8 make experimenting with creative angles easy, especially when shooting in tight spaces or at unusual heights.
People can be natural framing tools. Street or event photography is full of opportunities:
This adds context, storytelling, and a sense of presence. Quick autofocus and burst shooting help, but anticipation matters more than gear.
Gear Tip: The Canon EOS R6 paired with an RF 70–200mm f/2.8 lens is perfect for capturing fleeting moments in fast-paced environments.
Not all frames add power. Sometimes, removing distractions makes the strongest composition.
Ask yourself:
A shallow depth of field—especially with a prime lens—creates a soft, subtle blur that directs attention. Minimalism is framing, too.
Gear Tip: Prime lenses like the Fujifilm 56mm f/1.2 on an X-T4 or Canon RF 85mm f/1.2 allow you to blur backgrounds beautifully while keeping your subject crisp.
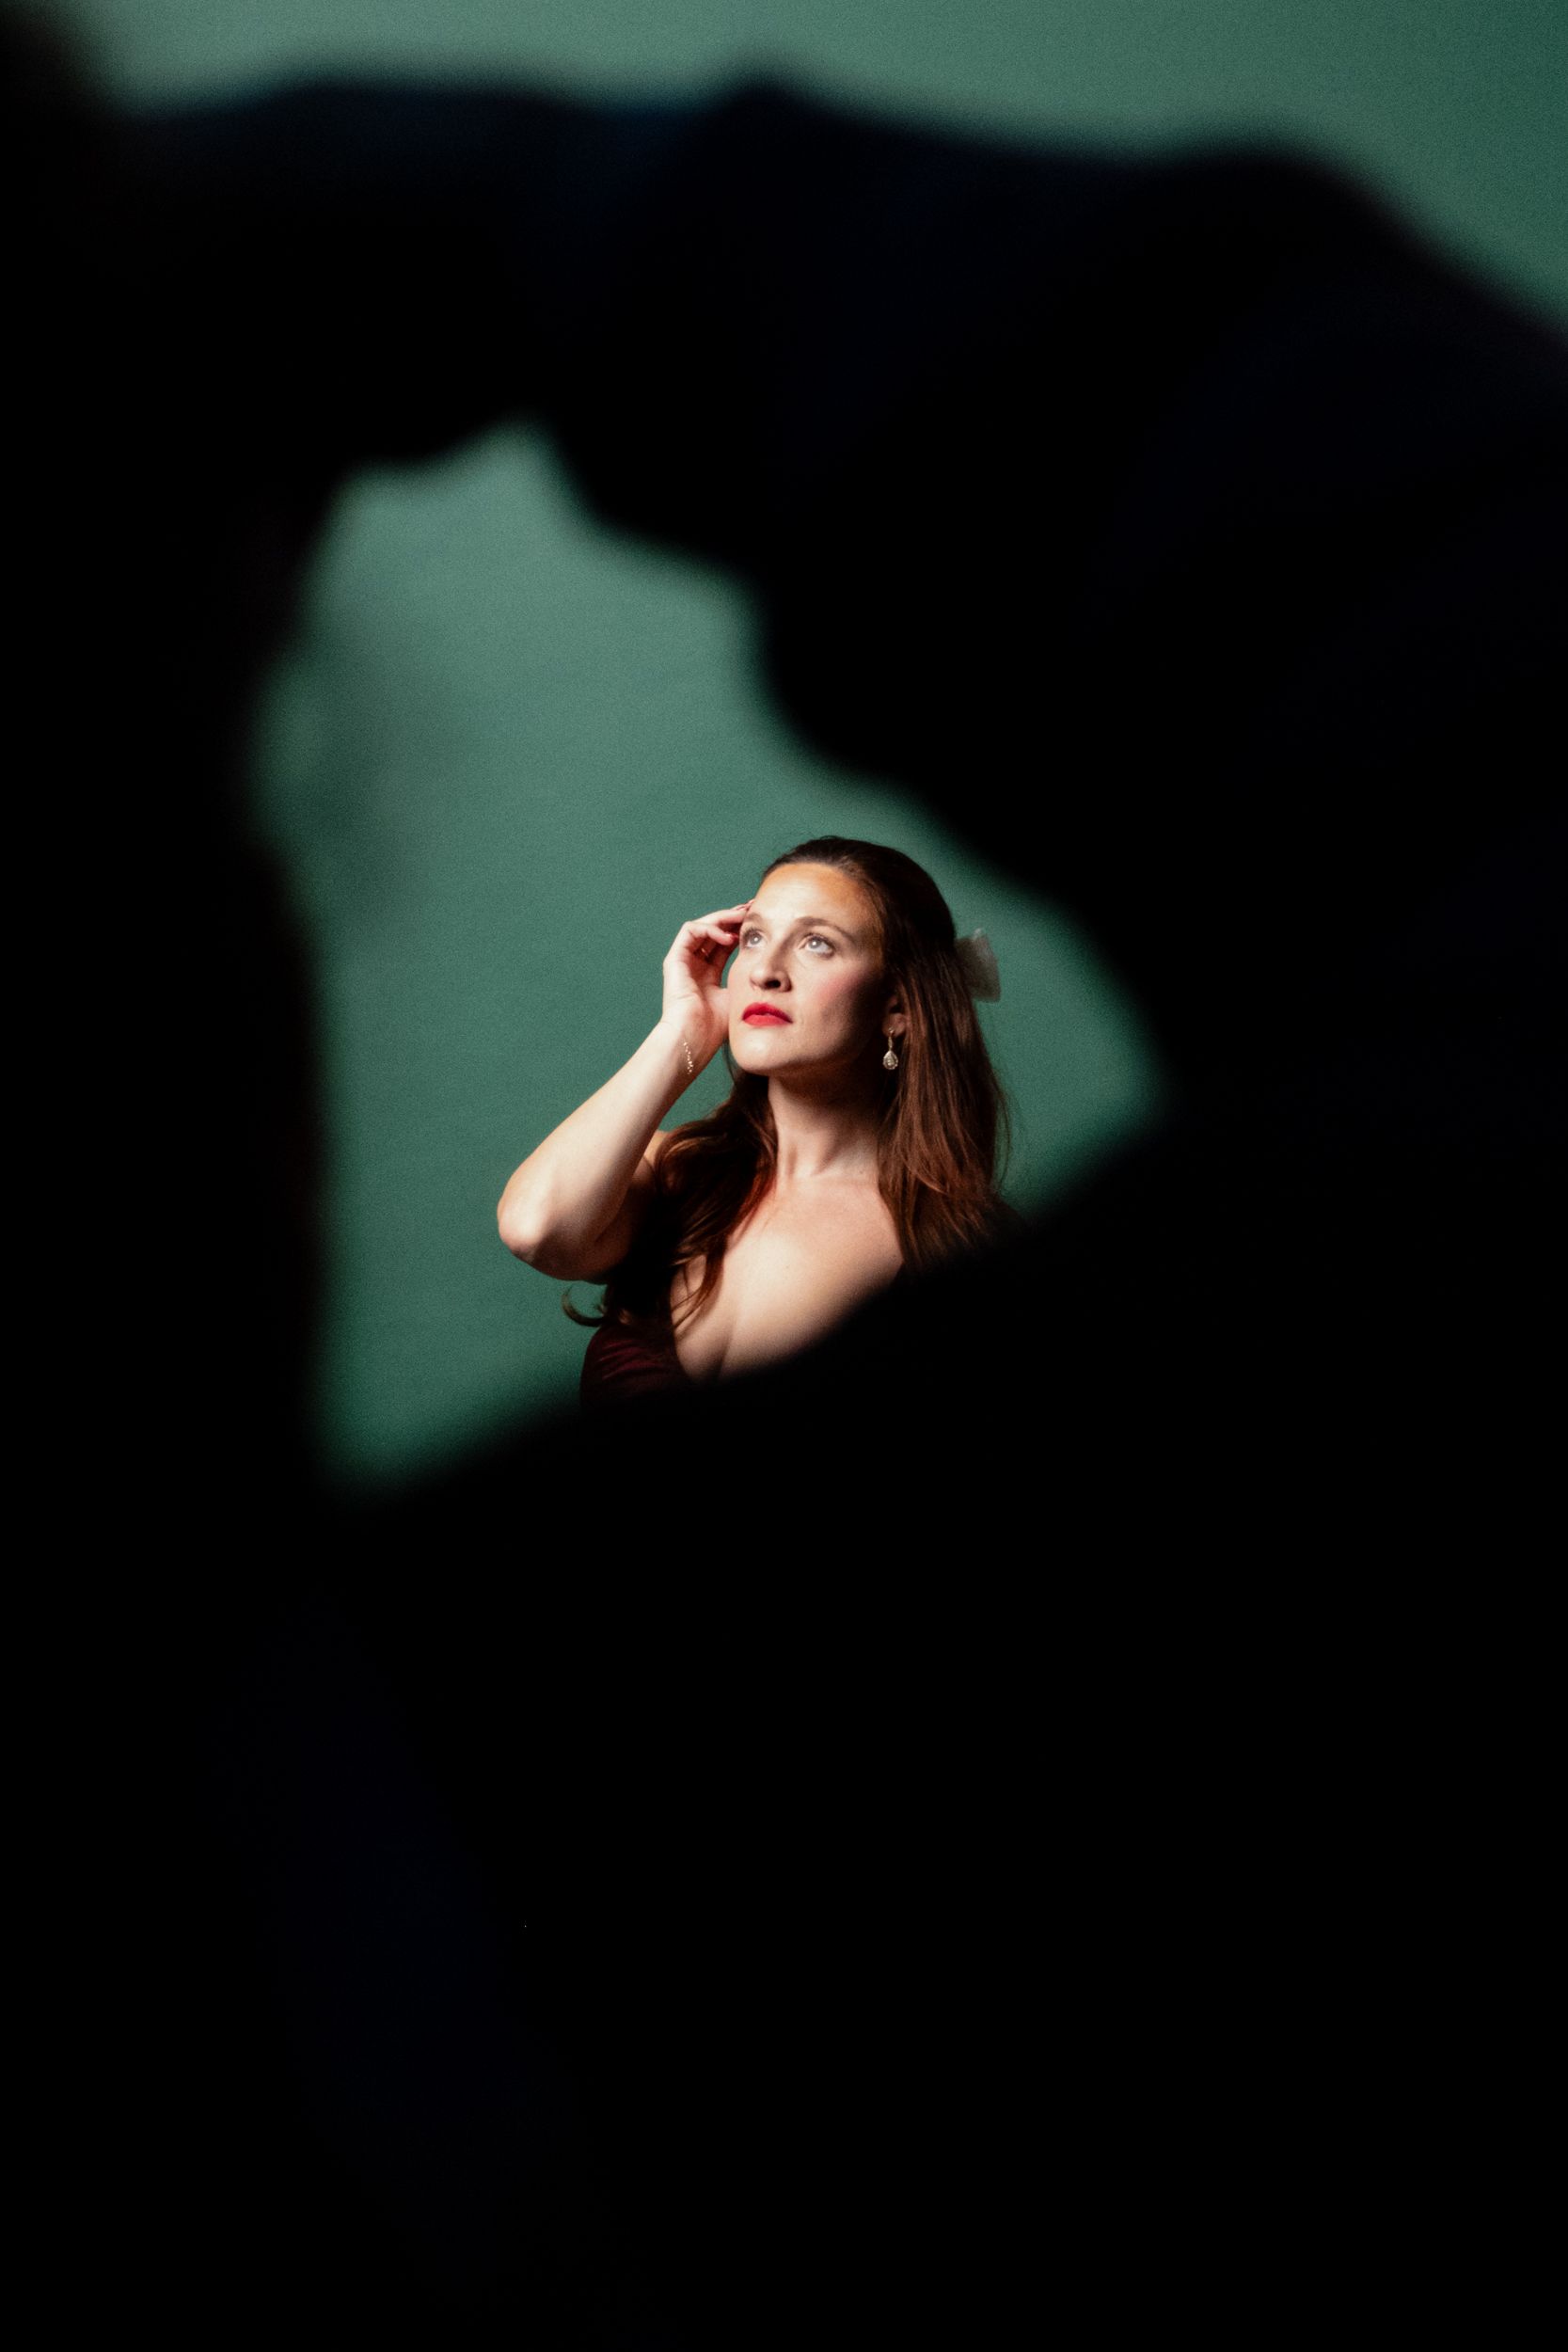
Framing often works best in multiple layers. Instead of asking, “What am I photographing?” try asking:
Film photographers excel at this because every frame is intentional. Each element matters. Layered framing shines in:
When viewers feel they can step into your photo, you’ve succeeded.
Different lenses offer different framing opportunities:
You don’t need the latest release to experiment. Classic DSLR, mirrorless, and vintage film lenses offer beautiful results. Used cameras and pre-owned lenses make it easier to try different focal lengths without overspending.
Gear Tip: KEH has a wide selection of certified pre-owned lenses and cameras perfect for testing framing techniques. A small prime kit—24mm, 50mm, 85mm—lets you experiment without overcommitting.
Next time you shoot, give yourself one rule: don’t take a photo unless it has intentional framing.
Once you start seeing frames, you can’t unsee them.
The art of framing isn’t about rigid rules. It’s about awareness. Every scene offers countless ways to tell a story. The difference between a good photo and a strong photo often comes down to what you include, and what you leave out.
At KEH, we’re passionate about helping photographers grow. Not just with trusted pre-owned gear, but by sharing the knowledge and inspiration to see differently.
Want more photography tips? Check out these other blogs that might interest you:
Capture the Thrill: Winter Sports Photography Tips for Fast Action and Low Light Conditions