You
have no items in your shopping cart.
Film Simulations vs. Film Stock: Which Is Right For You?
September 17, 2026
1 min read

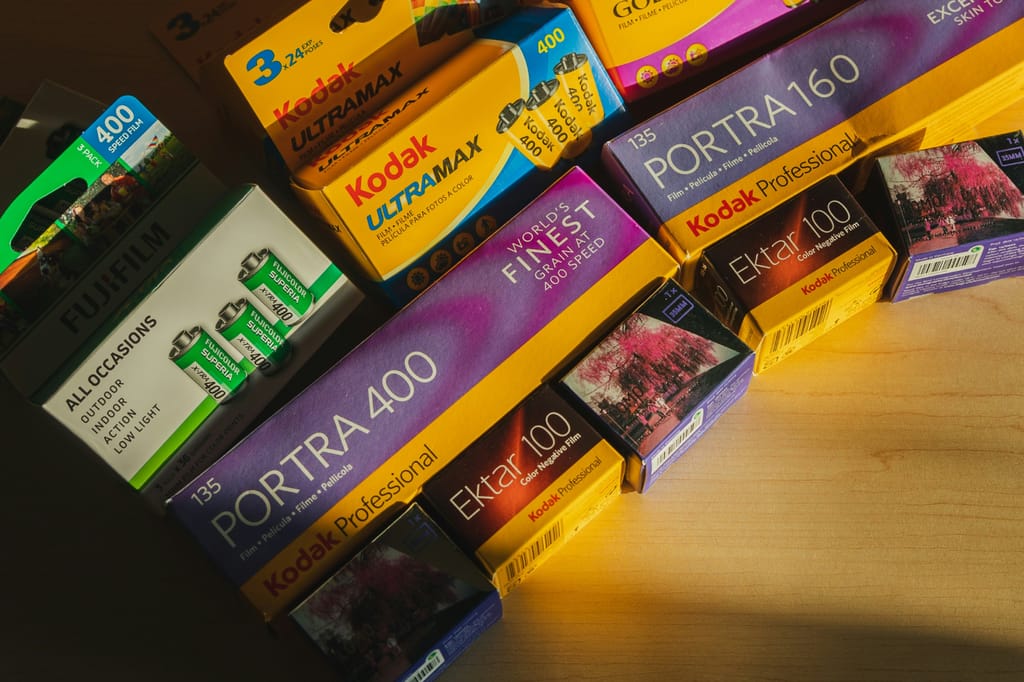
Film photography has never been just about the final image. The appeal is in the entire process: choosing a stock, loading a roll, working within a fixed ISO, making an exposure, and waiting to see what you actually got. The resulting grain, color, contrast, and highlight response are part of that equation.
Digital cameras can approach some of those characteristics from a very different direction. Film simulations apply a specific color and tone profile to a digital image, giving you a film-inspired rendering without changing the capture medium.
That distinction matters. Film simulations reproduce aspects of a film aesthetic. Film stock is the photographic medium itself. They can overlap visually, but they don’t behave the same way.
If you’re deciding between a digital camera with film simulations and an actual film camera, the right comparison isn’t simply which one looks more like film. It’s how each system handles capture, exposure, processing, and the final image.
|
Film simulations |
Film stock |
|
| Capture | Digital sensor | Photographic film |
| Look | Customizable and repeatable | Determinded by stock, exposure, & processing |
| Feedback | Immediate | After developement and scanning |
| Cost per shot | Very low after inital gear investment | Ongoing |
| Workflow | Fast and adjustable | Slower and process driven |
| Consistency | Highly repeatable | More variable impact the result |
| Best for | Digital workflows with film-inspired rendering | Photographers who want the analog process and physical medium |
Film simulations are digital color and tone profiles designed to mimic or evoke the characteristics of photographic film. Film stock is the actual light-sensitive material used to make a photograph.
A digital camera records light on a sensor. A film simulation then influences how that captured information is rendered, particularly in a JPEG. Depending on the camera system, that can affect color, contrast, saturation, highlight and shadow rendering, white balance, and simulated grain.
Fujifilm is the most recognizable example. Its built-in film simulations reference established photographic aesthetics, while other manufacturers offer picture profiles, creative looks, or customizable image styles that accomplish similar goals.
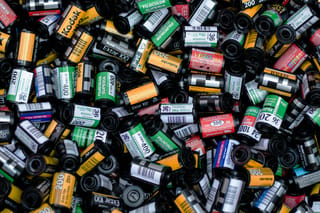
Film stock works at a more fundamental level. The emulsion itself determines how the film responds to light. Color negative, slide, and black-and-white stocks all have different characteristics, and even stocks within the same category can behave differently.
With 35mm film, for example, the roll you load determines your ISO for the duration of that roll. Exposure, lighting, development, and scanning then become part of the image-making process.
So while both can produce a film-inspired aesthetic, a film simulation changes the rendering of a digital capture; film stock changes the way the photograph is captured in the first place.
Film simulations are applied in-camera as image profiles. Depending on the system, you can adjust settings such as color, contrast, white balance, highlight and shadow tone, sharpness, and grain effects to build a look that you can use consistently.
Shoot RAW plus JPEG and you can have both: a JPEG with your chosen rendering and a RAW file that retains more flexibility for editing.
That makes film simulations particularly useful when you know the look you’re after before you press the shutter. You can preview the effect while composing, make adjustments in real time, and develop a repeatable setup rather than trying to recreate the same aesthetic from scratch in post.
Film recipes take that customization further.
A recipe is a combination of settings designed to produce a particular rendering. It might use a specific film simulation along with white balance shifts, highlight and shadow adjustments, color settings, grain, and other camera controls.
The goal doesn’t have to be a perfect reproduction of a particular film stock. A good recipe can simply give you a distinct, repeatable starting point.
For example, one setup might emphasize warmer color and softer contrast for portraits, while another might use muted color and deeper shadows for street photography.
The biggest advantage isn’t that a film simulation is “easier.” It’s that the variables are under your control.
You can change your rendering from one frame to the next, save settings for future shoots, preview the result while you work, and continue shooting without adding film or lab costs to every exposure.
That makes digital film simulations particularly useful for:
Shooting film isn’t simply digital photography with fewer frames. The medium changes the decisions you make before, during, and after the exposure.
The stock you load establishes much of the image’s character before you even pick up the camera.
Color negative film, slide film, and black-and-white film each respond differently to exposure and produce different combinations of grain, contrast, saturation, and tonality. Within those categories, individual stocks have their own characteristics.
ISO is another important distinction. With most 35mm film, you don’t simply change the ISO from frame to frame. Once you’ve loaded a roll, you’re working within that stock’s sensitivity unless you intentionally adjust your development process.
Exposure latitude varies as well. Some stocks are more forgiving of overexposure, while others reward precise metering. You can also push or pull film during development to alter effective sensitivity and contrast.
This is where the “film look” becomes more than a digital effect. The characteristics come from the physical emulsion and how it responds to light.
Want to learn more about film stocks? This blog is for you.
A film photograph doesn’t become a ready-to-share digital file when you press the shutter.
The negative or positive film has to be developed, then scanned or printed. Each stage introduces another variable. Development chemistry, lab practices, scanning equipment, scan settings, and post-processing can all affect the final rendering.
That’s why two photographers can shoot the same scene on the same stock and still end up with noticeably different files.
Film doesn’t eliminate editing, either. It simply moves more of the image-making process upstream, where stock, exposure, development, and scanning all contribute to the result.
For many photographers, the attraction is precisely that the medium imposes decisions.
You’re working with a finite number of exposures. You’re committing to a stock. You’re making exposure decisions without reviewing the finished image. And you’re left with a physical negative or transparency after the roll is processed.
There is also the rendering itself. Film grain has a different structure from digital noise, and the way an emulsion handles color, highlights, and shadow detail can be difficult to duplicate exactly.
For photographers who value those characteristics, the process isn’t an obstacle to the photograph. It’s part of the photograph.
The financial difference between film and digital becomes more significant the more you shoot.
Film requires recurring purchases: rolls, development, scanning, and sometimes shipping. The camera itself may be inexpensive, but the cost doesn’t end when you buy it.
Digital has a different cost structure. The initial investment in a camera, lenses, memory cards, batteries, software, and storage can be substantial. After that, however, additional exposures don’t require another roll or lab bill.
For a photographer making a few rolls a year, film costs may be relatively minor. For someone shooting several rolls every weekend, they’re a much bigger part of the photography budget.
The better question isn’t simply “Which is cheaper?” It’s “What will I actually shoot?”
If the economics of film would make you hesitate before pressing the shutter, a digital setup can remove that friction. If the cost is acceptable because you’re getting an experience you genuinely value, film can be worth every roll.
A hybrid setup is also perfectly practical. Plenty of photographers use digital for everyday work and keep a film body for personal projects, travel, portraits, or situations where they specifically want the characteristics of an analog workflow.
“Film look” isn’t a single visual formula.
It can mean visible grain, softer contrast, lifted shadows, saturated color, muted color, halation, deep blacks, warm skin tones, or the distinctive rendering of a particular emulsion.
A digital film simulation can reproduce some of those characteristics convincingly, particularly when the capture itself supports the aesthetic. Exposure, lighting, lens rendering, and restraint in post-processing matter just as much as the selected profile.
Actual film has a different source for those characteristics. Grain structure, emulsion response, exposure latitude, and development all influence the image before it reaches the scanner.
That doesn’t make film automatically better. It makes it different.
A film stock won’t compensate for bad light or weak composition, and a film simulation won’t turn an uninteresting frame into a great photograph. The camera is still a tool. Knowing how that tool responds is what matters.
If you want to build a convincing film-inspired aesthetic digitally, start with capture rather than trying to manufacture the look entirely in post.
Try this:
If you shoot Fujifilm, start with the camera’s built-in film simulations and adjust from there. Other camera systems may offer picture styles, creative profiles, or RAW presets that can serve the same purpose.
Rather than asking which approach is more authentic, look at the kind of photography you’re actually doing.
For fast-moving subjects: Digital gives you the flexibility to change settings quickly, review your work, and keep shooting without worrying about the remaining frames on a roll. That’s useful for kids, pets, events, travel, and other situations where the scene changes quickly.
For process-driven personal work: Film makes more sense when the medium itself is part of the appeal. Street photography, portraits, still life, and documentary projects can all benefit from the constraints of a roll and the characteristics of a chosen stock.
For professional or high-volume work: Digital is generally the more practical option when you need a predictable workflow, fast review, backup files, or rapid delivery.
For photographers who want both: There’s no technical reason your camera bag has to pick a side. A digital body and a film camera can serve completely different purposes, and switching between them can be a useful way to change how you approach a shoot.
The important thing is to choose based on the work you want to make, not on the idea that one medium is somehow more legitimate than the other.
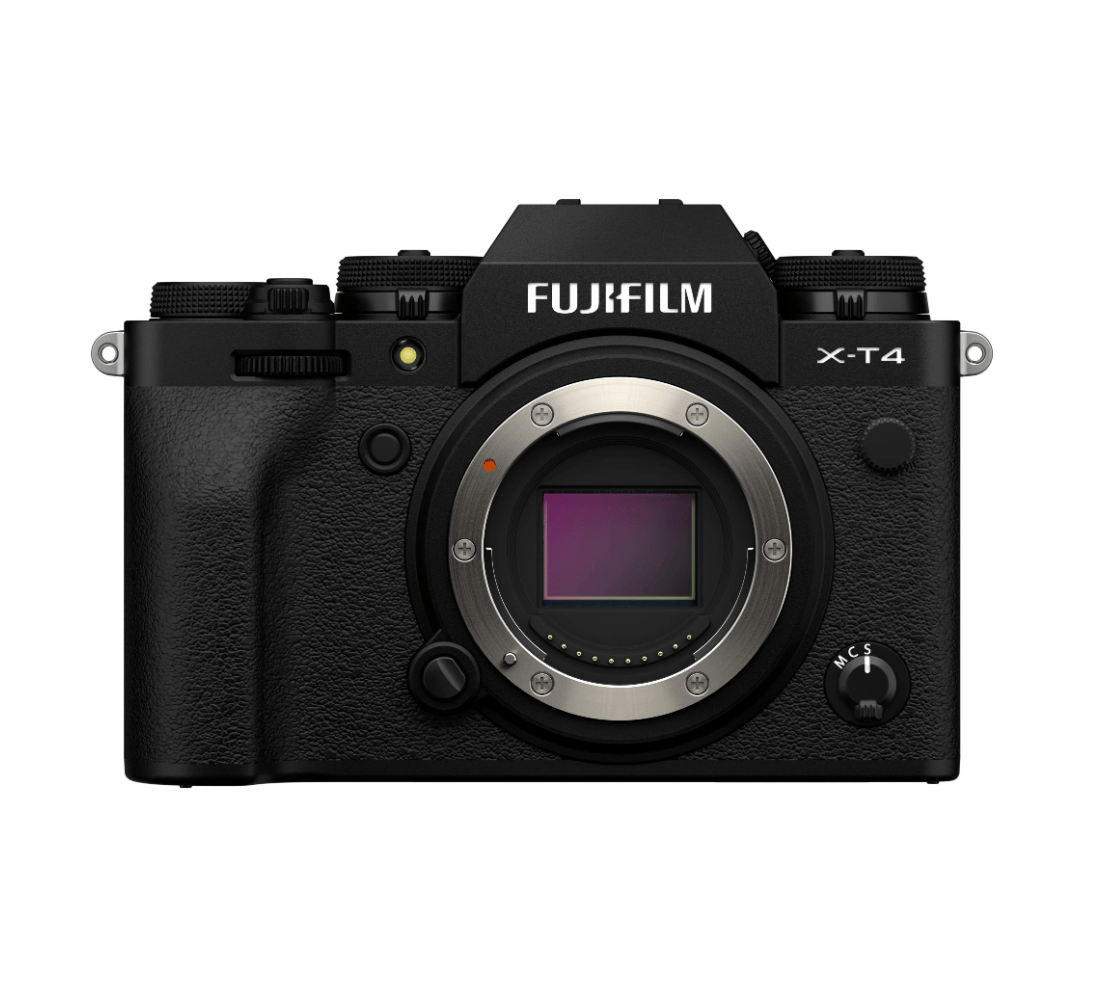
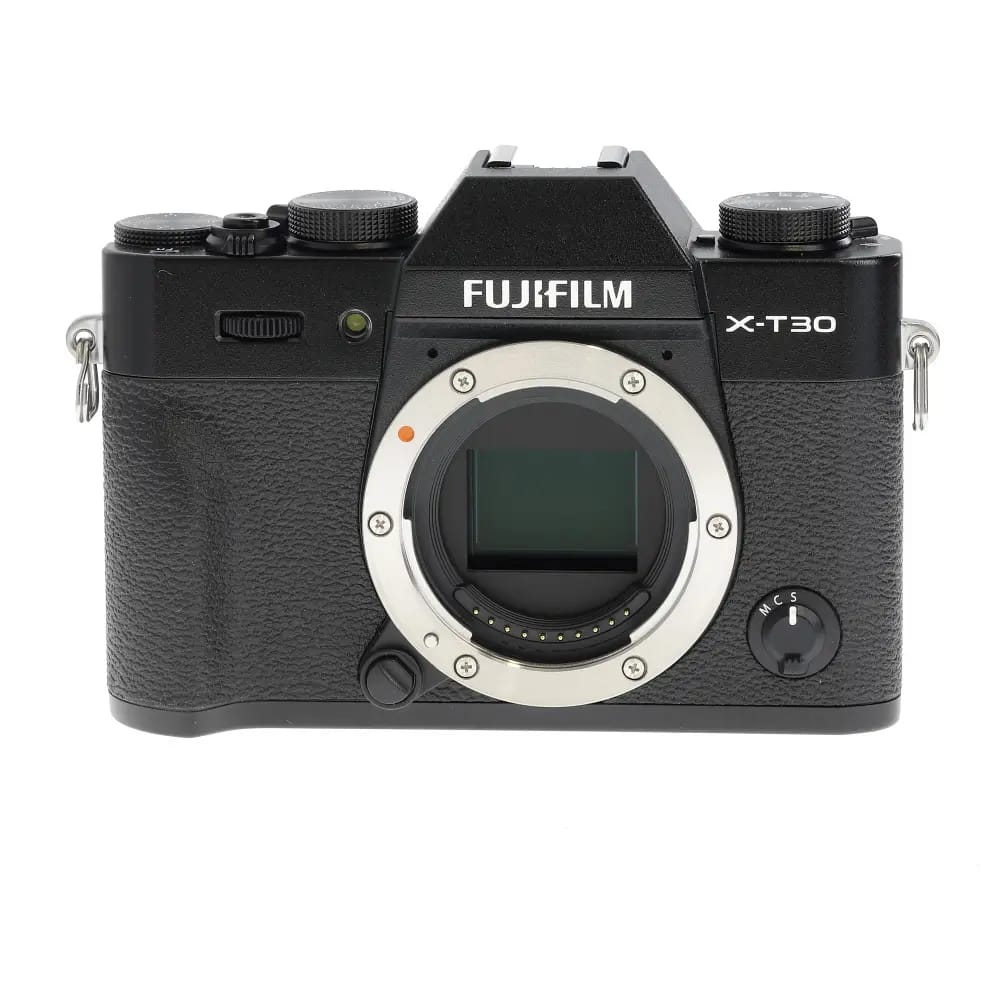
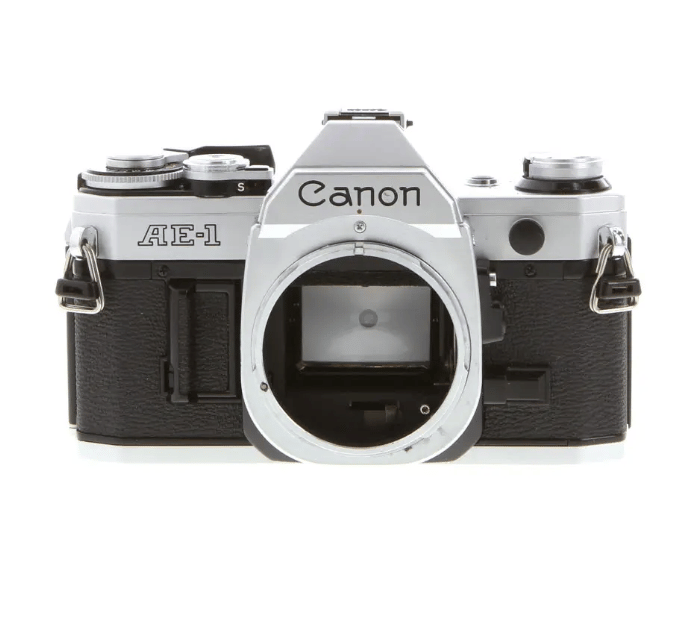
If you’re shopping for a camera that makes it easier to explore either approach, here are a few starting points. We’re keeping the list short on purpose.
If you want a digital body with extensive film simulation controls, the Fujifilm X-T4 is a strong choice. Its combination of Fujifilm’s film simulations, customizable color controls, dynamic range settings, white balance adjustments, and grain effects makes it particularly well suited to photographers who want to build a JPEG-first workflow.
The Fujifilm X-T30 II puts much of that same approach into a smaller body. It’s a particularly compelling option for travel, street photography, and everyday shooting when you want the controls and rendering without carrying a larger camera.
The Canon AE-1 remains a straightforward way into 35mm SLR photography. Its manual focus, light meter, exposure controls, film advance, and mechanical workflow give you the fundamentals without burying them under unnecessary complexity.
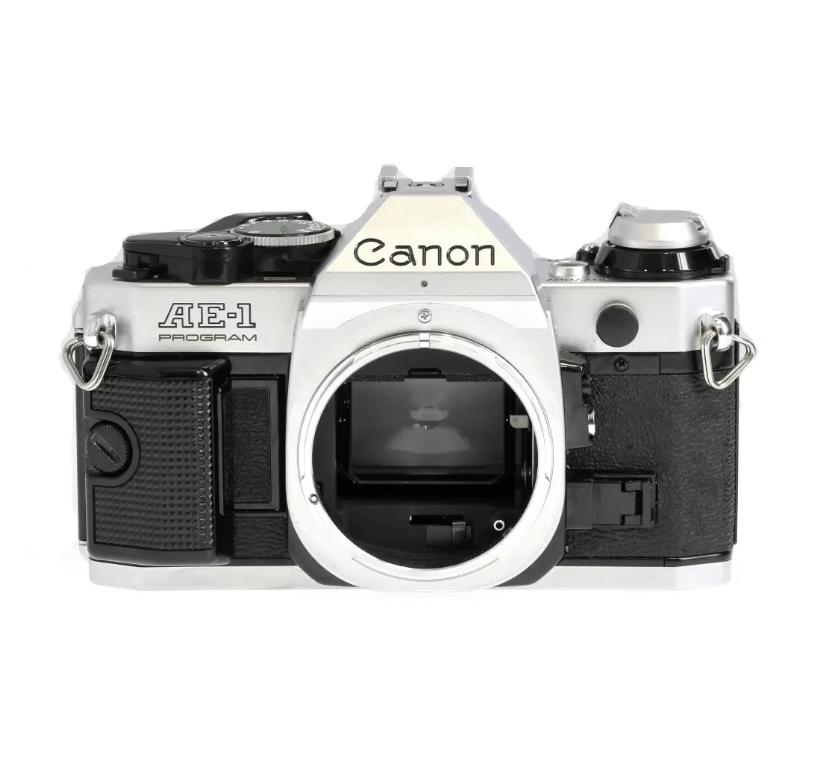
The Canon AE-1 Program adds more automation while retaining the core 35mm SLR experience. It’s a useful choice for photographers who want to learn film without making every early exposure a technical exercise.
Want more analog recommendations? Check out this blog.
Don’t overcomplicate your first camera.
A beginner doesn’t need a rare film body, an expensive lens, or the newest digital camera to start making good photographs. Dependable gear that you understand is more useful than impressive gear you don’t.
Prioritize the controls you’ll actually use.
A good viewfinder, reliable autofocus, comfortable handling, and easy access to image settings are more important than chasing the newest model. If film recipes interest you, look for a system that gives you useful control over color, contrast, white balance, and grain effects.
A simple way to build a recipe:
The point isn’t to spend your afternoon building a spreadsheet of camera settings. It’s to learn what your chosen profile actually does.
Start with a dependable 35mm film camera and an accessible stock.
You can look at KEH Certified™ pre-owned SLRs, compact point-and-shoots, and rangefinder-style cameras depending on how much control you want. A manual camera can teach exposure fundamentals directly, while an automatic model can remove some of the friction while you learn.
For film stock, start with something readily available rather than immediately buying a shelf full of different emulsions. Shoot enough of one stock to understand its behavior before moving on to the next.
Keep notes on lighting, exposure, and what you liked about the scans. After a few rolls, you’ll have something more useful than a list of internet recommendations: you’ll know what works for you.
Use the questions below to narrow the choice based on your actual workflow:
And if your answer is “both,” that’s a perfectly good answer.
The two approaches aren’t competing technologies that need a winner. They’re different photographic tools with different strengths. A photographer who understands those differences can use either one deliberately.
At KEH, that’s the part we care about: helping photographers find gear that makes sense for how they actually shoot. Whether you’re looking for a digital body with the right controls for a film-inspired JPEG workflow or a 35mm camera that makes you want to load another roll, start with the work—not the trend.
No. A film simulation changes how a digital image is rendered. Shooting film uses a physical light-sensitive emulsion, so the stock itself becomes part of the capture process.
It can be, particularly for photographers who shoot frequently. Film requires recurring costs for stock, development, and scanning. Digital generally concentrates more of the cost in the initial camera and lens investment, with relatively little additional cost per exposure.
Fujifilm is a standout because its film simulations are deeply integrated into the camera’s shooting and JPEG workflow. Models such as the X-T4 and X-T30 II offer extensive control, but the best camera is ultimately the one whose handling and settings work for the way you shoot.
There’s a learning curve, but an accessible 35mm camera can be an excellent way to learn exposure, metering, and deliberate shooting. The important thing is to start with dependable gear and a film stock that won’t make the learning process unnecessarily complicated.
Yes. In-camera film simulations, picture profiles, custom settings, and post-processing can all produce a convincing film-inspired aesthetic. The quality of the result depends on the entire image-making process, including lighting, exposure, lens choice, and editing.
Start with what you need from the camera. If you need a flexible, reviewable digital workflow with film-inspired rendering, look at film simulations. If the physical medium, stock characteristics, and analog process are what you’re after, shoot film. And if you want both experiences, there’s nothing wrong with keeping both in the bag.